Try This at Home
| November 18, 2020Whether you’re a DIY-er or not, the key points to recognize are that creating a little oasis of play space doesn’t require excessive square footage or a wild imagination.
ILLUSTRATIONS BY LEA KRON
When we moved into our new home last year, I knew I wanted to make the playroom inviting and functional, without wasting too much precious floor space.
And, of course, I also wanted to keep it all on a budget. When COVID hit and we were forced to stay indoors, I knew all my efforts weren’t in vain — my kids spent hours in there, literally!
Here, I divided some classic DIY ideas by skill level — so whether you’re a novice or a veteran, you can find something that will work for you.
LEVEL: EASY
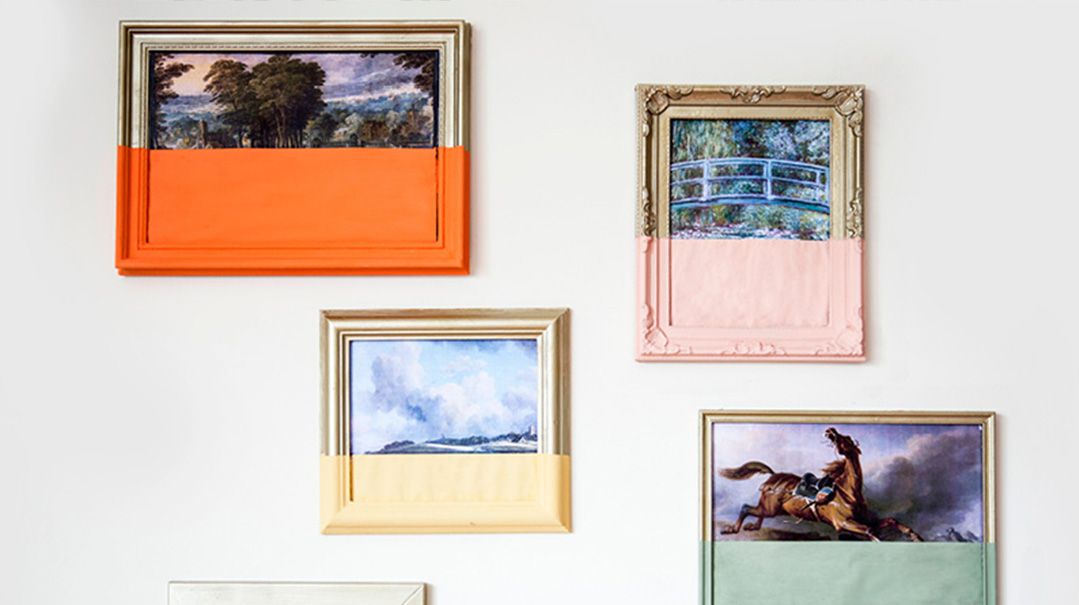
Matchbox Car Display
Whenever I walked into the playroom, the cars were out, so I finally said, “If you can’t beat ’em, join ’em!” Displaying them on these picture shelves meant that even though they aren’t neatly tucked away, they’re pretty to look at. Hang up the shelves with the easy hardware that’s included, or you can even get lazy and use Command strips. Place the cars on the shelves, and you have functional room decor! You can even arrange the cars according to color to work within your color scheme.

LEVEL: INTERMEDIATE
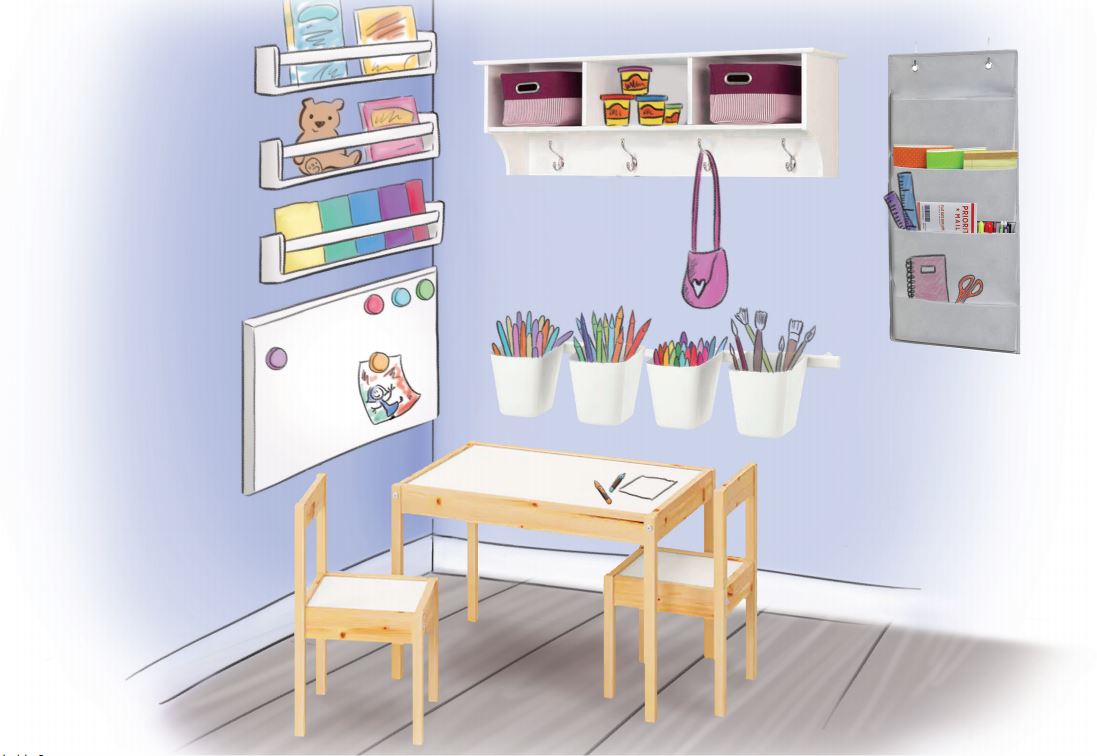
Art Center
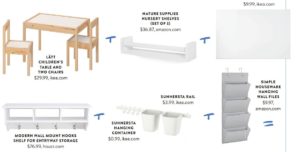
Space allowing, every playroom thrives with an art station, if you don’t want the mess and masterpieces all over the house. This little station can be tucked away in a corner and is still aesthetically pleasing. And the best part? All the pieces I bought are very easy to source and require minimal assembly.

LEVEL: ADVANCED
Dress-up Stage
Which little girl doesn’t dream of playing a starring role and singing to their heart’s content while wearing princess fairy costumes?
Any curtain rod, whether tension or mounted, keeps the curtains in place, and a folded folding table acts as the stage.


LEVEL: EXPERT
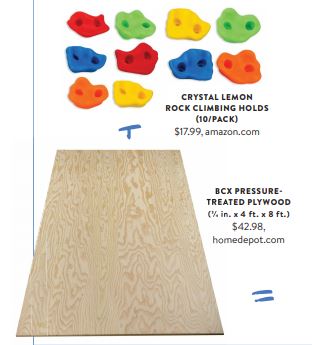
Rock-Climbing Wall
Even though this requires some power tools to put together, the e ort is well worth it, because you’ll have a place for your kids to let out their energy and practice their climbing skills. You’ll need a piece of plywood so that the climbing handles are safely secured. Secure the handles based on the manufacturer’s instructions to ensure safe play. Once the handles are in place, attach the plywood to studs in the wall using a drill and some screws.

Whether you’re a DIY-er or not, the key points to recognize are that creating a little oasis of play space doesn’t require excessive square footage or a wild imagination. A little corner of a room designated for your kids’ activities can go a longer way than you’d think.
In my opinion, the best kind of playtime is one where the children are learning in some form, using their creative energy… and where the activity doesn’t get too messy. Here are some toys I’d love to get for my little ones — and my big ones too!
Shaina Maiman is a content creator and stylist who enjoys using her artistic flair to transform everyday items into works of art. She utilizes her creativity to teach art and decor. Shaina can be reached via Mishpacha.
(Originally featured in Family Room, Issue 010)
Oops! We could not locate your form.

