A POT PRIMER FOR THE PERPLEXED
| June 8, 2020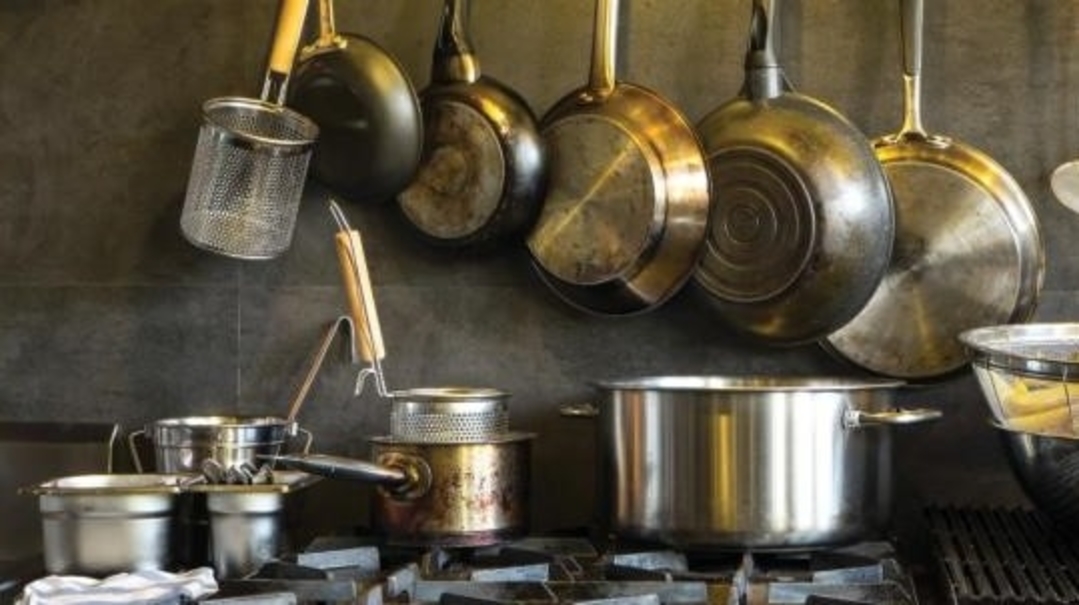
How different types of cookware affect the cooking and baking process, and how to pick the perfect pot for your culinary task.
Admit it — you have piles of dog-eared pages from Family Table full of appetizing photos of sweet and savory dishes just waiting to be...
But don’t put on your apron yet — before you invest any more time, energy, and expensive ingredients in your culinary prep, I’m here to help you make sure that you’ve got the right tool for the job. Not all pots and pans are created equal, and if you read on, you’ll learn some things that can help you achieve amazing results with your cooking and baking.
Cast Iron, Copper, or Ceramic — What’s Your Cooking Style?
Let’s start with the bottom line: A well-stocked kitchen should have a mix of pots and pans, with both non-stick and stainless steel bottoms for various cooking tasks. Non-stick surfaces are great for quick and easy cooking and clean-up, but they fall short when you need to brown or braise your food. Before buying pots, think about what you cook the most and make the selection that suits you.
Consumer Reports is a great resource for learning about the various materials and terminology used in cookware, and I’ve shared the basics below.
Stainless steel: Classic, durable, no reaction with food, uniform heating, good for browning, easy to take care of, sometimes hard to clean stuck foods.
Non-stick: Releases food easily, less or no oil needed, very easy to clean, care needed so it doesn’t get scratched, doesn’t brown food well.
Enameled cast iron: Sears and browns food beautifully, goes from stove to oven to table, retains heat, doesn’t react with acidic foods, doesn’t corrode, very heavy, can chip.
Uncoated cast iron: Very durable, can withstand extreme temperatures, tough to clean, not dishwasher safe, requires regular seasoning for maintenance, susceptible to rust.
Carbon steel and blue steel: A favorite of pros, very durable, high performance, ideal for omelet and crepe pans, needs hand-washing with soft brush, and requires seasoning to maintain.
Copper: Even cooking (heats and cools quickly), look for heavier gauge for better durability (one-sixteenth to oneeighth of an inch), high price tag, dents easily, reactive if unlined, may require periodic copper cleaner, hand-wash only.
Aluminum: Lightweight, strong, priced right, excellent heat conduction, prone to staining, can affect the color and taste of certain foods and sauces if not anodized.
If you’re starting to get overwhelmed by the choices, I’ve got good news. The chefs at Fine Cooking magazine were polled, and the two pieces they couldn’t live without (and the ones you likely want to invest in) are a large anodized aluminum stock pot for soups, sauces, and steaming, and a high-sided stainless steel or aluminum sauté pan with a lid for frying, braising, deglazing, and more.
To take it a step closer to home, I ran a poll among the incredible chefs and uber-busy women of Family Table, and found that their answers were in line with the Fine Cooking chefs, with the addition of an inexpensive but durable large, nonstick frying pan for dairy, a heavy grill pan, and a Dutch oven.
Disposables: Indispensable or Disastrous?
Now let’s talk baking. With the amount of baking we do for Shabbos, Yamim Tovim, and other special occasions, disposable pans are a major time-saver. But they can quickly turn into time-wasters if the cake you worked so hard on comes out unevenly baked. I’ve whipped up some seriously delicious Bundt cakes that looked perfect on top, only to slice into them once they’ve cooled and find they’re still doughy in the center (should be the worst thing that ever happens to any of us!). Didn’t matter if the pans were aluminum or paper, they simply didn’t retain enough heat to bake the bottoms and center properly. (You can practically take those out of the oven without gloves — but please don’t try this at home.)
So I consulted with the pros: AskBetty.com (Betty Crocker’s Q&A site) says that when baking with disposables, follow guidelines for metal pans with no adjustments needed. I beg to differ (sorry, Betty). That may work for a shallow cake that doesn’t need a browned crust, or brownies that you like fudgy inside, but not for a dense cake batter, a yeast dough, or a high Bundt.
Cooks Illustrated was right on target — their tests showed that baked goods made in disposable pans were not browned well and baked unevenly. The solution? Place disposable pans on preheated baking sheets for a nice golden crust and even baking all the way through. As soon as you preheat your oven, slide in your largest baking sheet. Place your cakes right onto it, and bake as directed. This method also makes it easier to remove several small pans from the oven, since you can take them all out at once.
Glass, Metal, or Ceramic — What’s Best?
The bakers at King Arthur’s Flour tested glass, ceramic, and metal, comparing the benefits and drawbacks of each one. The winning material in most consistent overall baking is light-colored metal, which is what the baking pros use. Stoneware (i.e., ceramic) was found to bake inconsistently, partially due to the differences in the makeup of the clay and how the pan was formed (air pockets that trap heat, for example).
Glass was an interesting contender. It acts as an insulator, so it takes longer to heat up and retains heat longer. In a glass pan, your cake or casserole may take longer to bake through the center, but the edges will be quite well done. Some bakers like being able to see through the glass to check for doneness on the bottom of the pan. If you’re using glass, lower the temperature by about 25 degrees Fahrenheit, and add 5 to 10 minutes to the baking time.
Testers noted that the differences were more pronounced with high-sugar, high-fat recipes (such as brownies), while savory, lower-fat casseroles baked nicely in glass. Another difference with glass pans is their measurements — while ceramic and metal are exact sizes, glass pans are usually rounded and are slightly different in size than their metal counterparts, which affects baking times.
At the end of the day, you can absolutely bake and cook with whatever you have — it will just take some trial and error (but when you can eat your mistakes, how bad is that?). Keep detailed notes on your recipes with extra time or temperature variances needed for different types of containers to avoid repeating mistakes.
Wrapping It Up
Once you’ve cooked up a delicious storm, you need to find the best way to store your food. Glass is king when it comes to food storage for several reasons: 1) You can easily see what’s inside, which means those Shabbos leftovers will be eaten rather than pushed aside for something more easily identifiable. 2) Reheating is a snap in the oven or microwave, with no need to transfer to another dish. 3) It’s the safest material in terms of retaining the health of your food. No unhealthy chemicals from plastics, and no heavy metals leaching into your food from aluminum foil interacting with acids. 4) Most importantly, a fridge full of neat rows of glass containers makes you look trendy, health conscious, and organized. Even if you’re not.
Realistically speaking, most kitchens (including my own) are stocked with more plastic containers than glass ones. Glass is more expensive, heavier, and takes up more space, but consider this — BPA and other chemicals found in plastic can adversely affect health with constant, long-term exposure. The Center for Disease Control found that phthalate exposure was very widespread among Americans, with links to fertility and other health issues. Dr. Russ Hauser of Harvard’s School of Public Health suggests erring on the side of caution and avoiding reheating food in plastic.
Hauser says that even with FDA designation that a container is microwave safe, that may be based on heating certain foods for certain time periods and may not mean the plastic is completely free of chemicals. Meats, cheeses, and other high-fat foods are the worst in terms of chemical leach, so make an effort to transfer these foods to glass or parchment paper before reheating.
I recently started lining plastic containers with a piece of parchment if they contain anything fatty — meat sauce, cheese, butter, oil. (I do the same thing with foil pans.) This also makes the container easier to wash out afterwards.
And there you have it — the lowdown and the high end of pots and pans, and what to use when. You can put on your apron now. Those fabulous recipes you dog-eared a few weeks (months? years?) ago are calling your name (or is that hungry kids?). Happy cooking — and let us know how it goes!
Pot Vocab 101
Here’s a handy guide to the technical terms in pot and pan manufacture, and some pointers on their use.
Cladding: Layers of metal fused to form your pot or pan. L’havdil, like the Aron in the Beis Hamikdash, pots can have several layers of different materials — the outside may be stainless steel, and the inside can be aluminum, copper, or another material that conducts heat well. A cladding layer can also be added to the bottom of the pan for better heat transfer.
Core: The center material within multiple layers.
Dutch Oven: A thick-walled pot with a tight lid, which can be made of seasoned cast iron, cast aluminum, ceramic, and coated with enamel inside for easy cleaning.
Handle: Metal or silicone handles allow your pan to go from stove to oven. Metal handles get about as hot as the base of your pan and have led to more than one serious burn when an unthinking chef grabbed the pan without a mitt. Silicone-coated or wood handles stay cool on the stovetop.
Hard-coat anodized: A soft surface that’s been changed to a hard surface (typically aluminum).
Heavy-bottomed pot/pan: Thicker at the base, absorbs and distributes heat more evenly than standard so food is cooked evenly without burning (especially thick sauces, liquid sugar, etc.). These pots can be pricey — if you don’t have one and the recipe calls for it, lower the heat slightly and be sure to stir your food constantly to distribute the heat evenly.
Rim: Rolled rims make pouring liquids easier; straight edges are easier for sautéing. (The word sauté is French for “jump,” which is what your food should do in the pan when you truly sauté. This is a lot of fun once you get the hang of it, but expect to toss a few veggies out of the pan the first few times.)
Sides: High-sided pans are great for simmering liquid sauces, while flared sides help speed up the reduction process by releasing more steam
(Originally featured in Family Table, Issue 696)
Oops! We could not locate your form.

