Microwave Magic
| July 4, 2023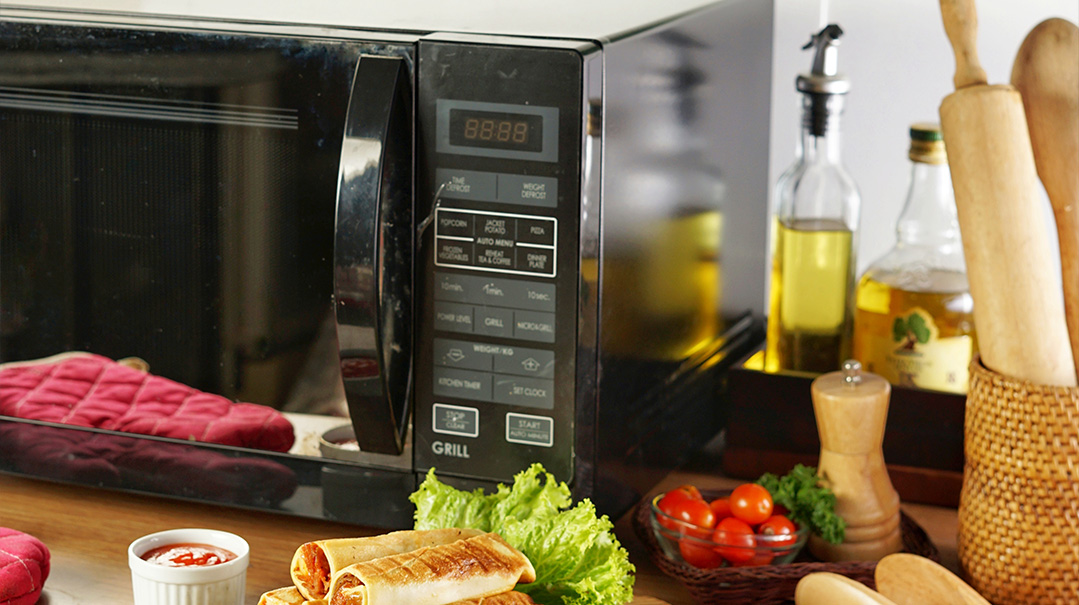
Have you ever wondered how a microwave oven heats up your food in a matter of minutes? Let’s dive into the science behind this amazing kitchen appliance and find out.
What Is a Microwave?
First, we need to distinguish between microwaves and microwaves. Huh? Microwave ovens (the appliances in your kitchen) are named after the type of energy they use — they heat up food using microwaves, which are a type of electromagnetic wave. Think radio waves, just shorter.
Inside each microwave oven, there’s a little device called a magnetron. The magnetron is the heart of the microwave oven, and it creates microwaves (the energy). When you place your food in a microwave-safe container and press the buttons to set the cooking time, the magnetron starts to work its magic. It produces microwaves that bounce around inside the oven and are absorbed by the food.
Microwaves (the energy) have a unique property — they’re absorbed by water molecules. And nearly all food contains water, even if it’s not visible. When the microwaves hit the food, they excite the water molecules, causing them to move quickly. Imagine a crowd of people dancing at a concert. The microwaves are like music, and the water molecules are the people dancing. As the water molecules dance and vibrate, they generate heat. That’s how your food gets heated up — the water molecules inside the food heat it from the inside out.
Microwaves can penetrate about an inch to an inch and a half into food. The heat is generated within the food itself, starting from the areas closest to the surface. As the heat is produced internally, it travels from the outside to the inside of the food. However, it’s worth noting that the surface of food in a microwave oven can still get heated by direct contact with the microwave energy, as the microwaves are absorbed more readily by water molecules found near the surface. This is why the outer layers of your food get warmer faster than the inner parts.
Microwave Myths and Truths
Over the years, some claims have been made that foods heated in microwave ovens have fewer nutrients than those heated on the stove or in a regular oven. However, research over the past 20 years has shown little to no basis for this claim. In fact, a study published in the journal Foods in 2021 revealed that steam-cooking vegetables in the microwave actually resulted in less nutrient loss than other cooking methods (de Castro et al.). This is likely because microwave ovens heat food quickly, which allows food to cook in less time overall. Some nutrients, like vitamin C, break down when exposed to heat, so a shorter cooking time results in less nutrient loss. It’s important to remember that these studies were done on fresh vegetables, though, not microwavable frozen meals. Those aren’t generally healthy eats!
When it comes to flavor, it’s no secret that food cooked in a regular oven often tastes different from food cooked in a microwave. The reason for this is that the way heat is spread during cooking affects flavor. In a regular oven, heat hits the food from all directions and from the outside in. This gradual and even cooking process helps develop richer flavors and textures. A microwave oven heats food quickly and may not let flavors develop as fully as they would in a regular oven.
Also, browning and caramelization, which add depth of flavor, are limited in a microwave. Browning reactions happen at higher temperatures and create those yummy crusts on roasted chicken and apple pies. Regular ovens, with their higher temperatures, do better in that department than quick-cooking microwaves. Keep in mind that some foods, especially those with lots of moisture (like steamed veggies), can definitely still taste good in a microwave.
Microwave ovens heat food quickly — but do they get food hot enough to kill germs? There are a few important points to keep in mind to use your microwave to safely reheat food. Microwaves only penetrate food an inch or so, which might not cook food evenly. This can mean that bacteria present in the reheated foods will survive unless the food is stirred or rotated to allow the entire portion to heat up properly. And if a recipe or food item calls for allowing the finished product to stand in the microwave, don’t skip this step! The extra time in the microwave allows the heat to distribute evenly throughout the food and helps ensure any remaining bacteria are eliminated.
Finally, to be certain that your food is heated sufficiently to kill bacteria, use a food thermometer to check the internal temperature, especially when cooking meat and poultry in the microwave.
Speaking of safety — you might have heard the advice to never stand directly in front of a microwave while it’s turned on. This warning is well-intentioned, since microwave radiation can damage living tissue if it leaks through a faulty appliance. This concern, however, assumes that microwaves (the energy) can escape from the microwave (the appliance) in the first place. Today’s microwave ovens are designed for safety and don’t allow microwaves to escape. It’s important to never use a microwave with a door that is warped, cracked, or no longer forms a secure seal.
And remember, no metal in the microwave! Dr. Robert Wolke from the University of Pittsburgh says it best: “Any extra metal [in the microwave] upsets the balance between the microwaves being generated and the microwaves being absorbed by the food. The result is an excess of microwave energy which can erupt into a burst of fireworks” (Wolke, Demystifying Microwaves).
Microwave Recipes
After learning more about microwaves, I decided to put a variety of different recipe types to the test in my own GE model.
Baked Sweet Potato
Method adapted from Delish.com
SERVES 2
- 2 medium sweet potatoes
Wash sweet potatoes and pat dry. Poke 3–4 times on each side with a fork.
Place sweet potatoes on a microwave-safe dish. Microwave 41⁄2 minutes, turning halfway through cooking time. Allow to stand for 1 minute.
If sweet potatoes aren’t cooked through at this point (even after standing for 1 minute), continue cooking in 30-second intervals until fork-tender.
Verdict
Easy and delicious! The standing time was important to avoid overcooking the sweet potato — I overcooked one and it was shriveled and dry. The flavor was not as deep as that of a slow-roasted sweet potato from the oven, but I’m not complaining when I can have a side dish ready in less than 10 minutes!
Strawberry Rhubarb Crisp
Recipe adapted from Food.com
YIELDS 1 10-INCH (26-CM) CRISP
- ¼ cup granulated sugar
- ½ cup + 1 Tbsp all-purpose flour
- 2 cups sliced fresh or frozen rhubarb (cut into ½-inch/1-cm pieces)
- 1 lb (450 g) frozen strawberries, hulled and halved
- ½ cup packed light brown sugar
- ½ cup rolled oats
- ⅓ cup cold unsalted butter or margarine, cut into small pieces
Lightly grease a microwave-safe 10-inch (26-cm) glass pie plate.
In a separate bowl, combine the sugar and 1 Tbsp flour until blended.
Add the rhubarb and strawberries. Toss to blend and spread in an even layer in the prepared pie plate.
In a large bowl, combine the brown sugar, remaining 1⁄2 cup flour, and oatmeal.
Work in the butter or margarine with a fork until the mixture forms coarse crumbs. Sprinkle the mixture evenly over the fruit.
Microwave uncovered on high power for 8 minutes.
Turn the dish half a turn and microwave 8–9 minutes longer, or until the fruit is thickened and bubbly and the topping is crisp.
Verdict
I knew I had to try this out when my coworker gifted me with several pounds of rhubarb from her garden. I’m still shocked that it worked! The fruit came out perfect, and the topping was crisp. Again, the lack of caramelization affected the taste of the crust — but again, the ease of making a dessert in minutes and freeing up oven space for more roasted veggies is exciting!
“Roasted” Garlic
Adapted from justmicrowaveit.com
YIELDS 1 HEAD OF ROASTED GARLIC
- 1 head garlic
- 2 Tbsp water
- 2 Tbsp oil (any will work)
Cut the top off the garlic to expose the cloves. Place garlic cut side up in a microwave-safe dish.
Add water around the garlic and drizzle oil on top of garlic. Ensure all cloves are covered by oil.
Microwave for 21⁄2 minutes and allow to stand for 1 minute. Check how soft the garlic is and continue to cook in 30-second intervals (I needed 4 minutes total).
Verdict
I was really excited about this recipe, since I use roasted garlic all the time. The garlic did not caramelize (not surprising, given what we know about microwave ovens), and it dried out very quickly — there was a fine line between soft and mellow garlic and crusty, unusable garlic. I wouldn’t use this in a recipe featuring roasted garlic as the main flavor, but I would try it again for when I want to soften garlic quickly before blending it into a dip or soup.
(Originally featured in Family Table, Issue 850)
Oops! We could not locate your form.


