Quarancraft

Exploding Fun
We also made homemade ice cream. Put some whole milk and/or cream into a small Zziplock bag with a little sugar and some flavoring (we used vanilla one time, and mint extract, green food coloring, and chocolate chips the second). Then put that Zziplock into a larger bag that has a bunch of ice and salt, seal that, and play catch with it for ten to fifteen10-15 minutes. Pro tip: double or triple bag the components.
Elisheva Appel
It’s a Zoo Out There!
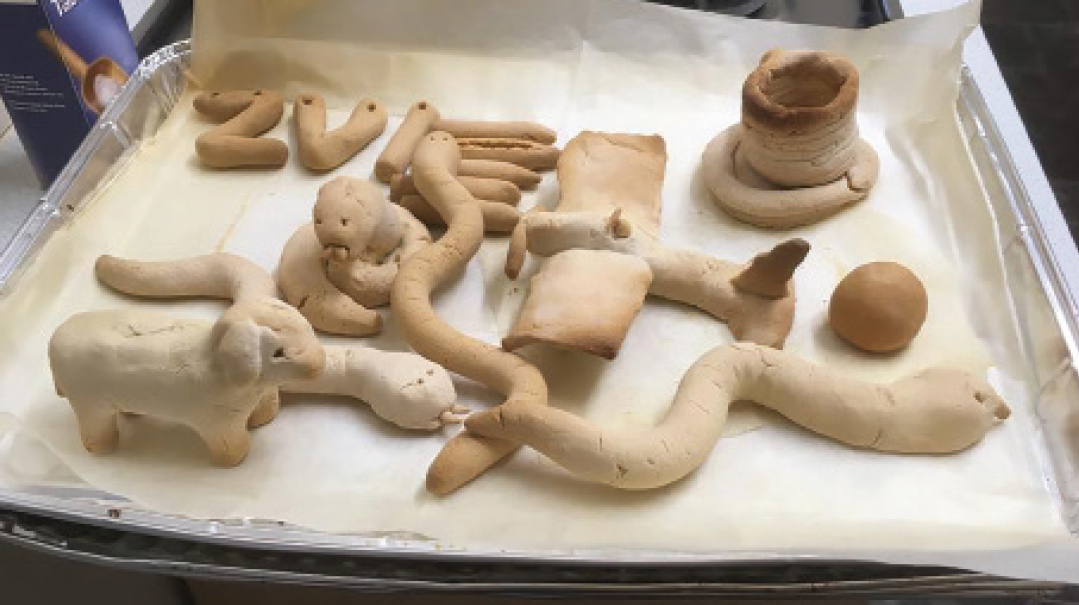
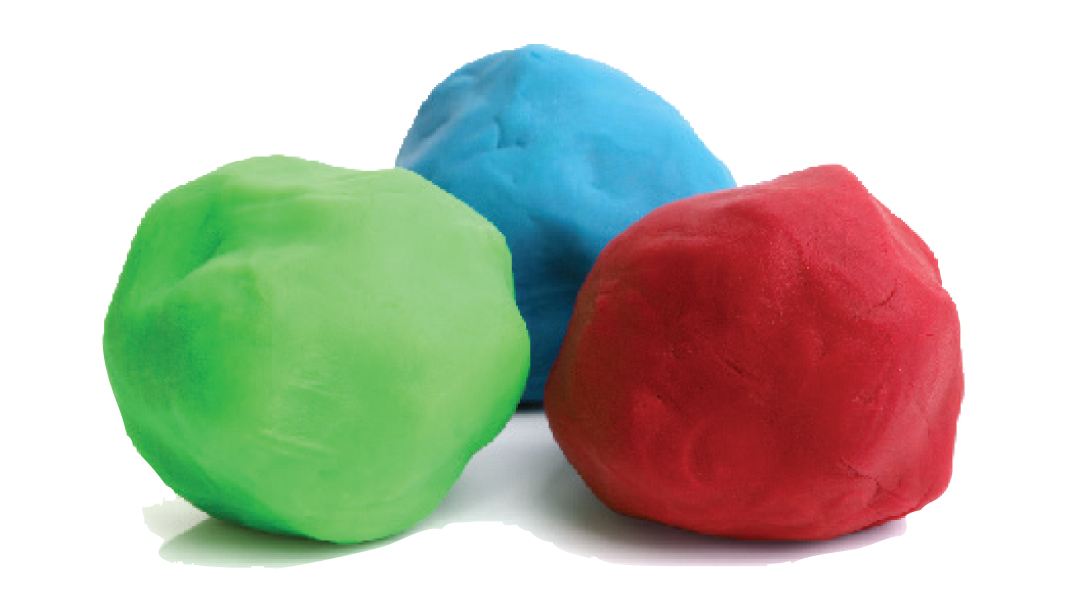
The kids molded animals out of the dough, using silver foil to hold things together and wetting pieces to join them, then we baked their sculptures (at 200° F, till hard — this may take a while).
Once they’d cooled, we were able to paint them — another activity!
Miller Family
Silky, Smushy, Sensory Fun
We bought some diamond art kits, and we’ve been having a lot of success with those. They’re highly addictive, very calming and soothing, and they make a nice finished product. (We got little kits for the younger ones and adult kits for my 10 and 13-year-old.) We also bought a huge paint-by-number painting that the whole family is doing together. You’d think, it’s a paint-by-number, how hard can it be? The answer is — hard. But they’re also super calming. (Next time I’d opt for a small painting, though, not such a massive one.)
Rachael Lavon
In the Shadows
Esther Teichtal
Pasta Pride
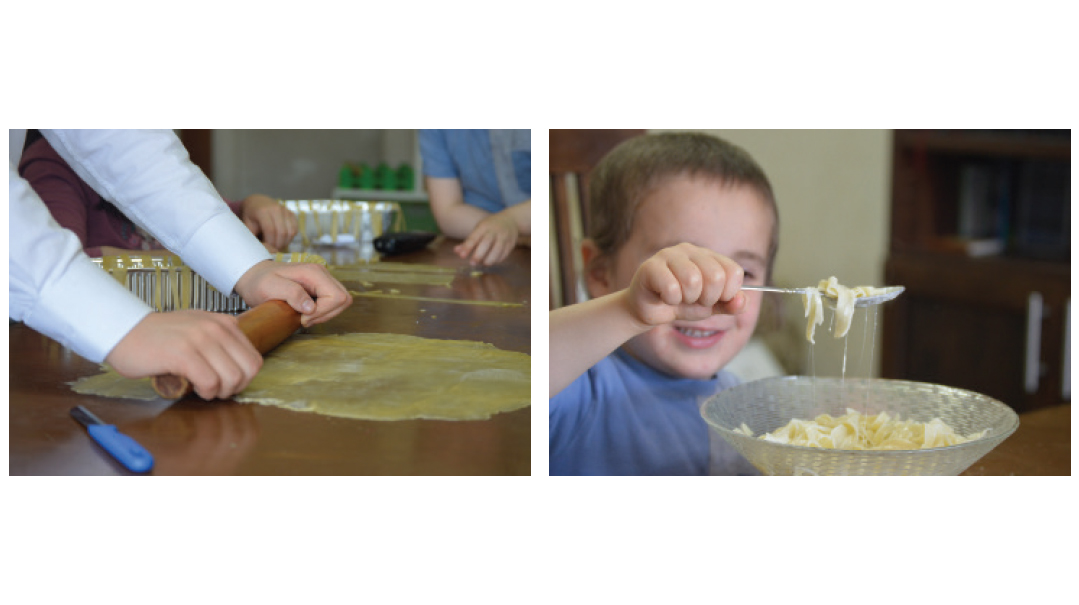
Inspired by Esti Vago’s amazing day camp ideas (email recipes@mishpacha.com for a full weekly schedule!), we “visited Italy”— i.e. used Google Translate to learn how to say some basic phrases in Italian — and then made homemade pasta.
The recipe we used called for 7/8 cup flour, 1 egg, and 1 tablespoon of oilflour; each kid made their own batch. Make a well with the flour, pour in the egg and oil, and mix by hand., W then wrap the dough in saran wrap and let rest for at least half an hour. Then comes the fun part — rolling it out! I don’t have a pasta machine, because under normal, non-corona circumstances, I would never, ever, ever make pasta, but rolling it out by hand was a fun and energy-burning activity (plus rolling kept the kids busy for over half an hour, which is the equivalent of four years these days).
It was definitely worth buying a couple of extra rolling pins so that each kid could have his own. Once the dough is see-through thin, roll it up cinnamon-bun style, slice into thin-ish strands, and cook in salted, boiling water. How do you say voila in Italian? My kids were so proud.
Miriam Milstein
Grate Stuff
Chesky Kichel
Making Light of Candles
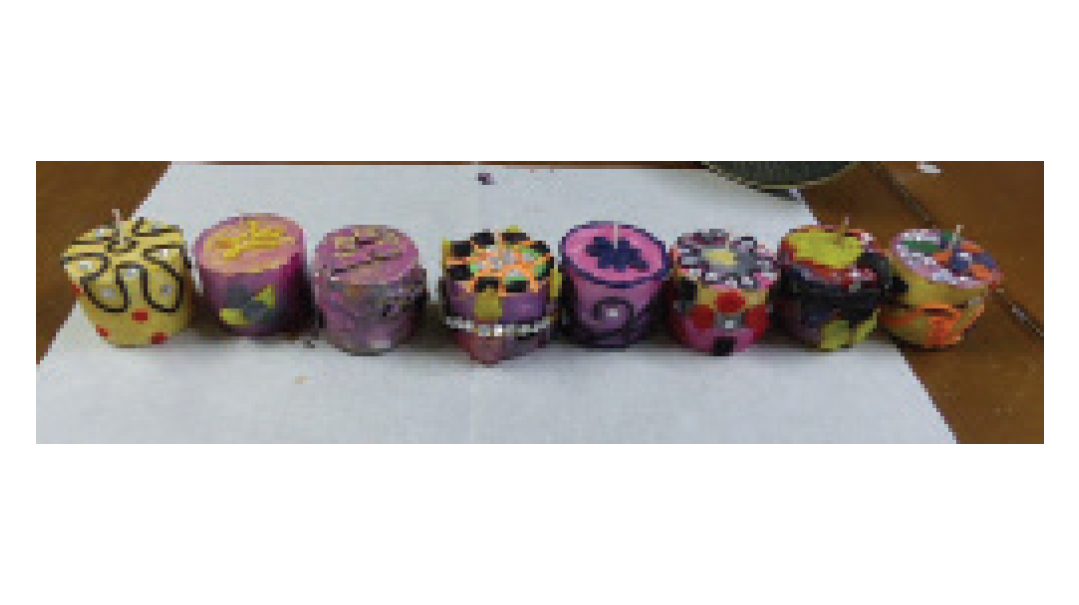
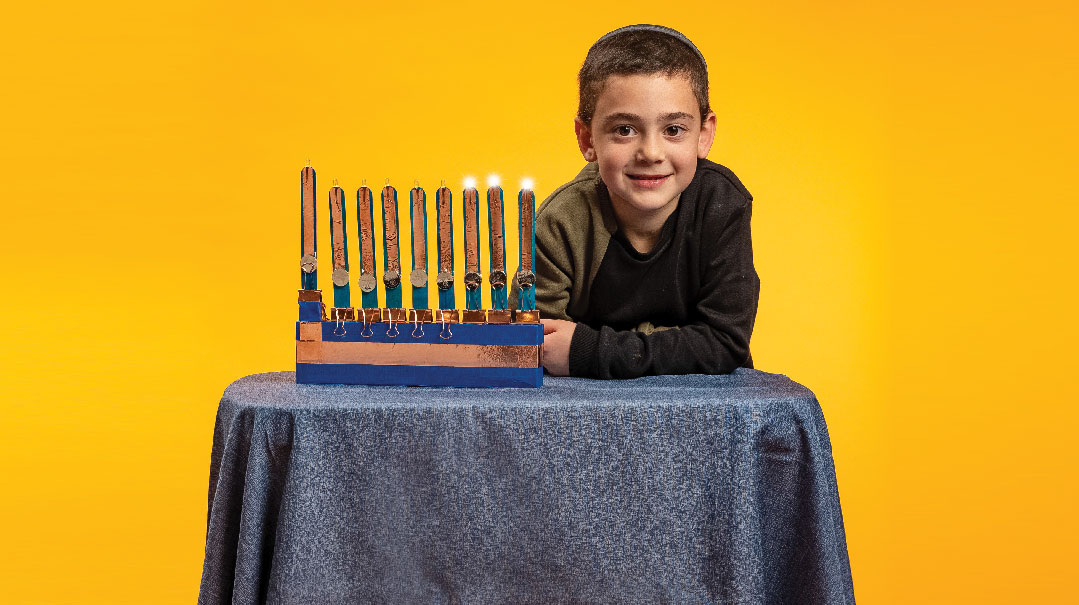
We decorated candles. We used the yahrtzeit candles that come in tins, since they’re very accessible and well-priced. Take them out of the tin containers, paint them with acrylic paints (the metallic ones looked especially nice), and decorate with craft wax and gem stickers. This was the rare craft that was popular with all ages — creative enough to keep the older kids happy, but easy enough for the little ones to do independently.
Nechama Kichel
COVID Cakes
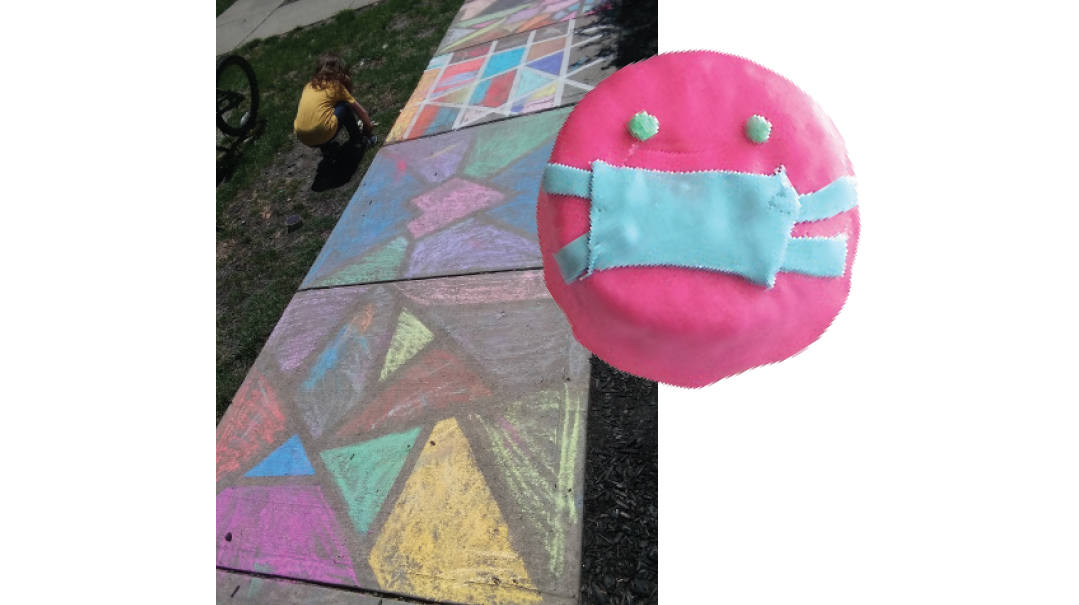
Another day, we did cake decorating — we baked mini cakes in small round tins, then decorated them with fondant. Obviously, in light of the times, our cakes needed masks.
Zivia Reischer
Room with a Boom
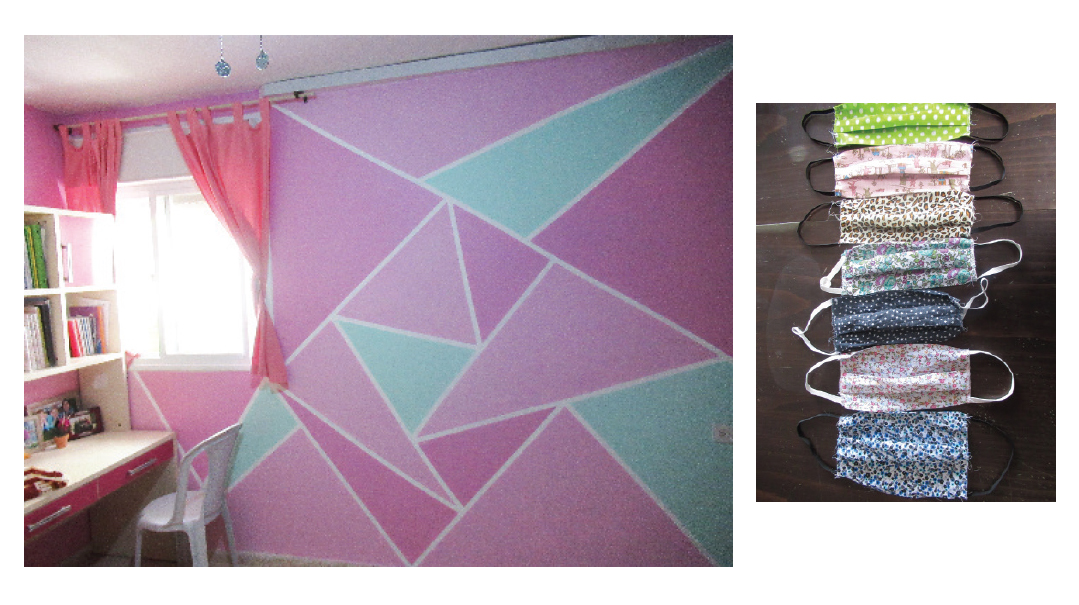
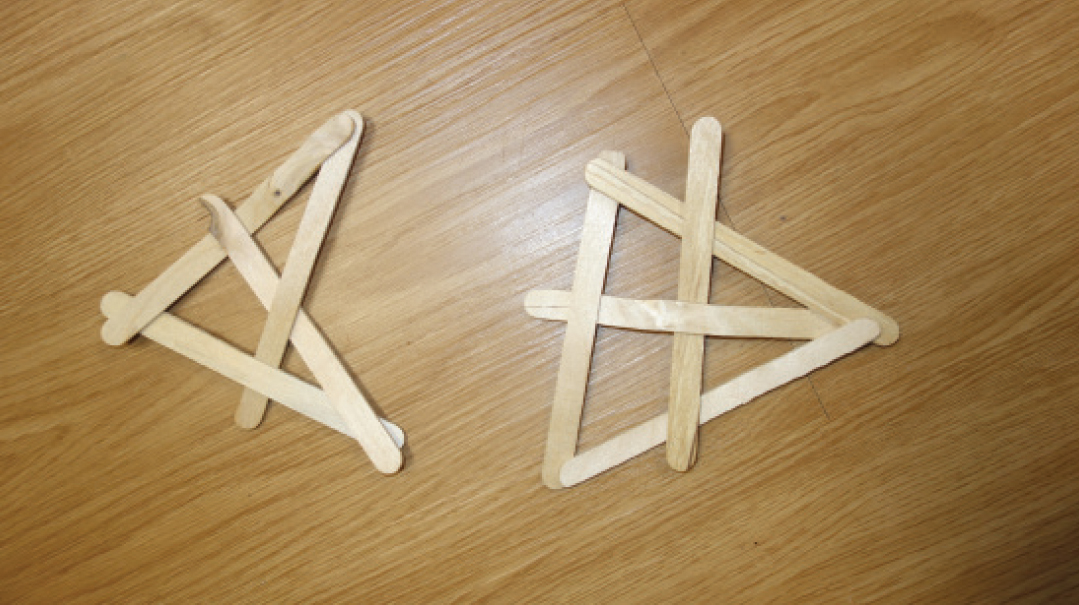
Paint the focal wall white. Then put down masking tape in whatever geometric shapes you desire (triangles are easy) and fill in the shapes with different colors. We found that two similar colors (add a little white to the original color) and one contrasting color is particularly pretty. Paint the rest of the room the lighter color with just a single pop of the darker color.
Another fun and strangely practical activity for teens who sew is personalized masks. My daughter, Tzipora, sewed masks for all of us in just a few hours. We each picked a fabric we liked from the scraps of fabric she’s accumulated over the years. She used one of the pleated disposable masks as a pattern, measured our faces so the elastic would be snug but comfortable, and then crafted the masks. If you use cotton, the final product is far more breathable than most masks on the market. And they’re washable too.
Bassi Gruen
On a Rock Roll
Rivka Streicher
Woven with Love
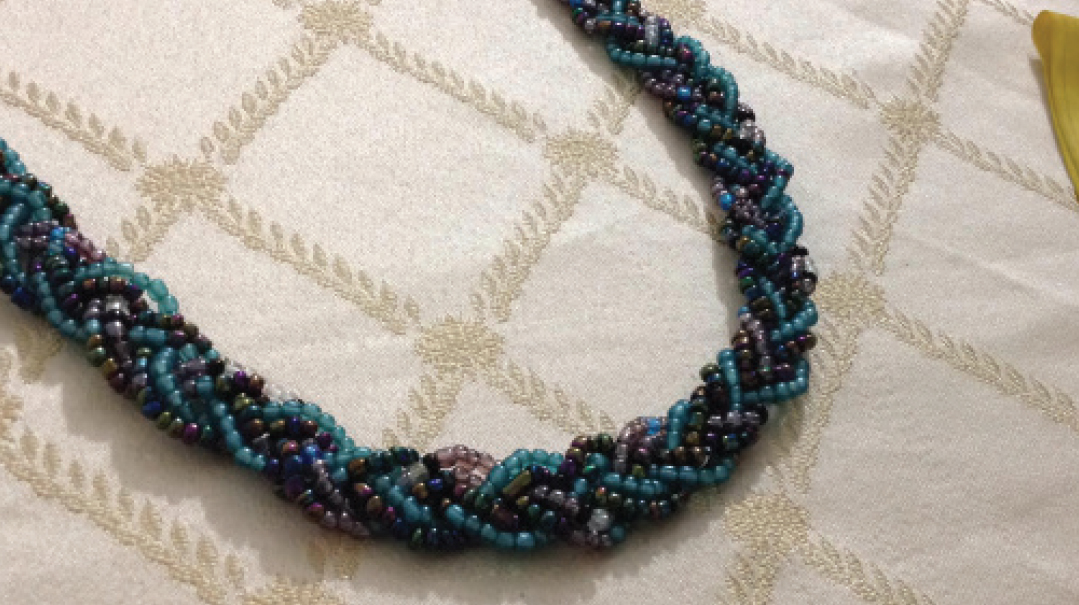
Because of the restrictions against visiting grandparents, we wanted my mother to know we were thinking of her. Each of my kids made a strand of beads, which we braided into one necklace. Each child designed their own pattern, all within one color family we chose together. We presented it to her on Zoom and let her know that even when we are far, she’s in our thoughts!
Take sewing thread and measure out double the length you want the necklace. Make sure that each kid’s strand is the same length. (If you’ll be braiding your strands, keep in mind that they’ll get shorter.) Thread the string on a needle, otherwise it’s nearly impossible to work with the small beads. Leave at least 2 inches of string at the end (for tying to the clasp), and then knot the thread through a bead a few times to start the strand. Bead the thread and when you’ve finished, knot it as you did when you began, again leaving room for the clasp. Knot all the strands together, braid, and then knot them all at the end. Tie all the strands to a clasp, then trim the extra thread.
Rivkah Lewis
Grow a Garden
After dreaming of doing this for years, we finally planted veggies! We made a small garden on my balcony, planting cherry tomatoes, beef tomatoes, and red peppers. We bought the plants already grown, so all we had to do was fill the pots with soil, break up the veggie plants, and stick them in.
A cute activity idea that I read: give each kid advertisers or catalogues, scissors, and a box. They can cut out pictures of stuff they like, then sort them into a muktzeh or non-muktzeh box (or they can glue them to two different papers).
Another fun idea: One day we blew up a whole pack of balloons, stuffed them into a small play tent, put on music, and let the kids jump around.
Faigy Schonfeld
Cook-off!
This one only works if you’re not like me, and you don’t actually mind messes in your kitchen and measuring spoons that somehow became milchig (and are easy to replace during coronavirus). And also if you’re not on a diet.
My kids paired themselves up and did a cook-off. They had a great time and I stayed out of the kitchen the whole time, just to, you know, keep my blood pressure down. Luckily, my husband was preparing a coffee just in time to turn off the (electric) burner after one child put a Pyrex dish on it (melting chocolate).
They turned it into color war, so there was lots of cheering in the background, and if my mixer needed a deep cleaning when they were done… hey! It was three hours of kids actually not fighting.
Adina Lover
Activities with Purpose
This was a super cute activity that lasted for two days. Each of my kids made a how-to video to send to my family. They choose something they wanted to teach, and then I videoed them. We used time lapses, slow motions, and other special effects to make it more fun, putting it together in iMovie. They got amazing feedback and it was so fun for them!
I’ve been trying to come up with purposeful activities, and so one day we wrote stories, which we snail-mailed to my grandparents in Florida. On my mother’s birthday, my kids made up a song about her, then dressed up like her to put on skits for her.
Chanie Nayman
Seeing Sand
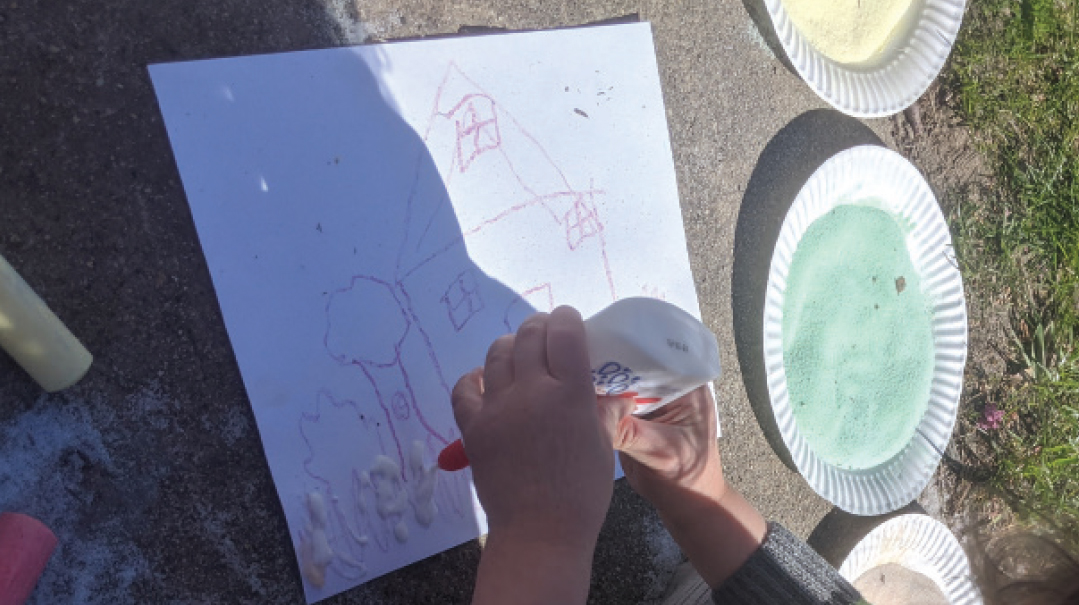
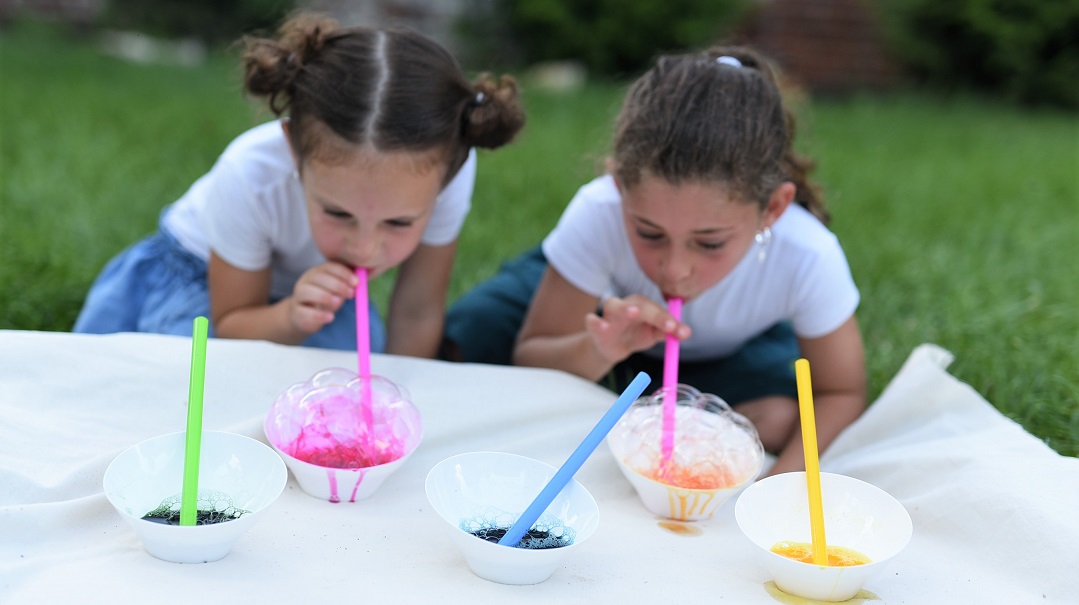
Making colored sand art kept my kids very busy! Color table salt with chalk on plates, using different plates for different colors. You can do layered sand art in a cup or jar, or create a colored sand picture. Draw simple pictures on a paper or cardstock. Thinking about one color at a time, redraw the areas of picture that need that color with Elmer’s glue, and sprinkle the right color salt over them. (Don’t put on much glue because you don’t want it to take a long time to dry in between colors.) Once it’s dried a bit, pour the excess salt back onto the right plate and continue with the other colors.
You can also create a Rube Goldberg Machine! That is, make an entire obstacle course to accomplish something simple like turning on a light. Use anything you find around the house and create an overly complicated domino effect that eventually accomplishes the simple task at hand, just for fun!
Esti Vago
Scavenger Hunt Central
There’s a reason that scavenger hunts and treasure hunts are a kid classic. Here are a few twists on this perpetual favorite:
My kids loved a scavenger hunt I made them on Chol Hamoed. I made clues (about half are generic, you can find ’-em -online, the other half custom for my home) and hid mini chocolate bars at the end.
We also had another scavenger hunt-type activity: I told them to locate things that started with each letter of the alphabet. They got creative: for M they found a Massive something or other, an X-tra special something else, etc.
Elisheva Appel
A friend forwarded me a list of easy-to-find objects (a brush, a pen, a shoe) and illustrated it with Clipart for an activity that even my non-readers could do independently. (Thanks, Shulamith High School!) For the older crowd, we tried a Gordon-Korman-esque scavenger hunt — a list of impossible-to-find items (a camel! a genuine tractor!) and told the kids to get creative in their interpretations.
Bracha Stein
My daughter organized an intricate in-house treasure hunt of sorts. She went in the middle of the night and stuck clusters of coins in hidden places. She also hid clues around the house, which were color-coded (or symbol-coded), so four or five with the same mark /symbol added up to one complete clue that led to a “treasure spot.” Before we embarked on the search, she handed out maps of our apartment marked with approximate locations of each clue, so that we didn’t spend a year looking for each clue. We split into teams to solve the clues, and had a ton of fun.
Esther Teichtal
Prepared for print by Miriam Milstein
(Originally featured in Family First, Issue 692)
Oops! We could not locate your form.
