Get Your Linen in Line
| November 4, 2020Is your linen closet a tangle of faded sheets and crumpled hand towels? Solutions to all your organizing woes
By Yael Wiesner
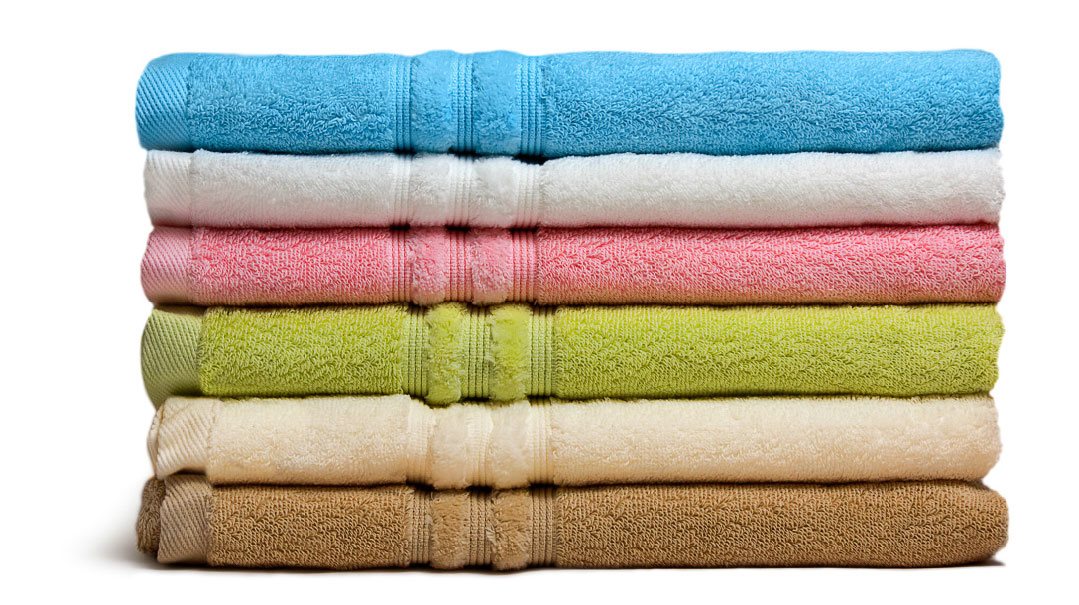
Linens and towels are bulky and must earn their space. If you haven’t used a set of sheets for a year, get rid of them. If you’re purposely saving some ratty ones for camp or trips, don’t keep them with the daily linens. Store them in the garage with the travel bags and camping gear.
Select Your Spot
The most common and logical choice is the hallway leading to the bedrooms, in close vicinity to the main bathroom, so sheets and towels are accessible to all the rooms where they’re needed. Many homes come equipped with a specific linen closet in that location.
A runner-up option is to store linen sets in the rooms where they’re used. If you choose this option, you could store your towels in a storage unit in the bathroom.
The least-logical option for linen storage is the laundry room. Neither sheets nor towels are used in the laundry room — so use that extra space for sorting hampers or other upgrades to your laundry system!
Have no room for linen storage? That’s okay, you don’t need it. Just put freshly washed linen straight back on the beds. Keep one or two spares wherever you can and donate the rest!
Decide on Dimensions
The standard space allotted between shelves is 16-in/40-cm high and standard linen closets can be as deep as 23 in/58 cm. This leaves way too much room for piles to topple — the extra depth encourages mess.
Create more functional storage space by adding another shelf to each section of the closet and distribute the shelves evenly over the space. Between shelves, 9–12 in/25–30 cm is perfect to maintain neat piles. It’s best to outfit your closet with adjustable shelves so that you can decide what works best.
Plan for only 16–18 in/40–45 cm of depth. That’s enough to store one nice, neat pile. If this isn’t possible, use baskets to create the optimal depth.
Find Your Folding Style
Now that you’ve chosen your spot, decide which folding style works best to serve your family’s needs and maximize the space in your closet:
By Set: Fold the sheet and pillow case from each set into a neat rectangle. Fold your duvet cover into a rectangle and roll it around the sheet and pillow case like a knish, with the folded edge forward. Alternatively, fold the sheet and blanket cover together and insert them into the pillowcase.
By Category: Make three separate piles for pillow cases, flat sheets, and blanket covers. Make three separate piles for towels as well — large bath towels, medium bath towels, and hand towels. Use shelf dividers to keep your piles in place.
Rolled: Roll the towels into a cylinder shape and stand them vertically in pretty baskets. You can roll the sheets as well after folding into neat squares. This beautiful arrangement makes it easier to pull out what you need without dislocating the rest.
File Folded: Fold your linens into the standard square and then stand them up in a bin, basket, or drawer. This is a great method if you want to see all your options at once. It also works well for baby blankets and crib sheets.
Space saver: Use vacuum bags to store your winter blankets and extra pillows. Keep these in the harder-to-reach places of the closet.
Yael Wiesner, author of How Does SHE Manage? (Feldheim), works as a professional organizer and interior designer in Israel. She crafts beautiful rooms that will streamline your day, maximize your space, and increase efficiency in your home.
I Do Diamonds
Ah, diamond art. Lockdowns have introduced many of us to this modern take on needlepoint. Diamond art involves placing minuscule plastic “gems” on a printed canvas to create stunning pictures. Enjoy our hard-earned wisdom, with our apologies for any obsessions sparked.
Where to start?
Buy something small for your first try — diamond art doesn’t work for every personality. Try craft stores, specialty websites, and even Judaica stores for a picture you like. Some websites will convert the photo of your choice into diamond art.
Keep an eye out for kits on acrylic or stretched canvas — they’ll save you the money and hassle of framing later.
Round or square?
Diamonds, or “drills,” are available in round and square. Round drills are easier to find and easier to work with. Square drills are available from specialty websites and offer a cleaner look since they line up edge to edge.
Do I need any special supplies?
Nope. Kits will include everything you need. But get yourself an organizer anyways — pill organizers work well. Use a Sharpie to label the sections. When you finish a project, remove the labels with alcohol and use the organizer for your next project. You’re welcome.
If you’re an avid crafter, you might want a light box, too. Or you can use an electronic tablet or iPad, open to a blank web page. You’re welcome for that, too.
How do I do this?
Pour one color into your tray, then shake it gently to get the diamonds lined up in the little grooves. Poke your applicator pen into the wax, then press it to a diamond. Follow the key provided to place the diamond in the correct spot. The adhesive will catch the diamond and hold it in place. Cover any exposed adhesive with wax paper or plastic whenever you take a break.
I’m done! Now what?
Grab a rolling pin and run it over your finished project a few times, to make sure those little guys are truly stuck. Consider using a sealant for extra insurance — Mod Podge is an easy option, and they make a spray, too.
You can use nail polish remover to remove the color key printed on the edge of your canvas.
Consider having a custom mat made to fit a standard size frame, so you don’t need to pay for a full-on framing job.
What about all those leftover diamonds?
Try layering them in a little glass bottle like sand art. If you’re into DIY and have a large enough collection of extras, Diamond Dotz sells a diamond art adhesive you can apply to any surface you like — think greeting cards, jewelry boxes, frames, and more.
Key Keepers
Tired of losing your keys? Yeah, me too.
If you keep your keys in the portable black hole (purse, for the uninitiated), make sure they’re attached to the biggest, brightest, most child-mortifying key chain you can get your hands on.
If your keys don’t even make it into your purse, or you find yourself forgetting them in the car, buy a retractable lanyard. (Those long plastic coils work, too.) Attach one end to your keys, the other to your purse, and never let that bond sever. Your keys will zip right back where they belong as soon as you release them.
Don’t want to be tied down? Buy a tracker and attach it to your key ring. If you have a smartphone, there are options that will show you exactly where in a room to find the key. Alternatively, buy a set with a wireless remote; press a button and the tracker will beep, announcing its whereabouts.
(Originally featured in Family First, Issue 716)
Oops! We could not locate your form.

