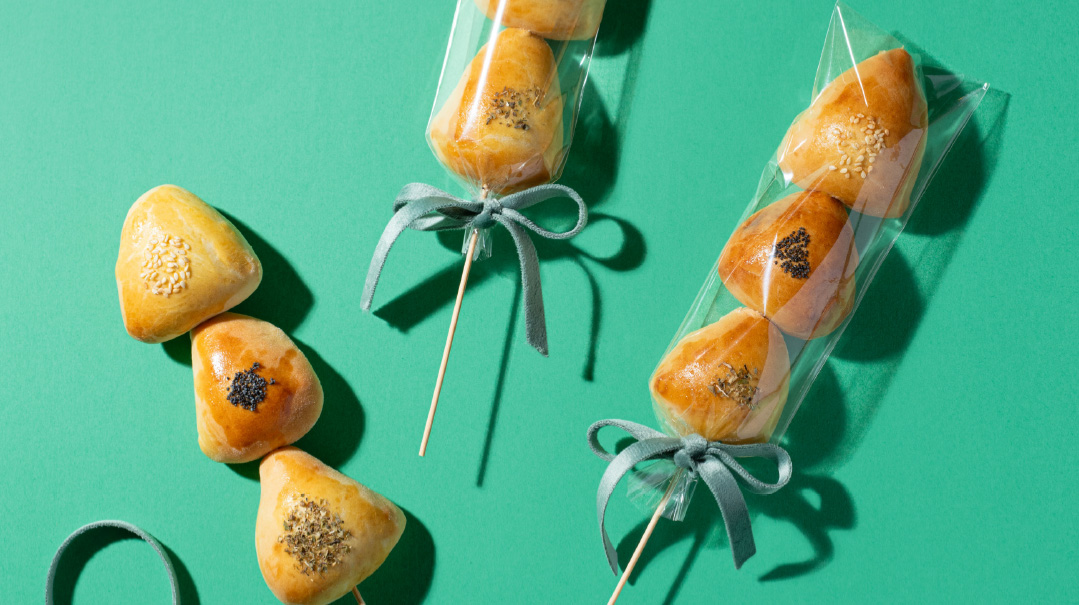
Hair We Go!
With Lag Ba’Omer, of course, comes upsherens (not to mention haircuts for the many other children and adults in need of an upsheren due to the closed barbershops!). As with every milestone at this time, we’re all looking to create something special and memorable for the occasion, while of course keeping in mind priority number one — safety!
Here are a few ideas to make this occasion fun and memorable, and at the same time create an opportunity to share your simchah with others.
Text and Styling by Esther Ottensoser | Photography by Hudi Greenberger
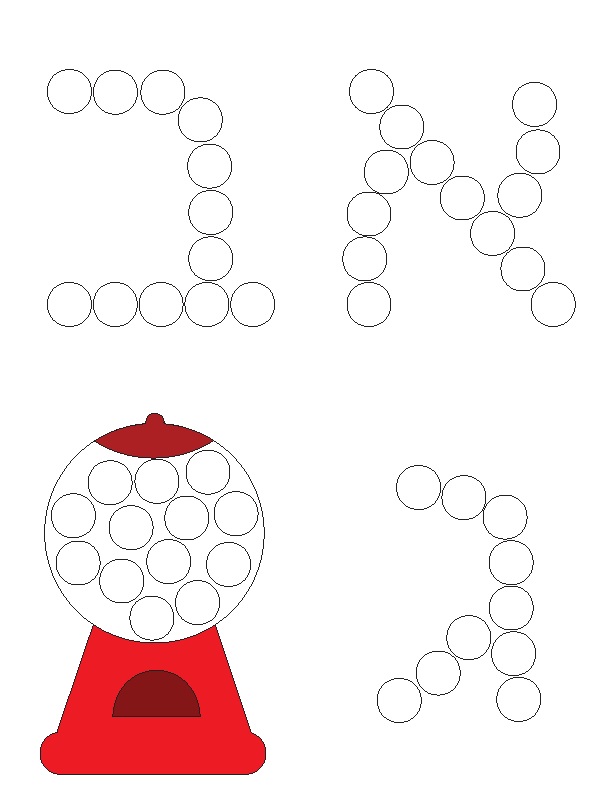
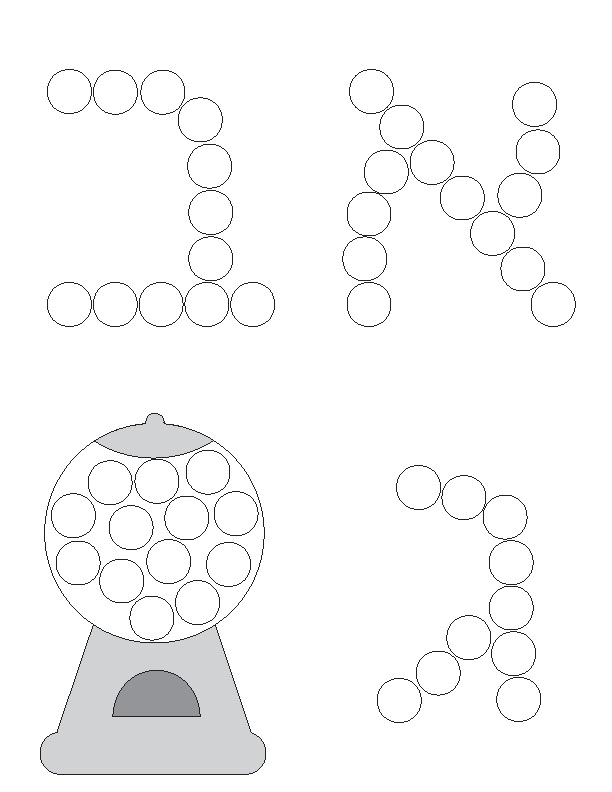
Dot Art
This is a perfect activity for upsheren-age children. Fun to play and fun to eat!
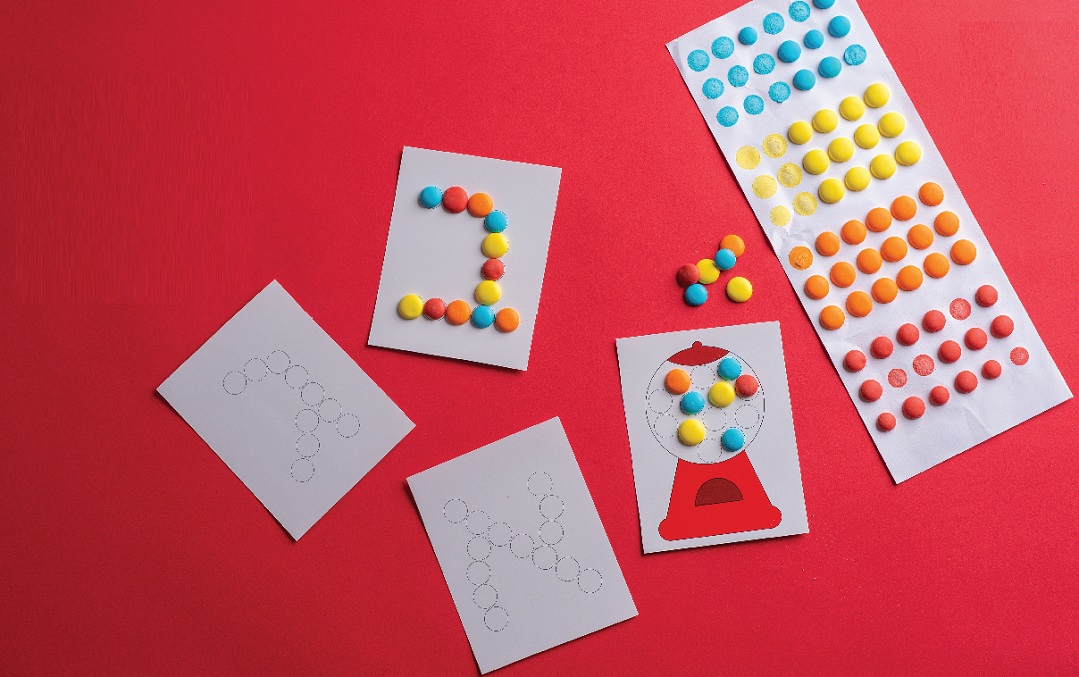
YOU WILL NEED
- button candies
- dot template CLICK ON THE IMAGES TO DOWNLOAD (you can also create your own dot design using ½-inch circles)
- 1. Use the button candy to fill in the circles of your templates. Let the kids experiment with patterns and matching colors.
2. Eat and enjoy!
The “Hair”-and-There Cut
With this adorable pekaleh, even those not present can give a “snip” in honor of the upsheren. It does take a bit of time to prepare, but it makes a great project for the siblings of the upsheren boy.
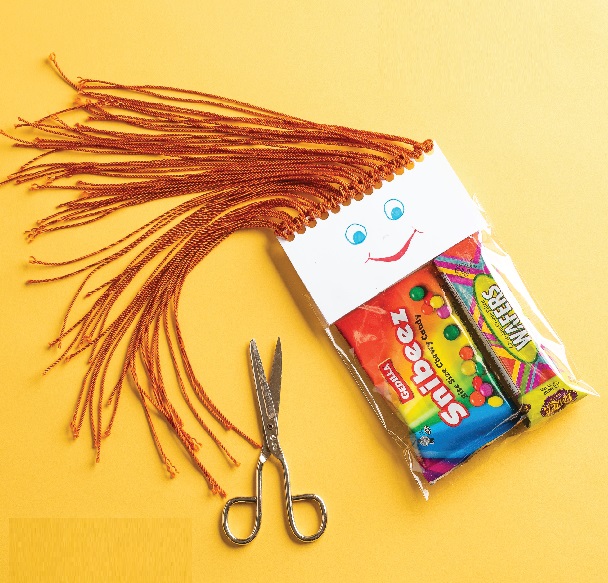
YOU WILL NEED:
- 4x5-inch cardstock
- hole puncher
- string or yarn
- 4x6-inch cellophane bag
- candy
- glue gun
- Fold the cardstock in half to 2½x4 inches (tip: you can use a prefolded gift card).
- Draw a face on one side of the cardstock.
- Punch holes across the top, approximately ½ inch from the fold.
- Cut the yarn into 12-inch lengths. For thicker “hair,” double the yarn for each hole. Fold the yarn in half and make a slipknot through each hole.
- Fill the cellophane bag with candy. Glue the cardstock face onto the bag with a glue gun.
Wooly Sruly
There’s always something fun and exciting going on in my sister Basya’s house, so it’s no surprise that day after day during this “stay-home” time, she and her family have created lots of fun and original activities. One morning her children woke up to this old-time favorite Willy Wooly activity — but a homemade version, with pictures of each child and a big sign that read, “How will you look by the end of Corona Quarantine?”
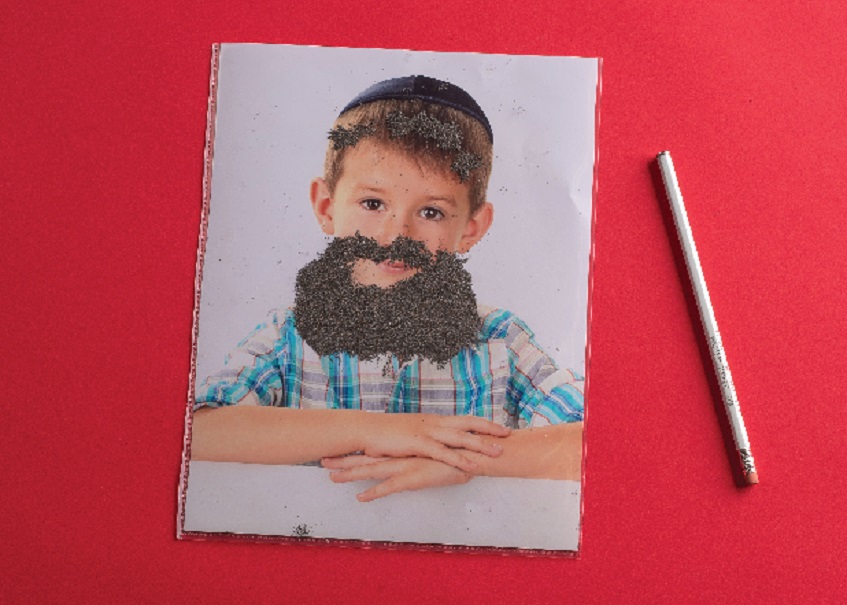
Here’s how she did it.
YOU WILL NEED:
- photo or drawing of a face on cardstock
- sheet protector or ziplock bag
- magnetic iron fillings (available on Amazon)
- wide tape
- small ceramic magnet glued to the end of a pencil or to a popsicle stick
- Place the photo in the sheet protector or ziplock bag. Add the magnetic iron fillings.
- Seal the bag using wide tape. (If the bag is bigger than the photo, fold the extra plastic over to the back of the photo.)
- Use the magnetic stick to move the iron fillings around and give your photo extra hair.
Oops! We could not locate your form.

