TEXT, STYLING, AND PHOTOGRAPHY BY NAOMI ELBERG
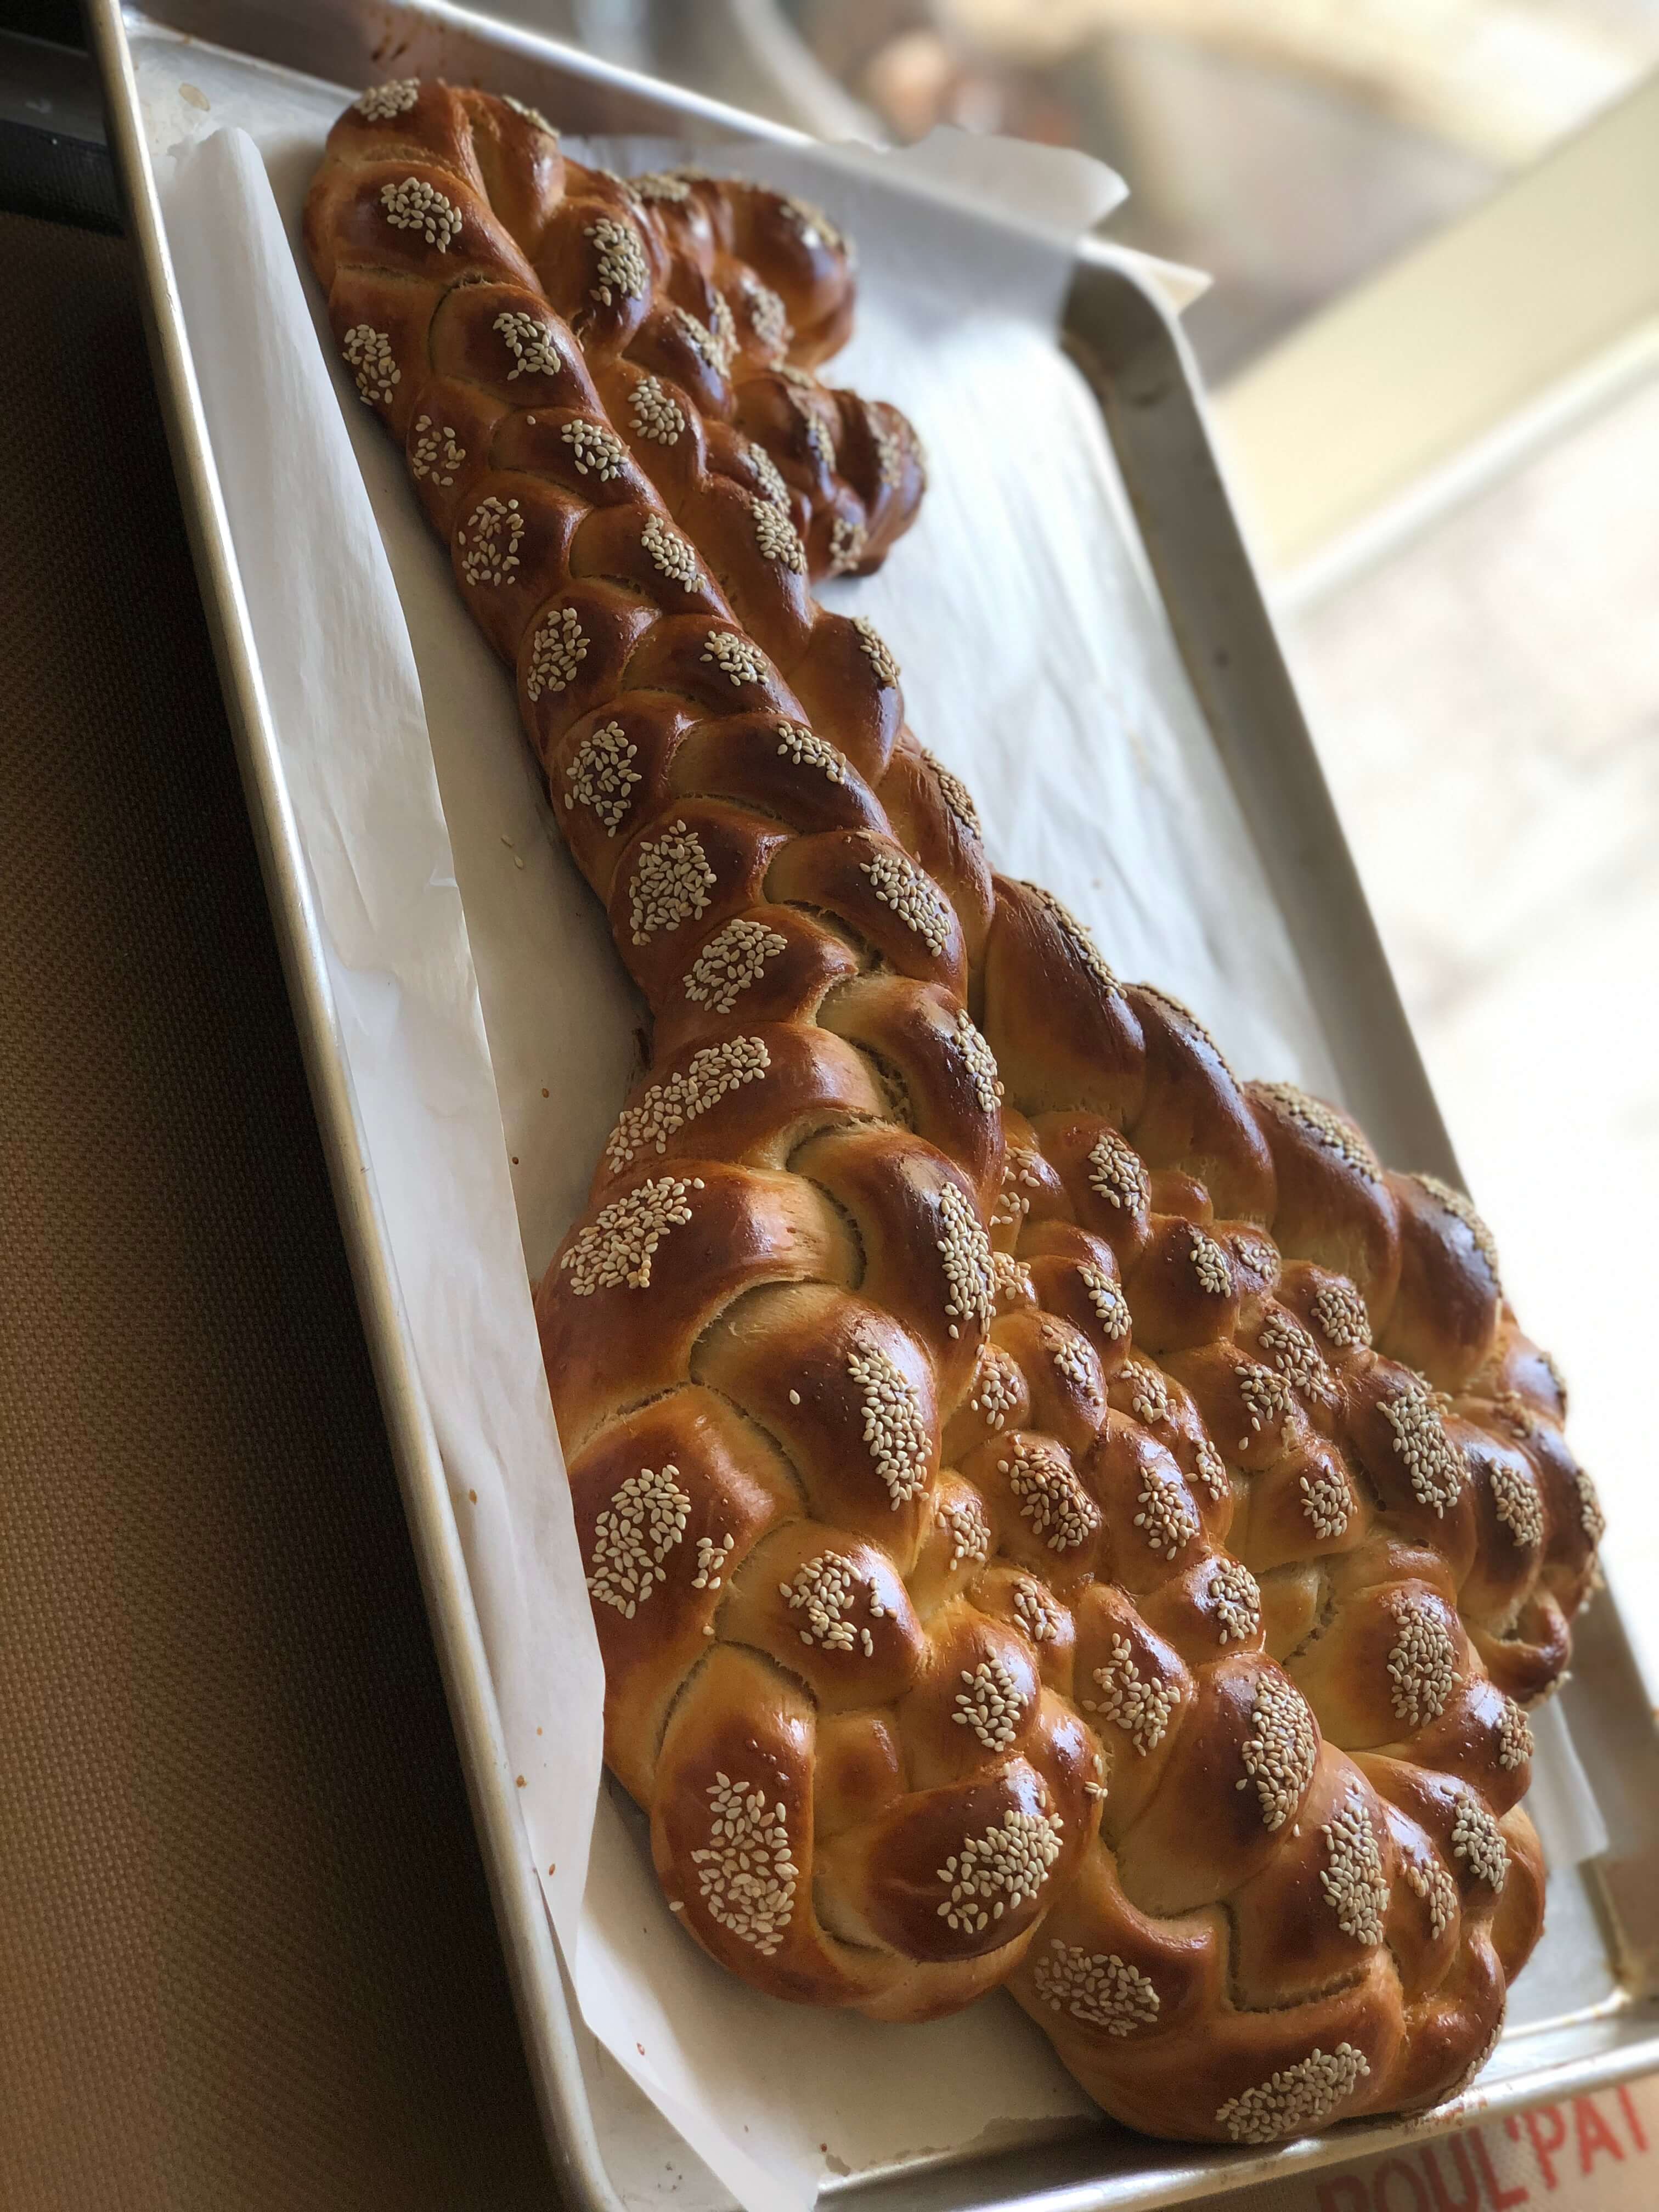
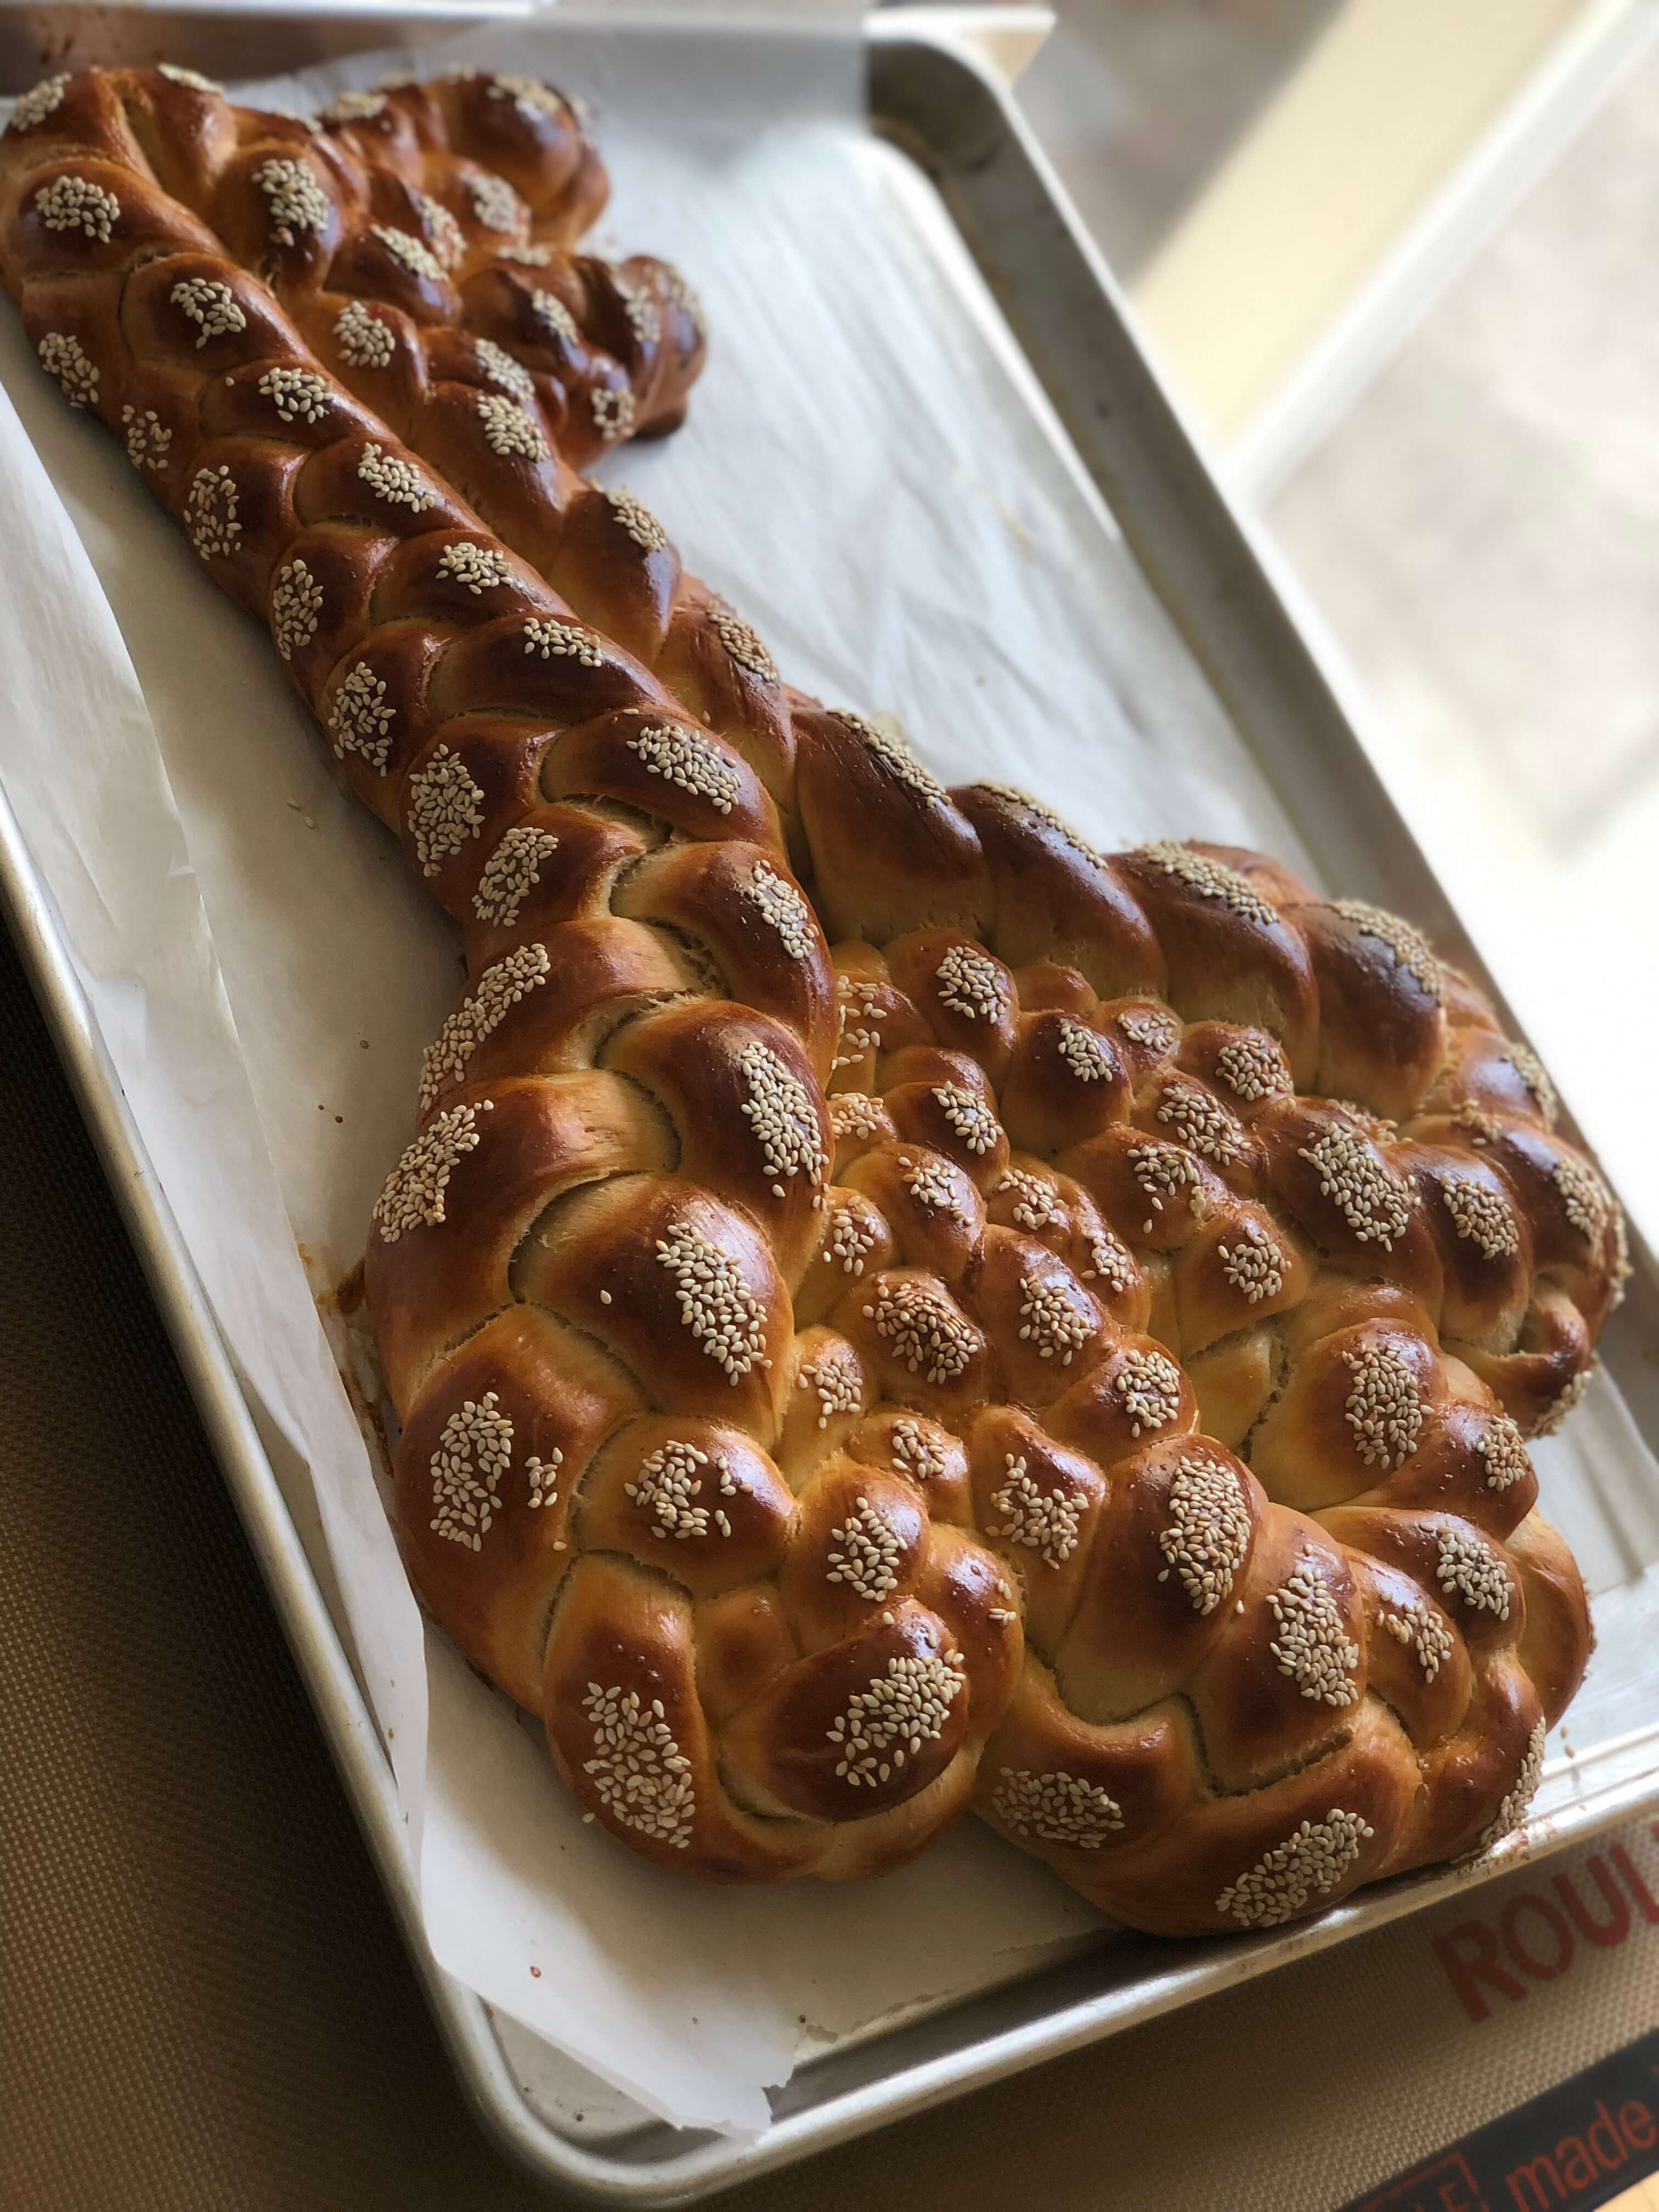
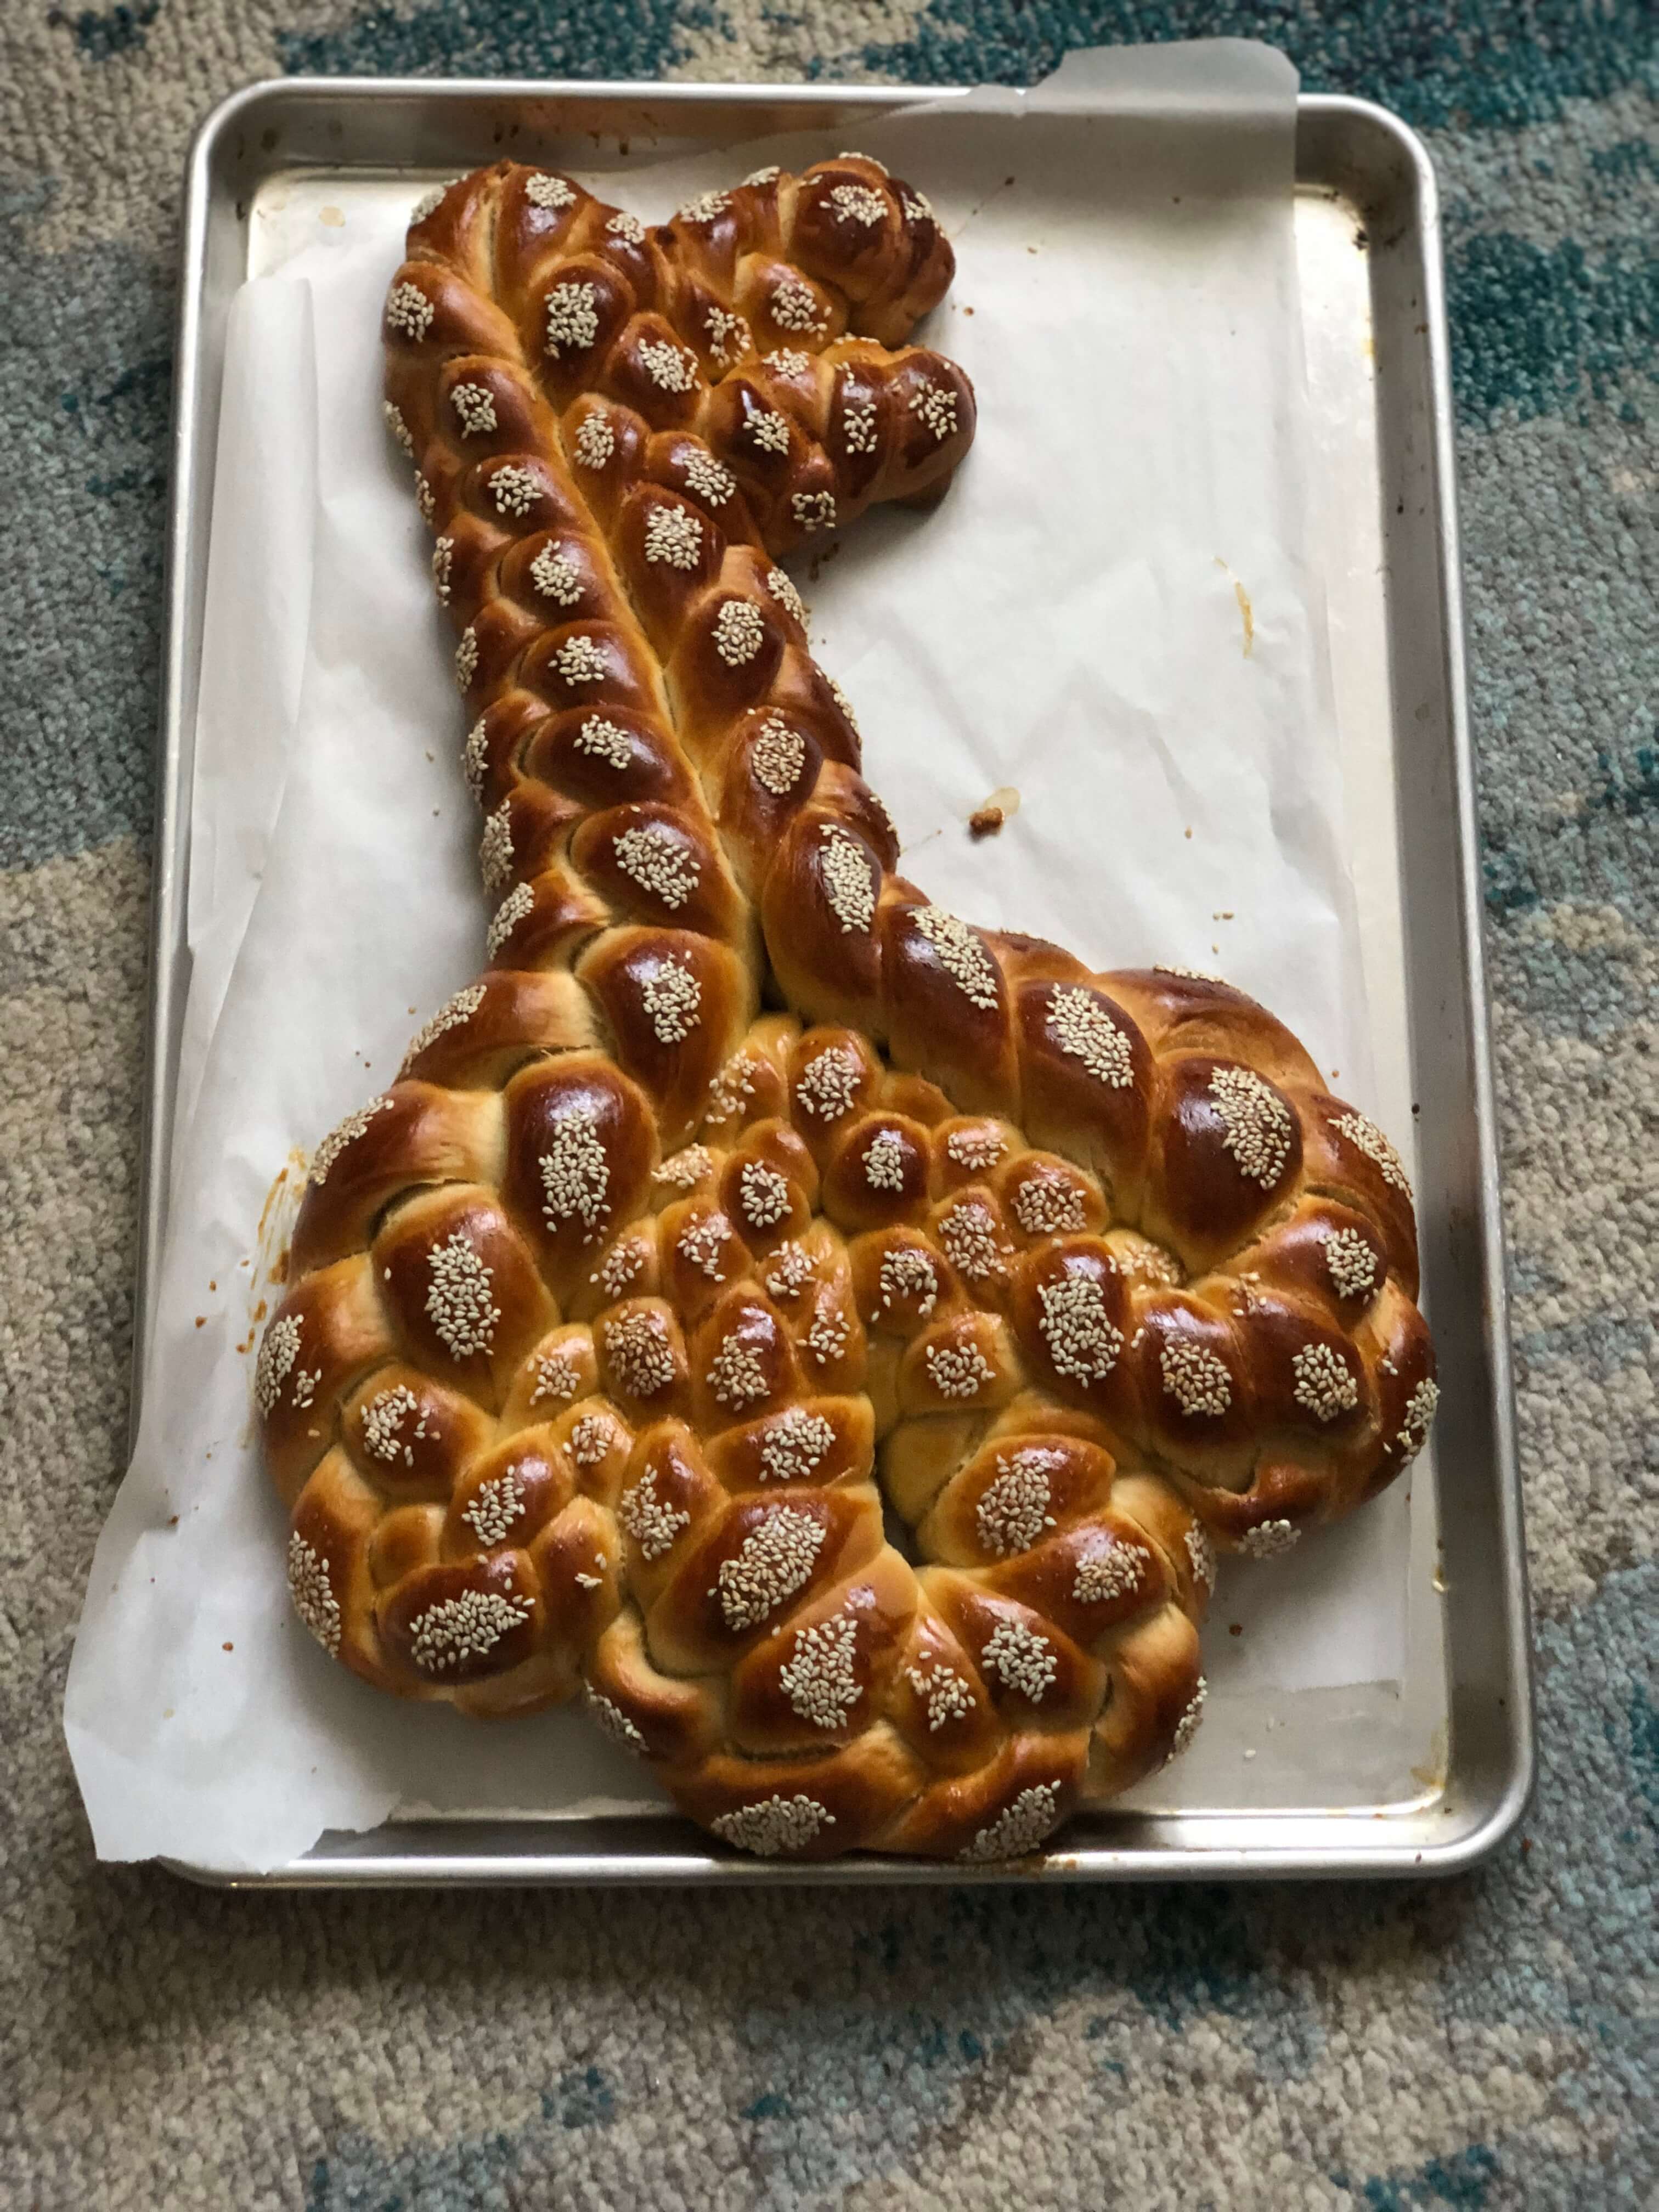
Baking shlissel challah today seems to have become a complicated art. Here’s a step-by-step guide to turn even a novice challah shaper into a locksmith-level key baker.
Step 1: Prep Work
Using your favorite challah recipe, prepare a batch of dough the night before. Divide the dough into balls based on the amounts given below and place on a greased baking sheet. Spray the tops of the dough balls with cooking spray or oil mist and cover with plastic wrap to make sure no air can get in. This keeps the dough balls from drying out and sticking to each other, as well as keeping the plastic from adhering. Refrigerate the dough balls overnight. About an hour before you’re ready to braid, remove the dough from the
fridge and allow it to come to room temperature. This will make it easier to work with.
NOTE: Your dough balls don’t have to be the exact weights given below, but to get this look, keep them approximately the right size.
Step 2: Braiding and Shaping
Challah #1
YOU WILL NEED:
- 3 7–oz (200-g) dough balls for the body of the key
- 3 5-oz (140-g) dough balls for the crown (loop/top of key)
- 3 4-oz (110-g) balls for the teeth
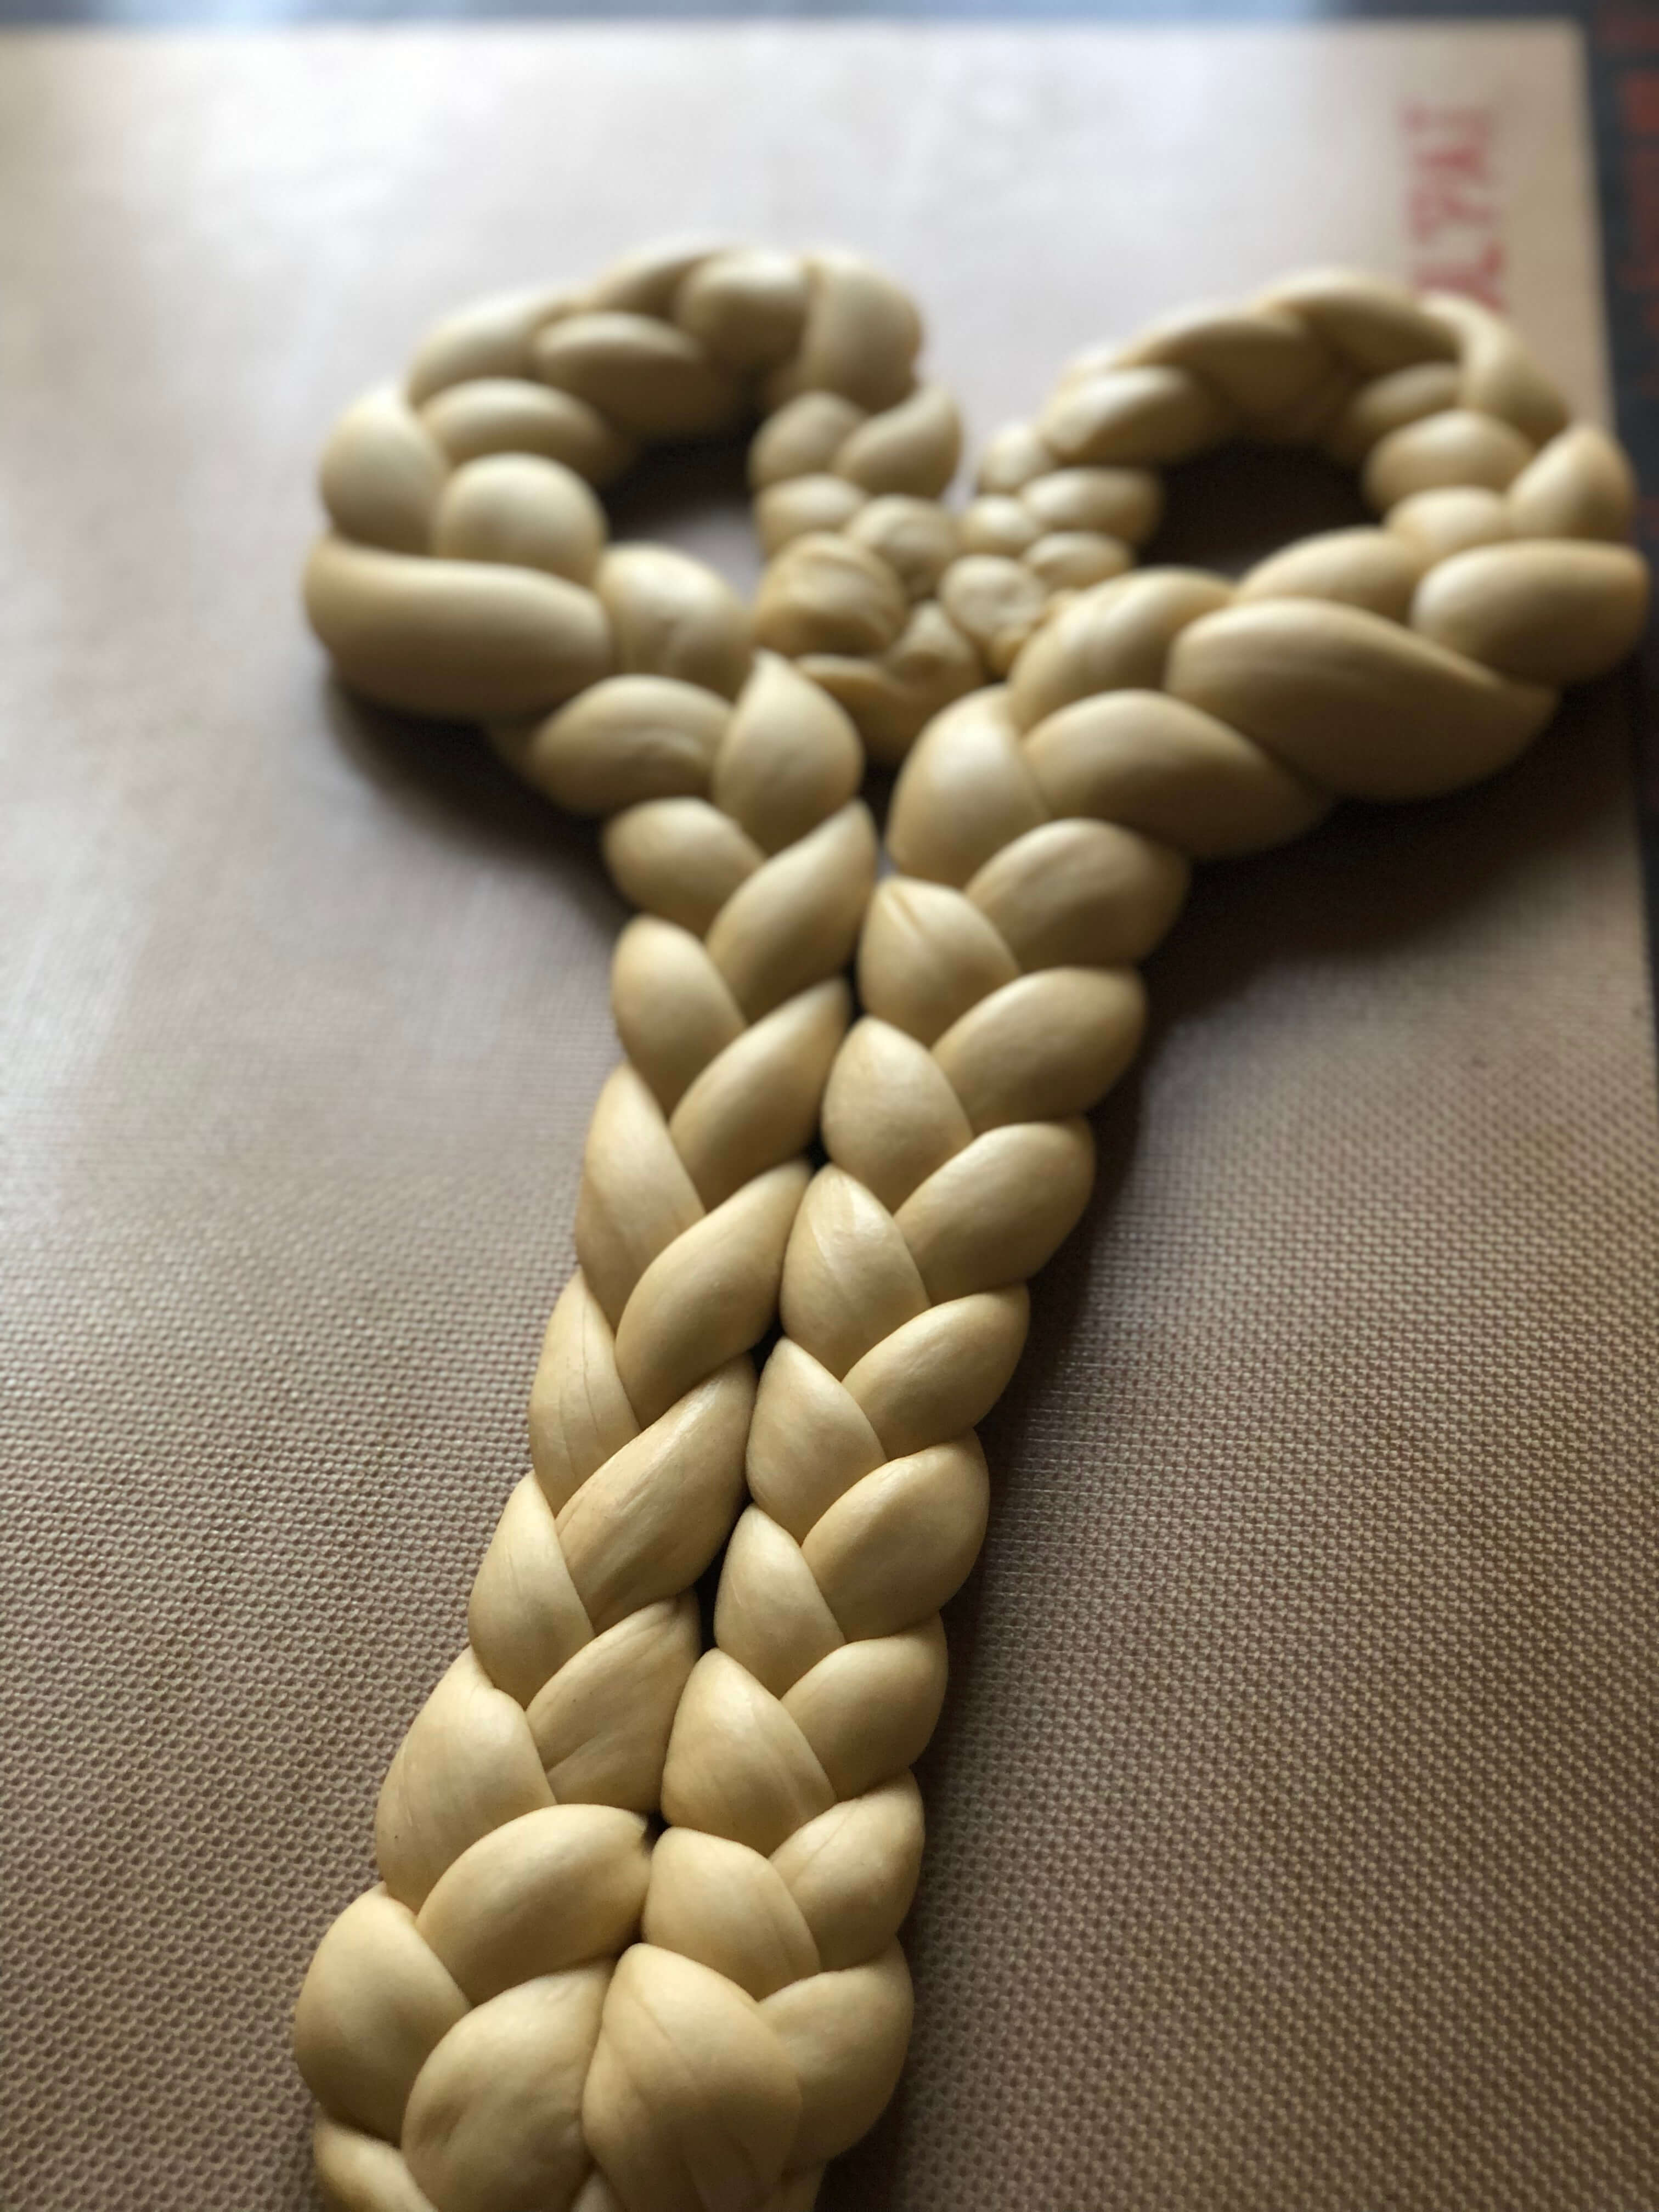
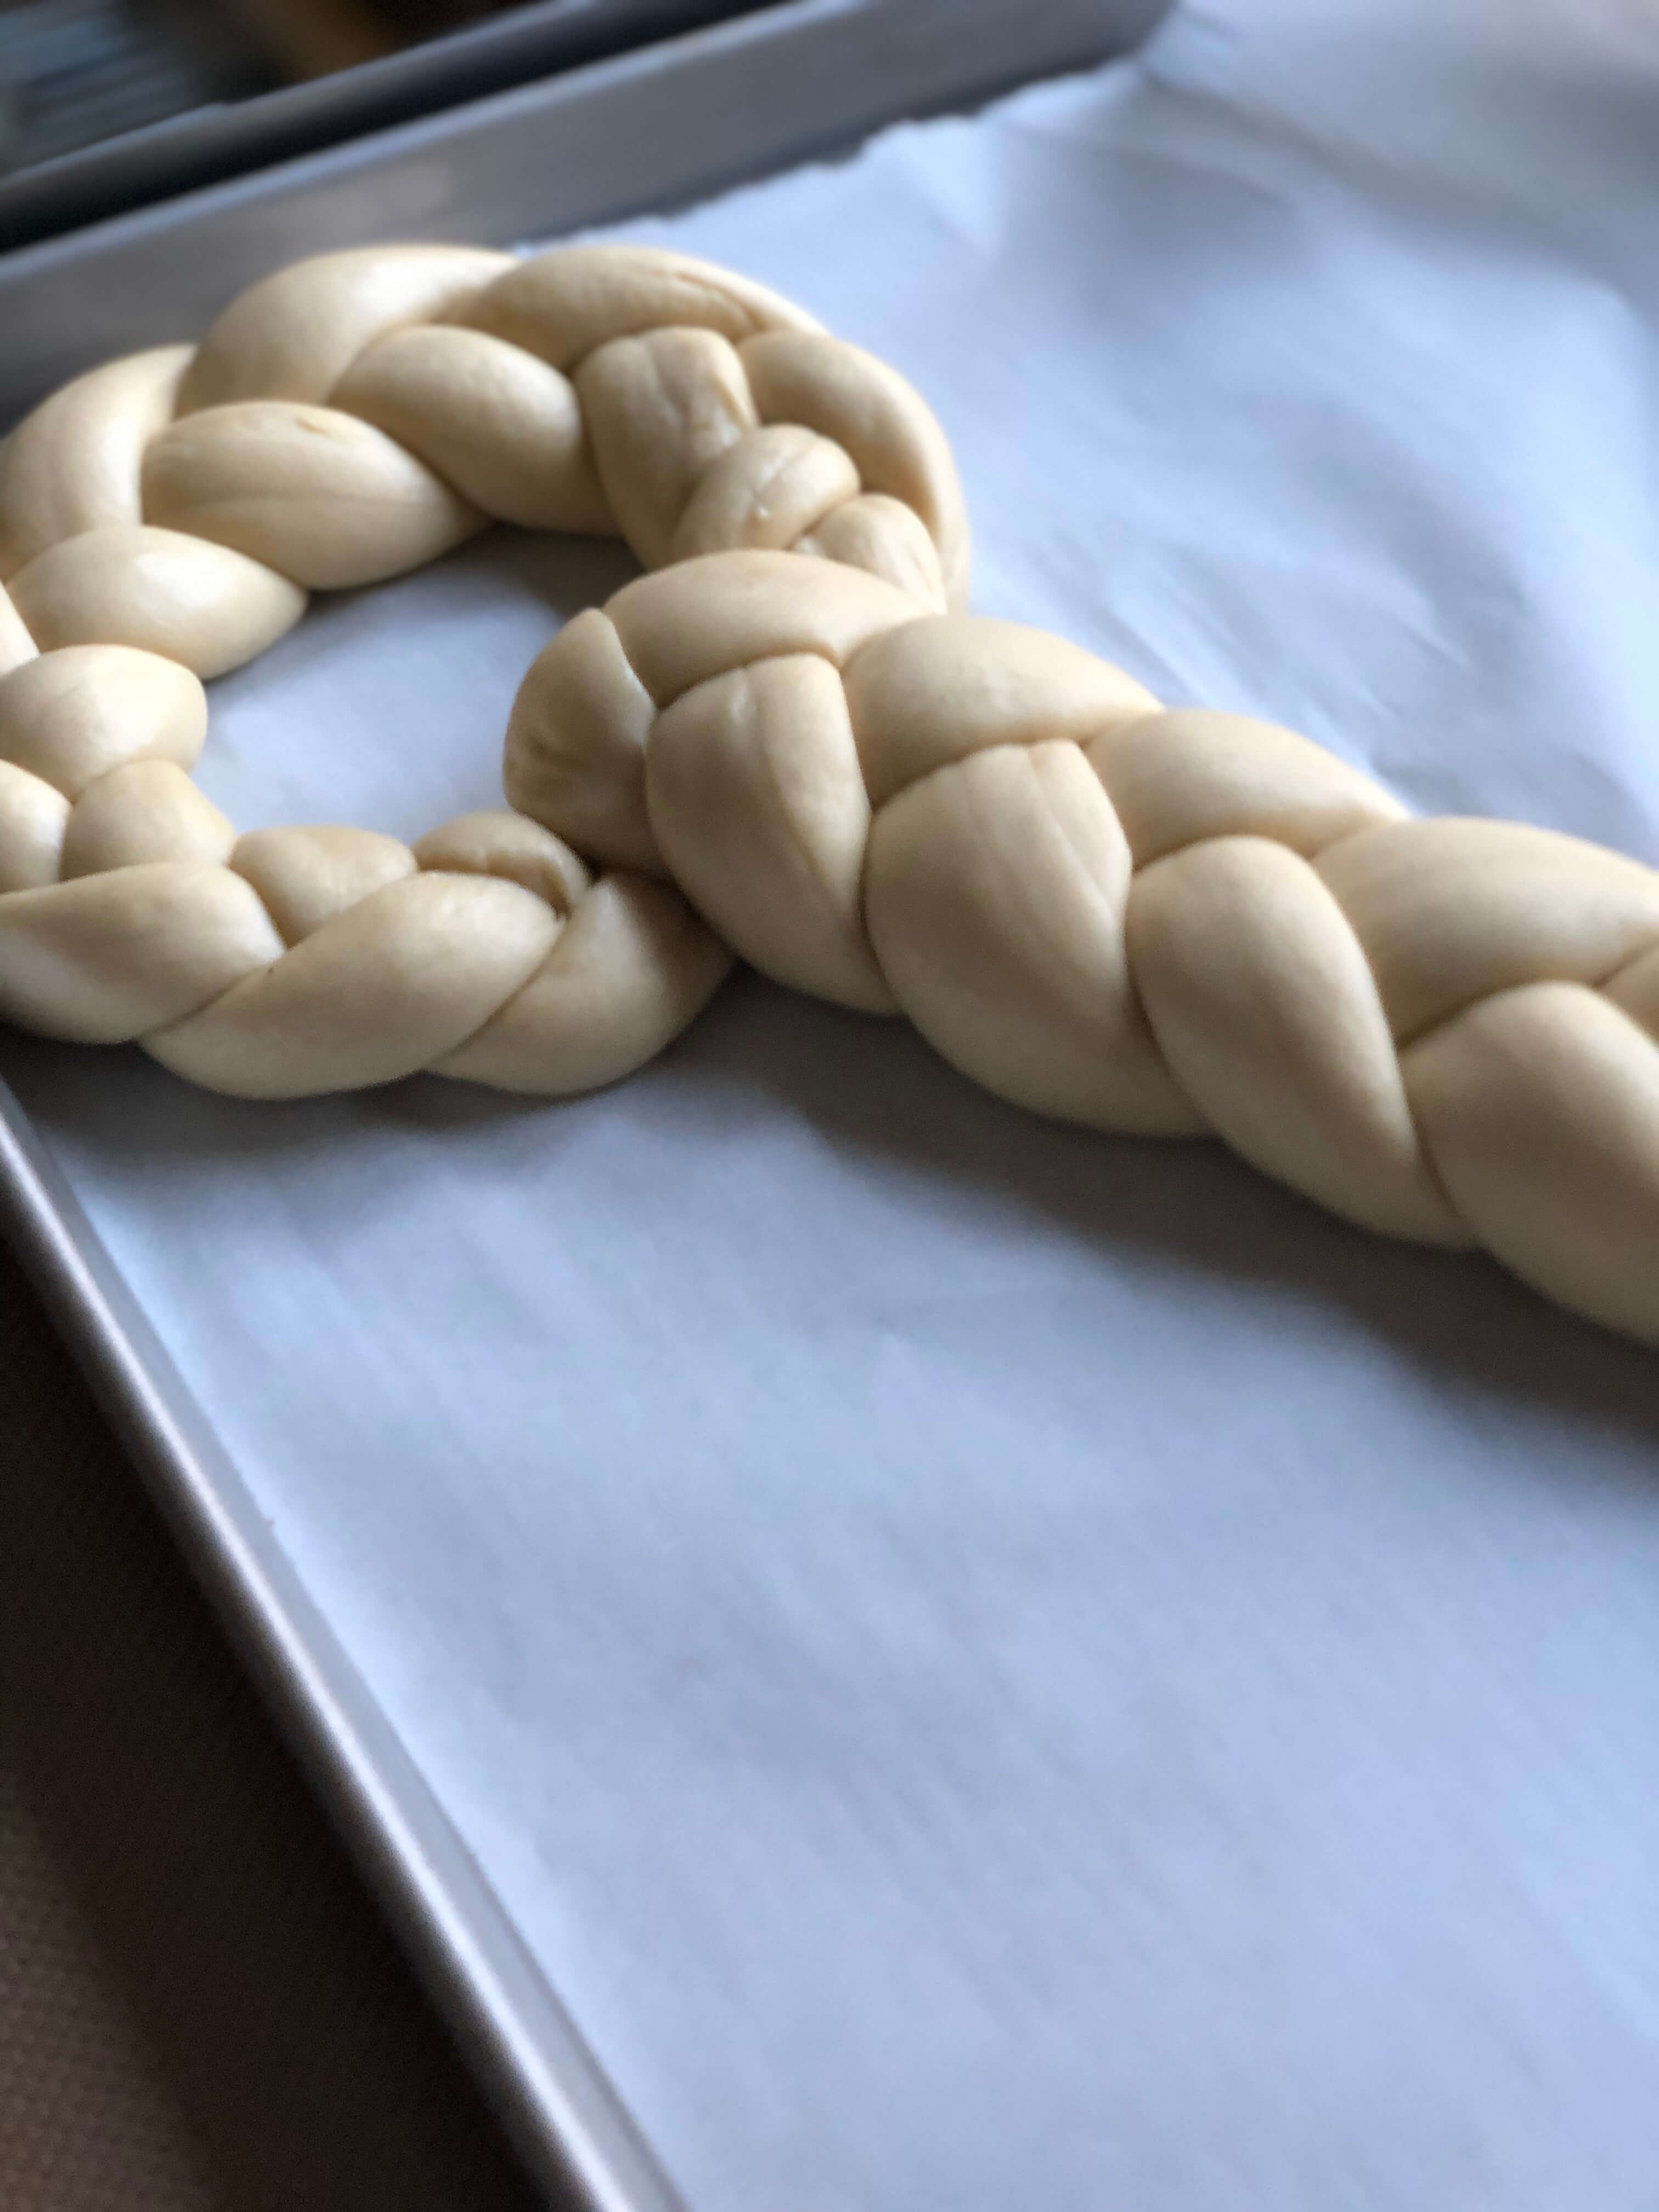
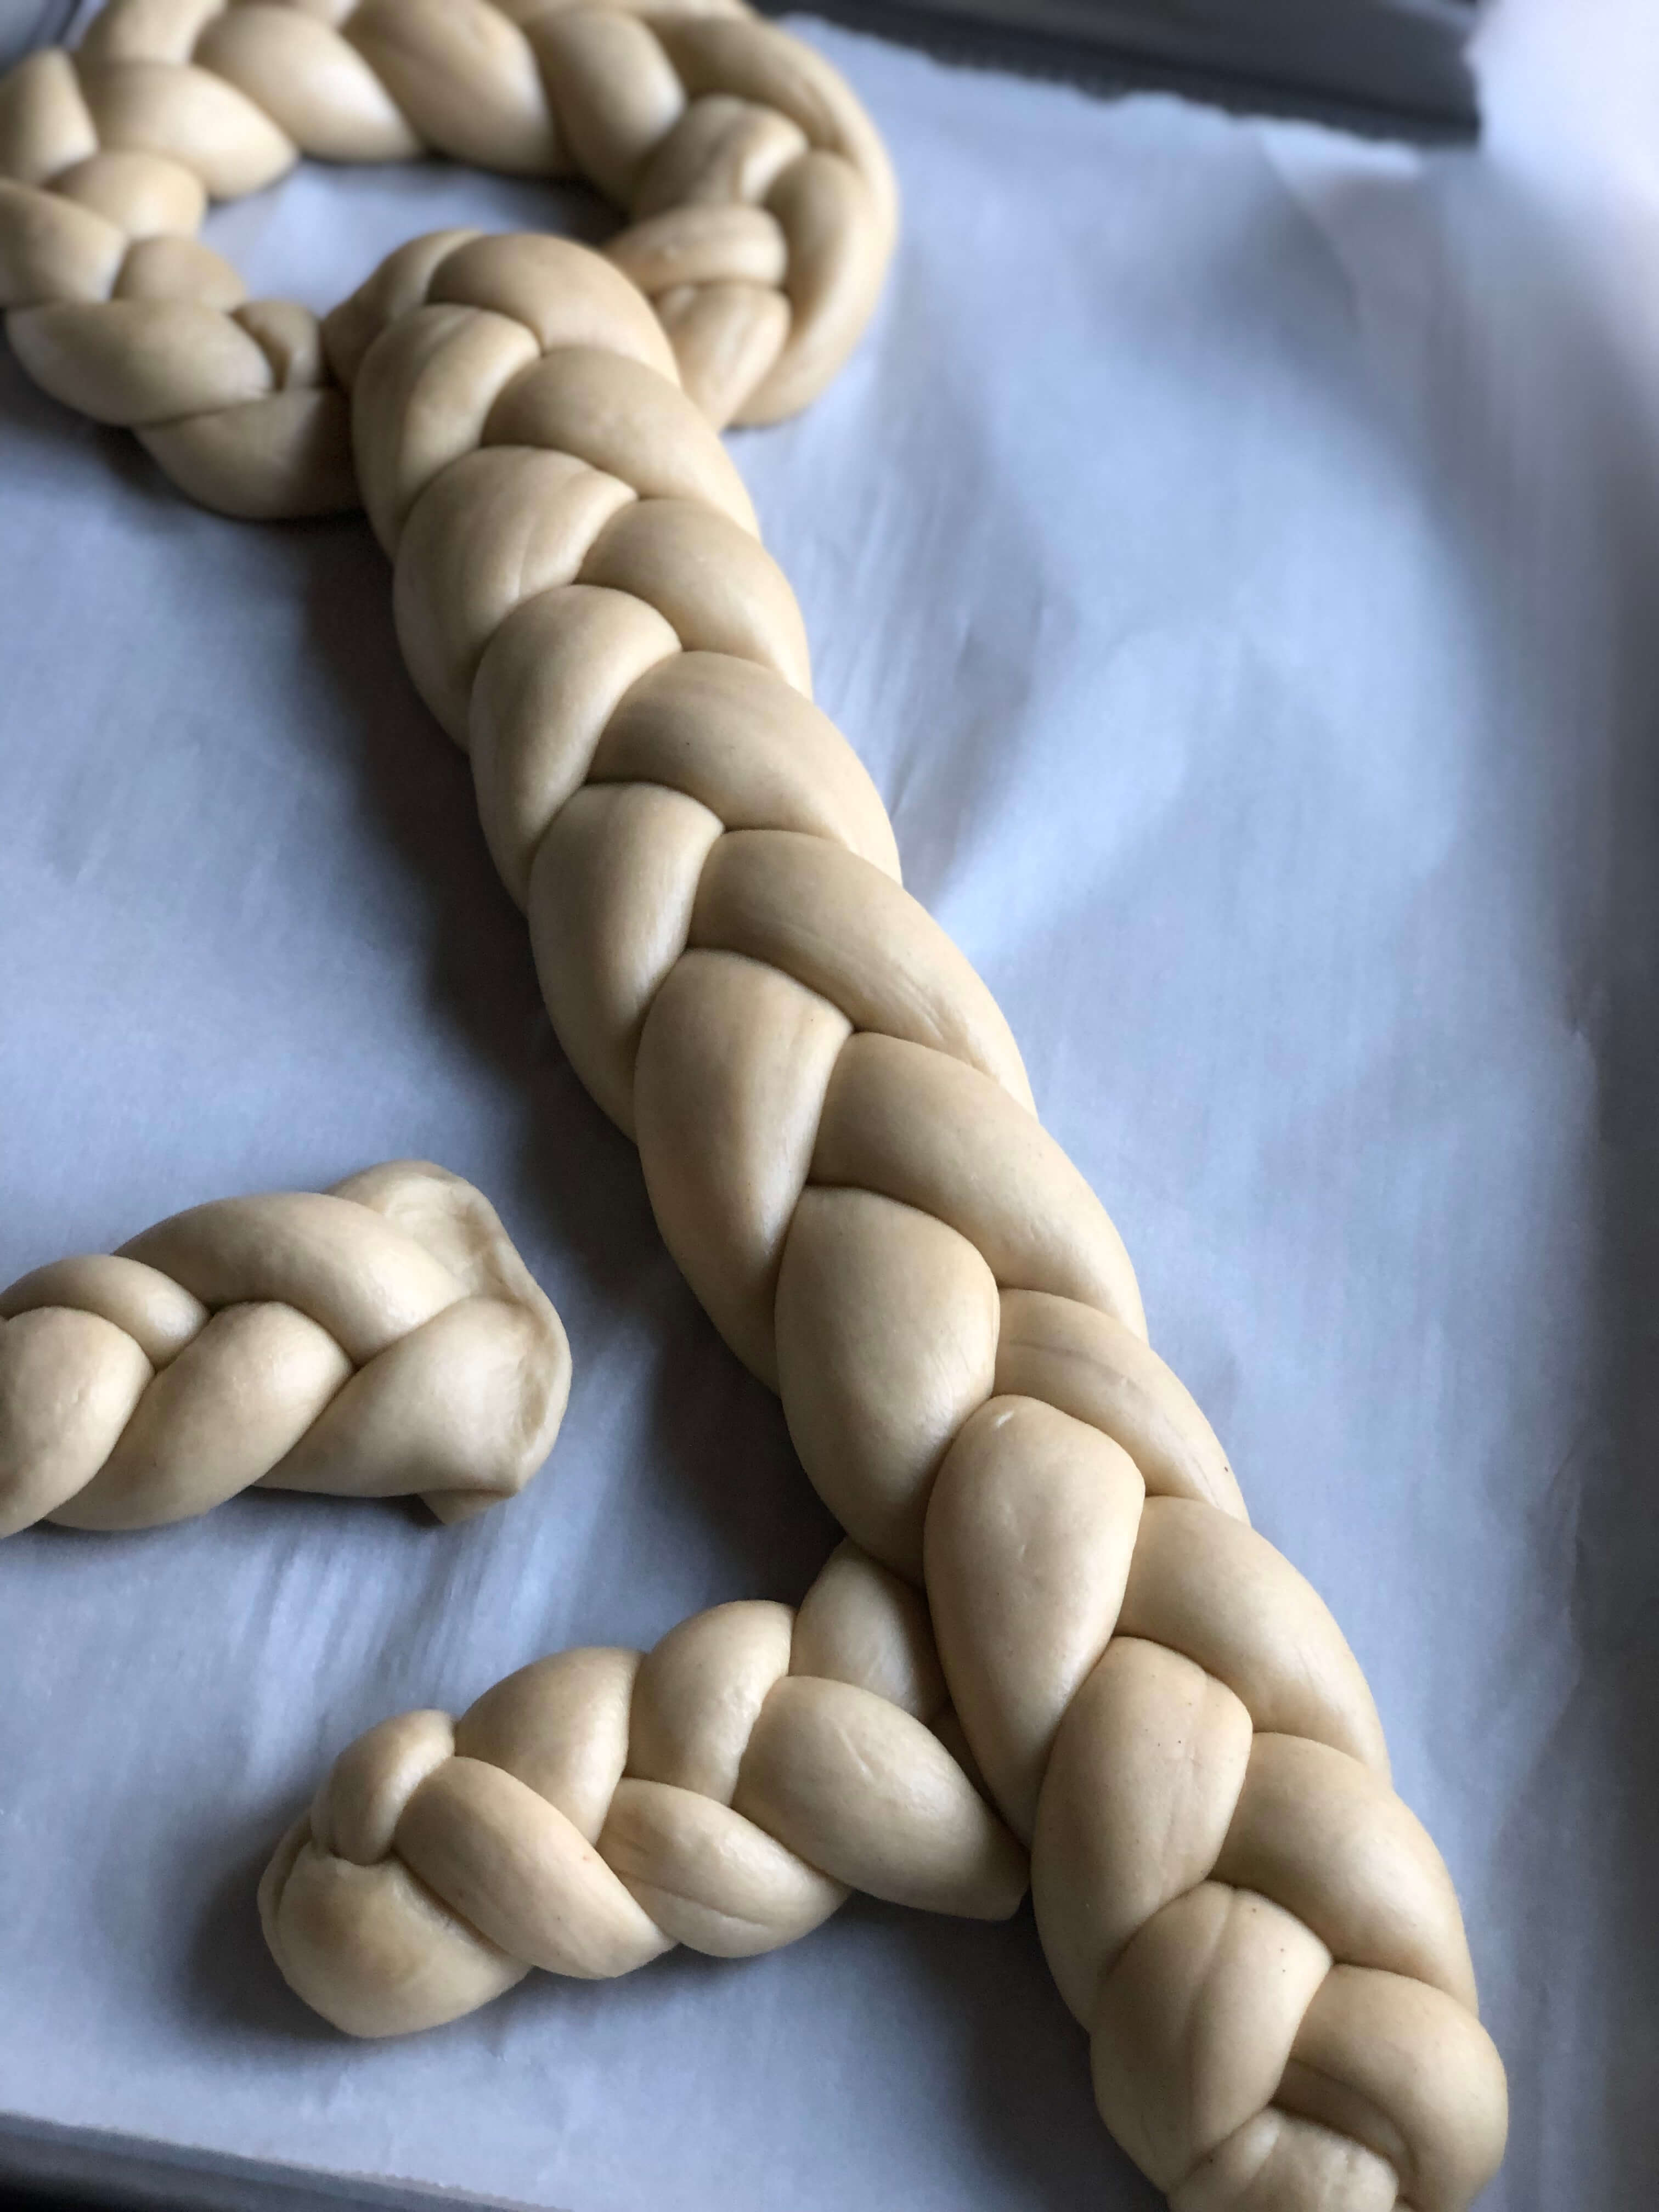
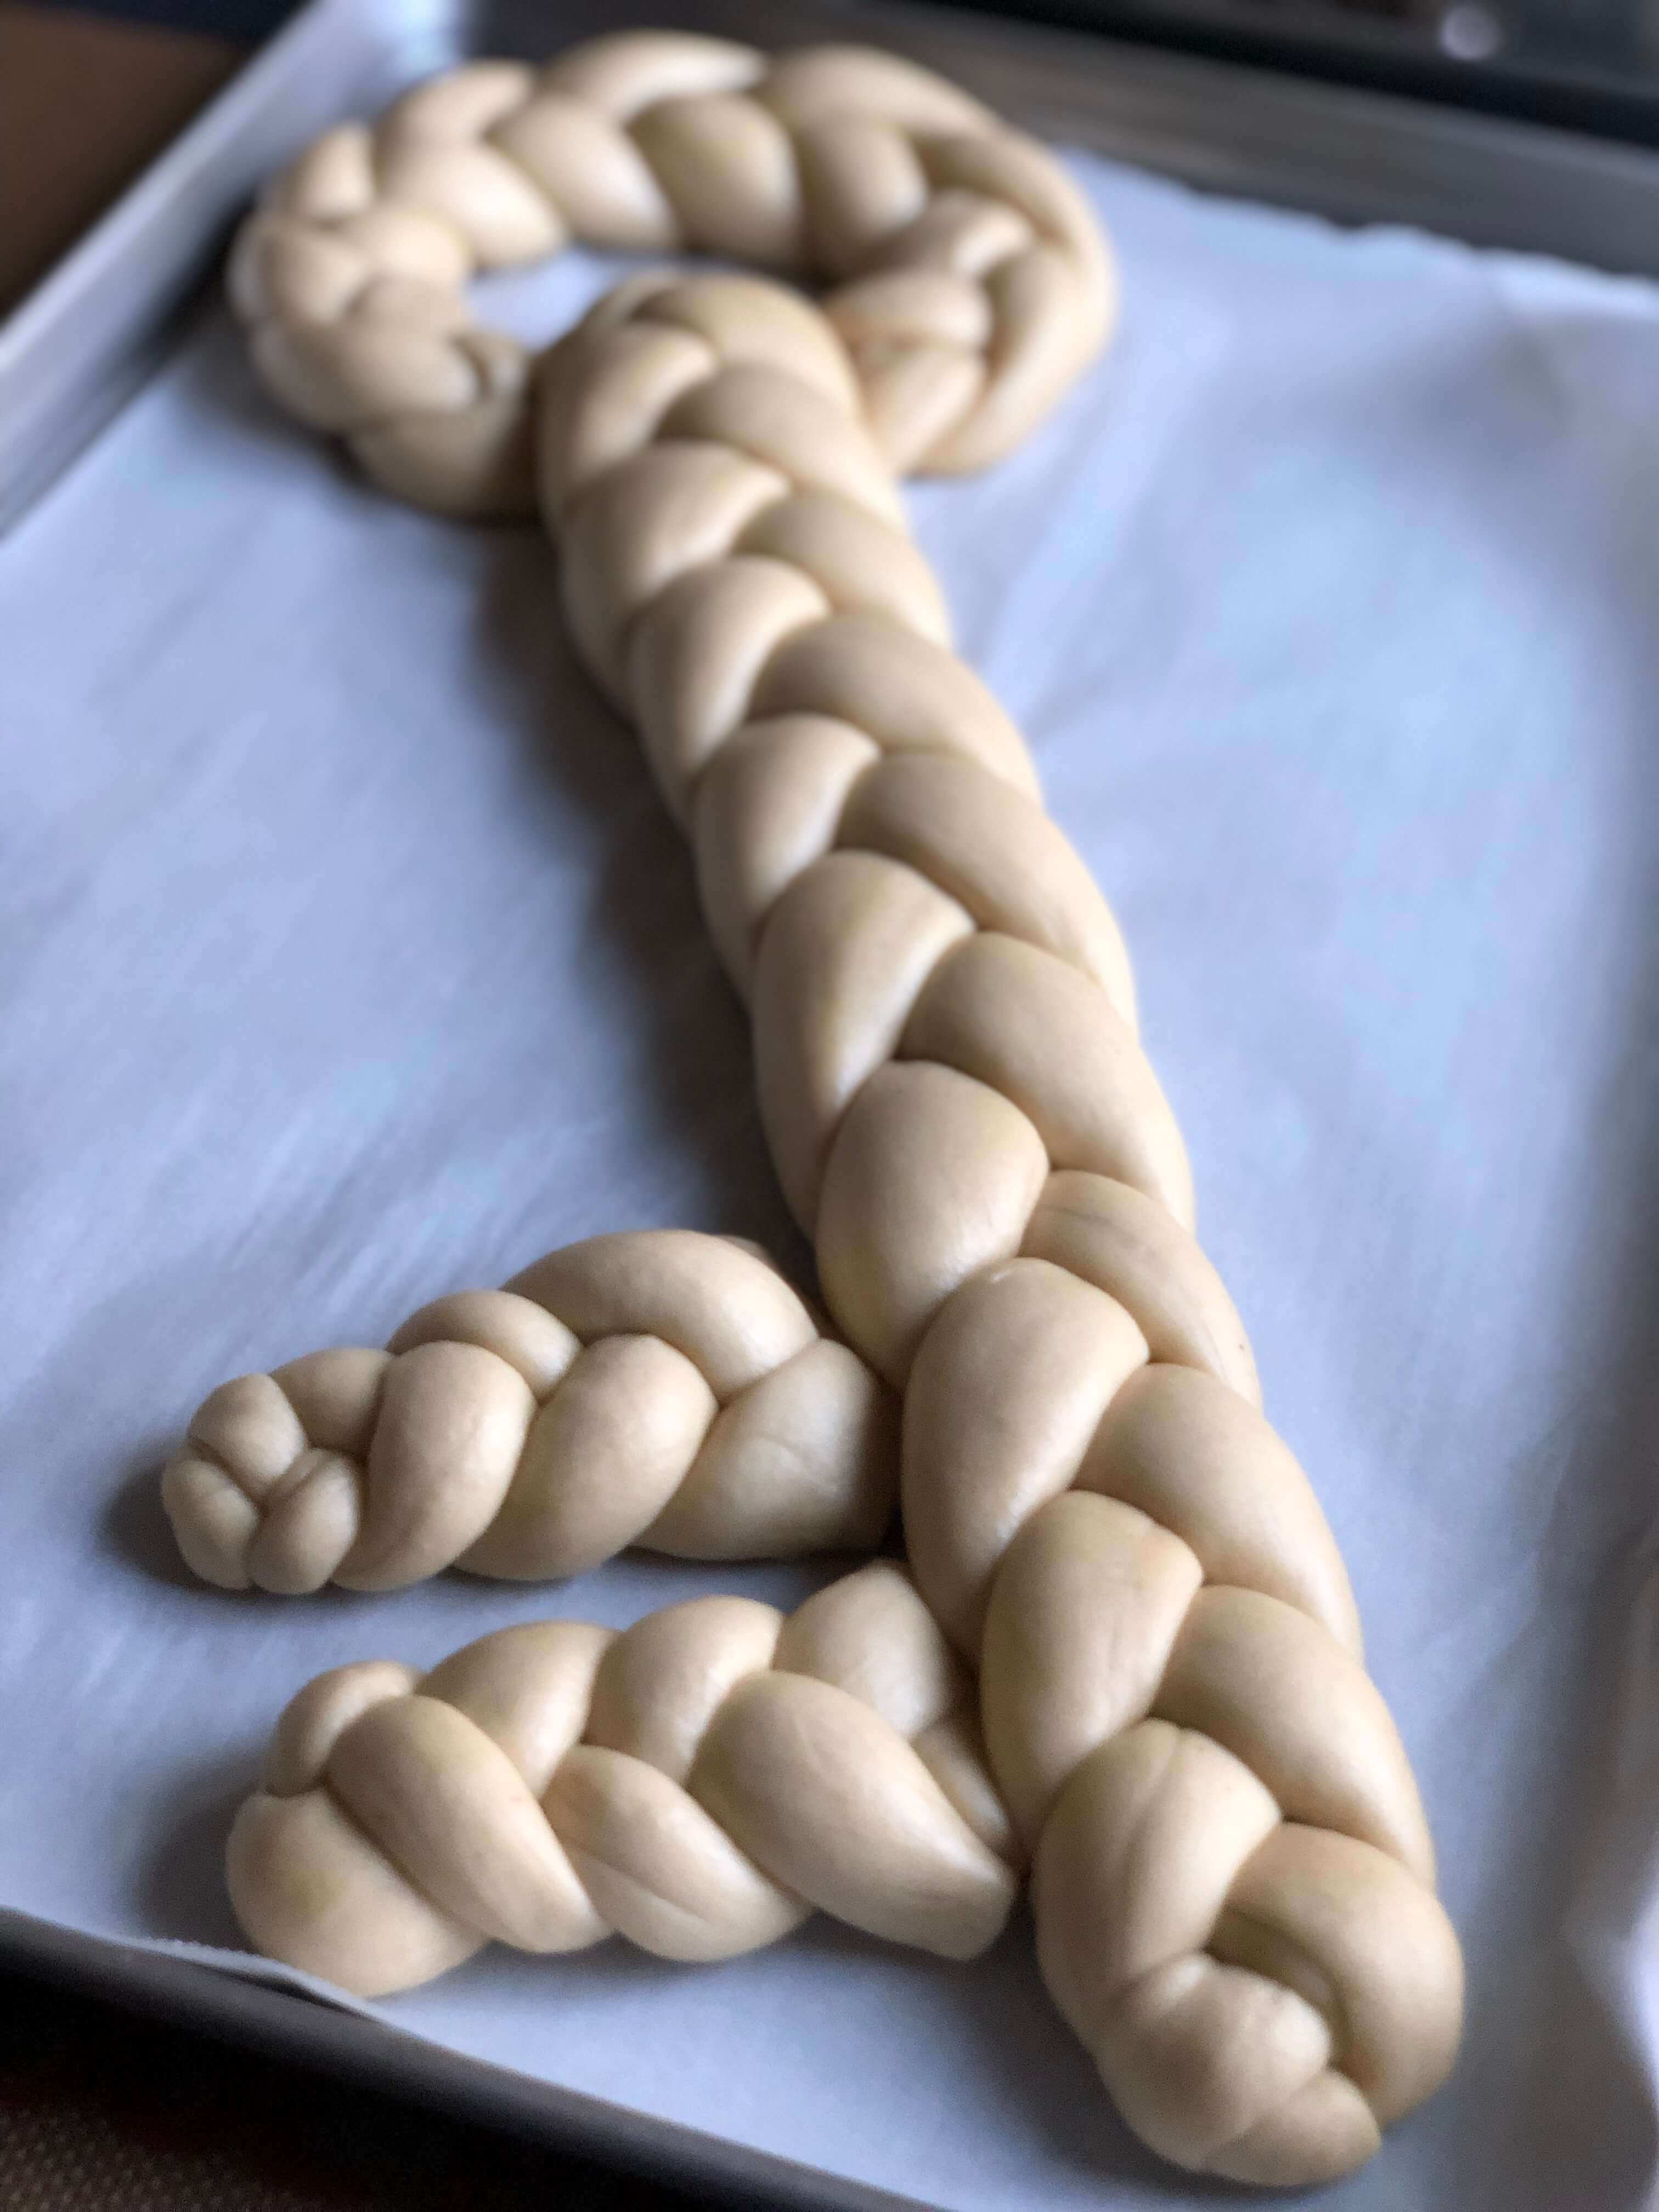
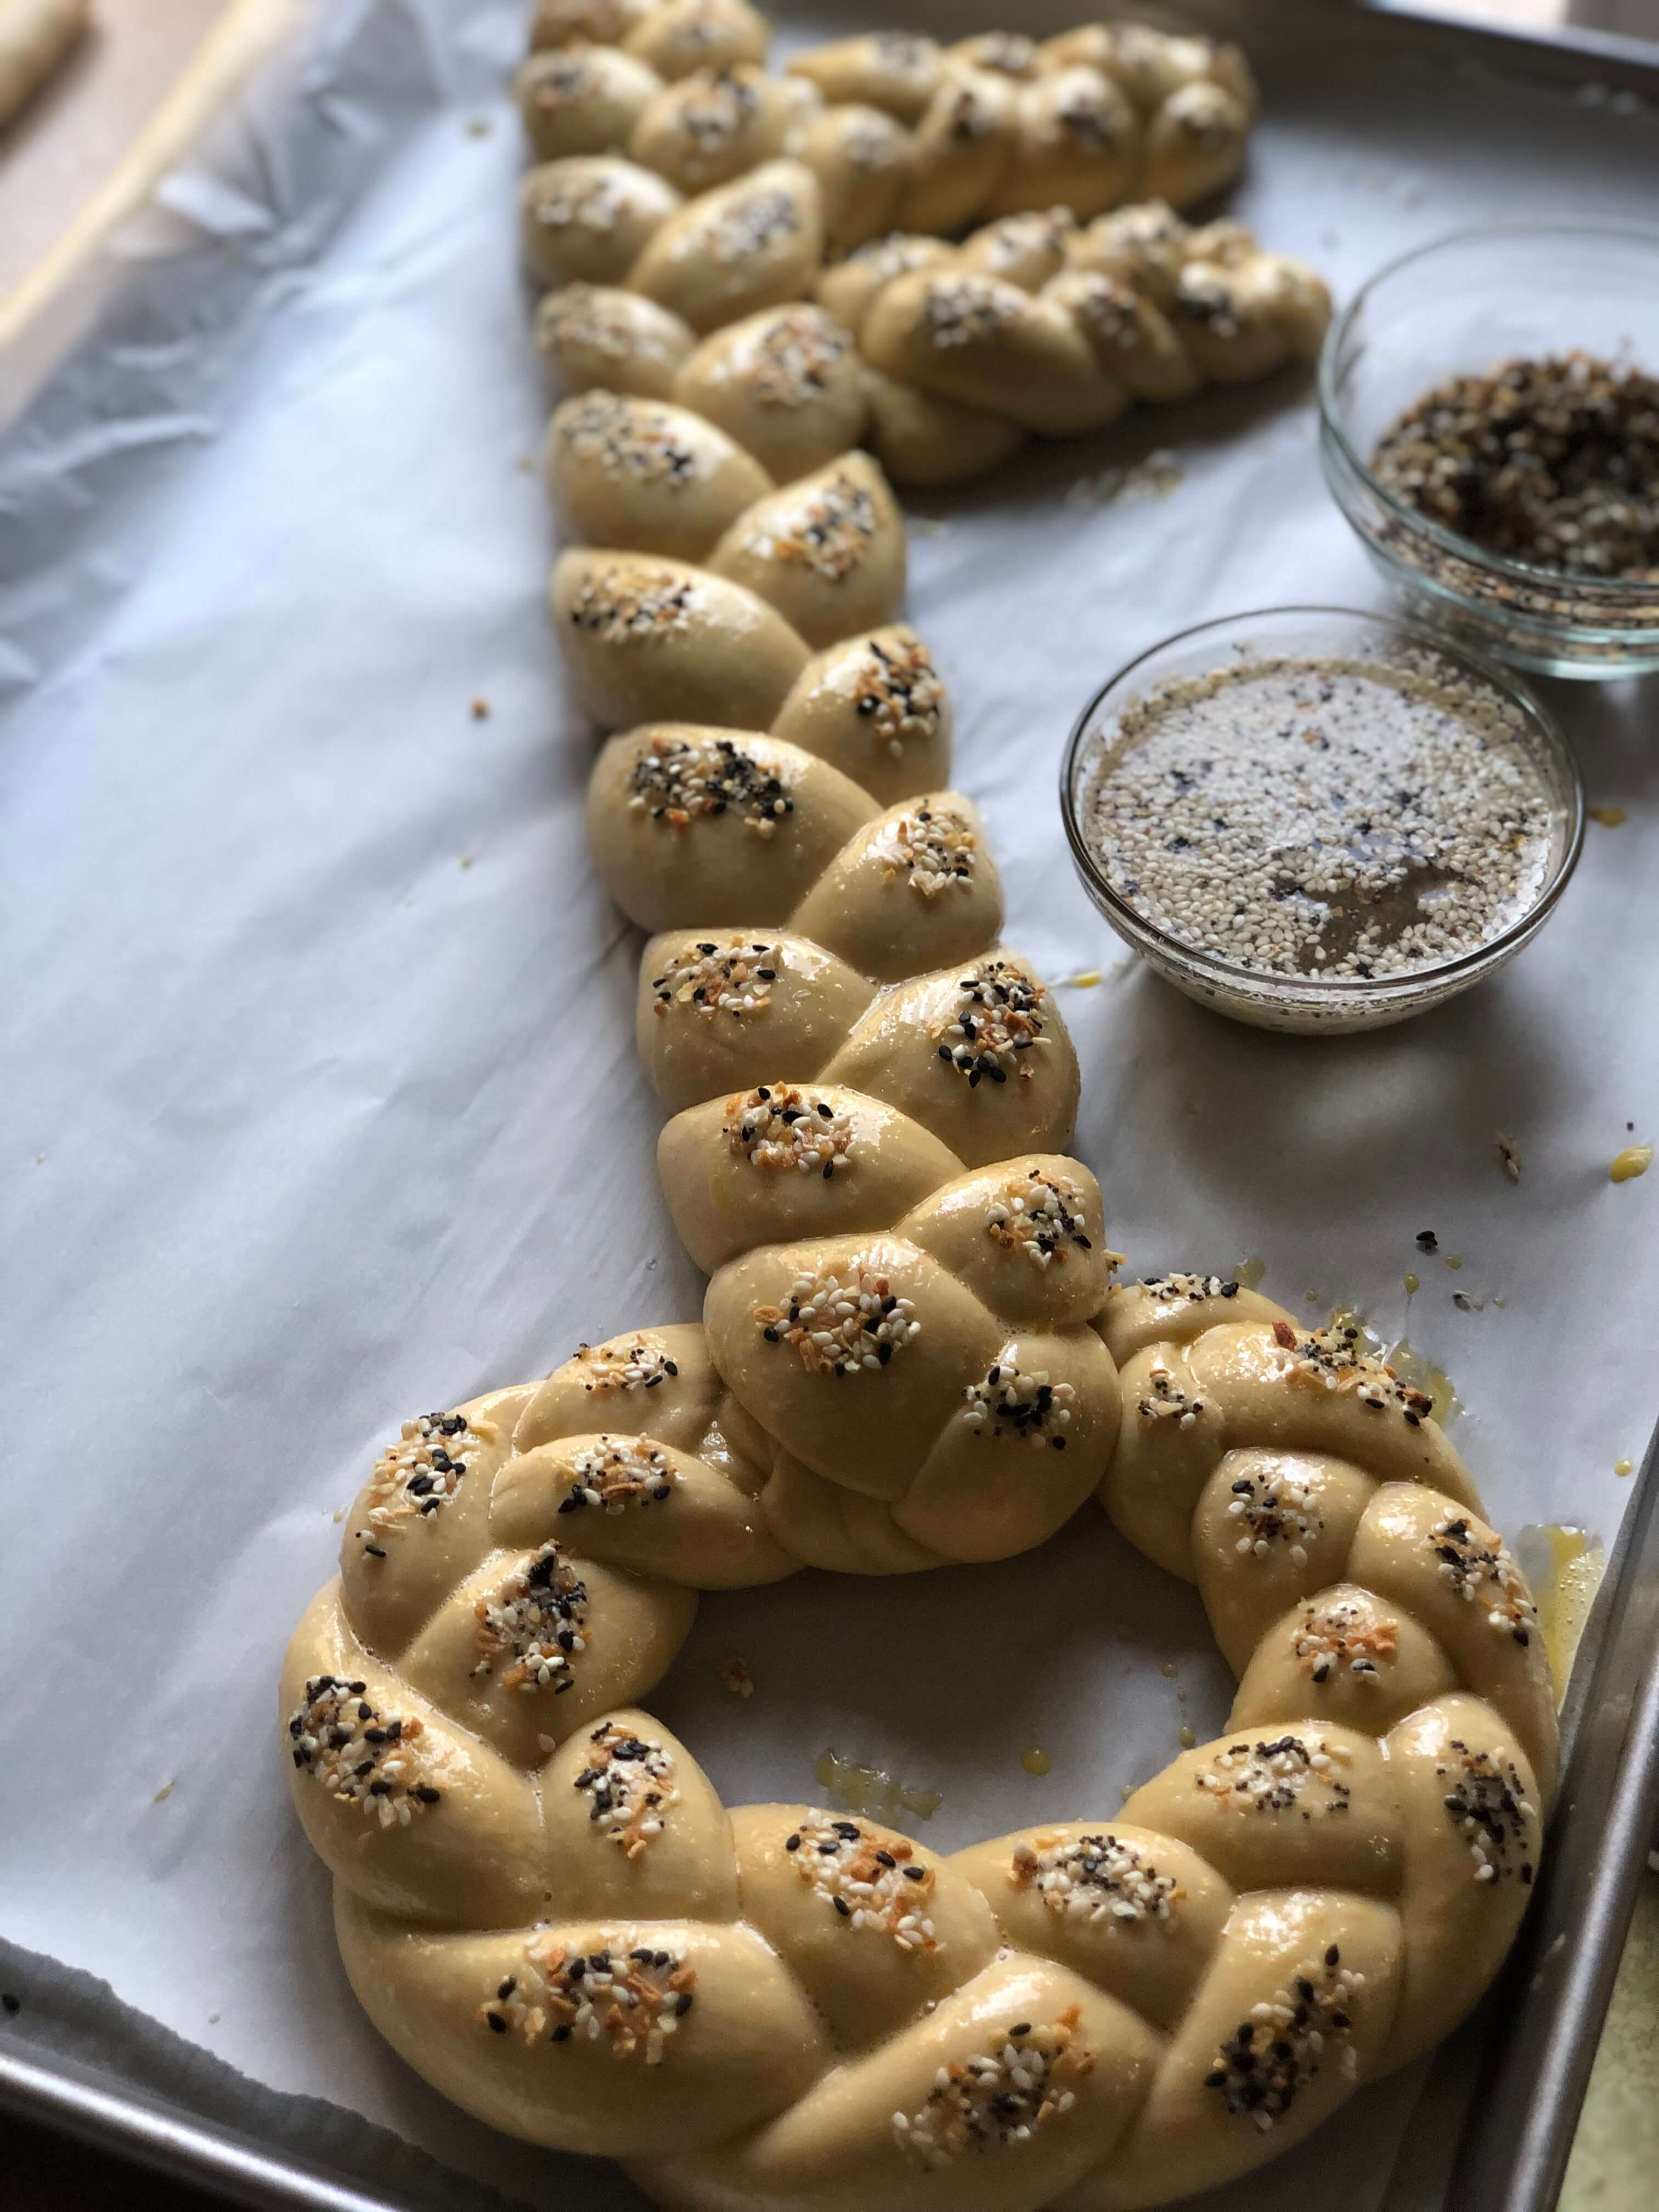
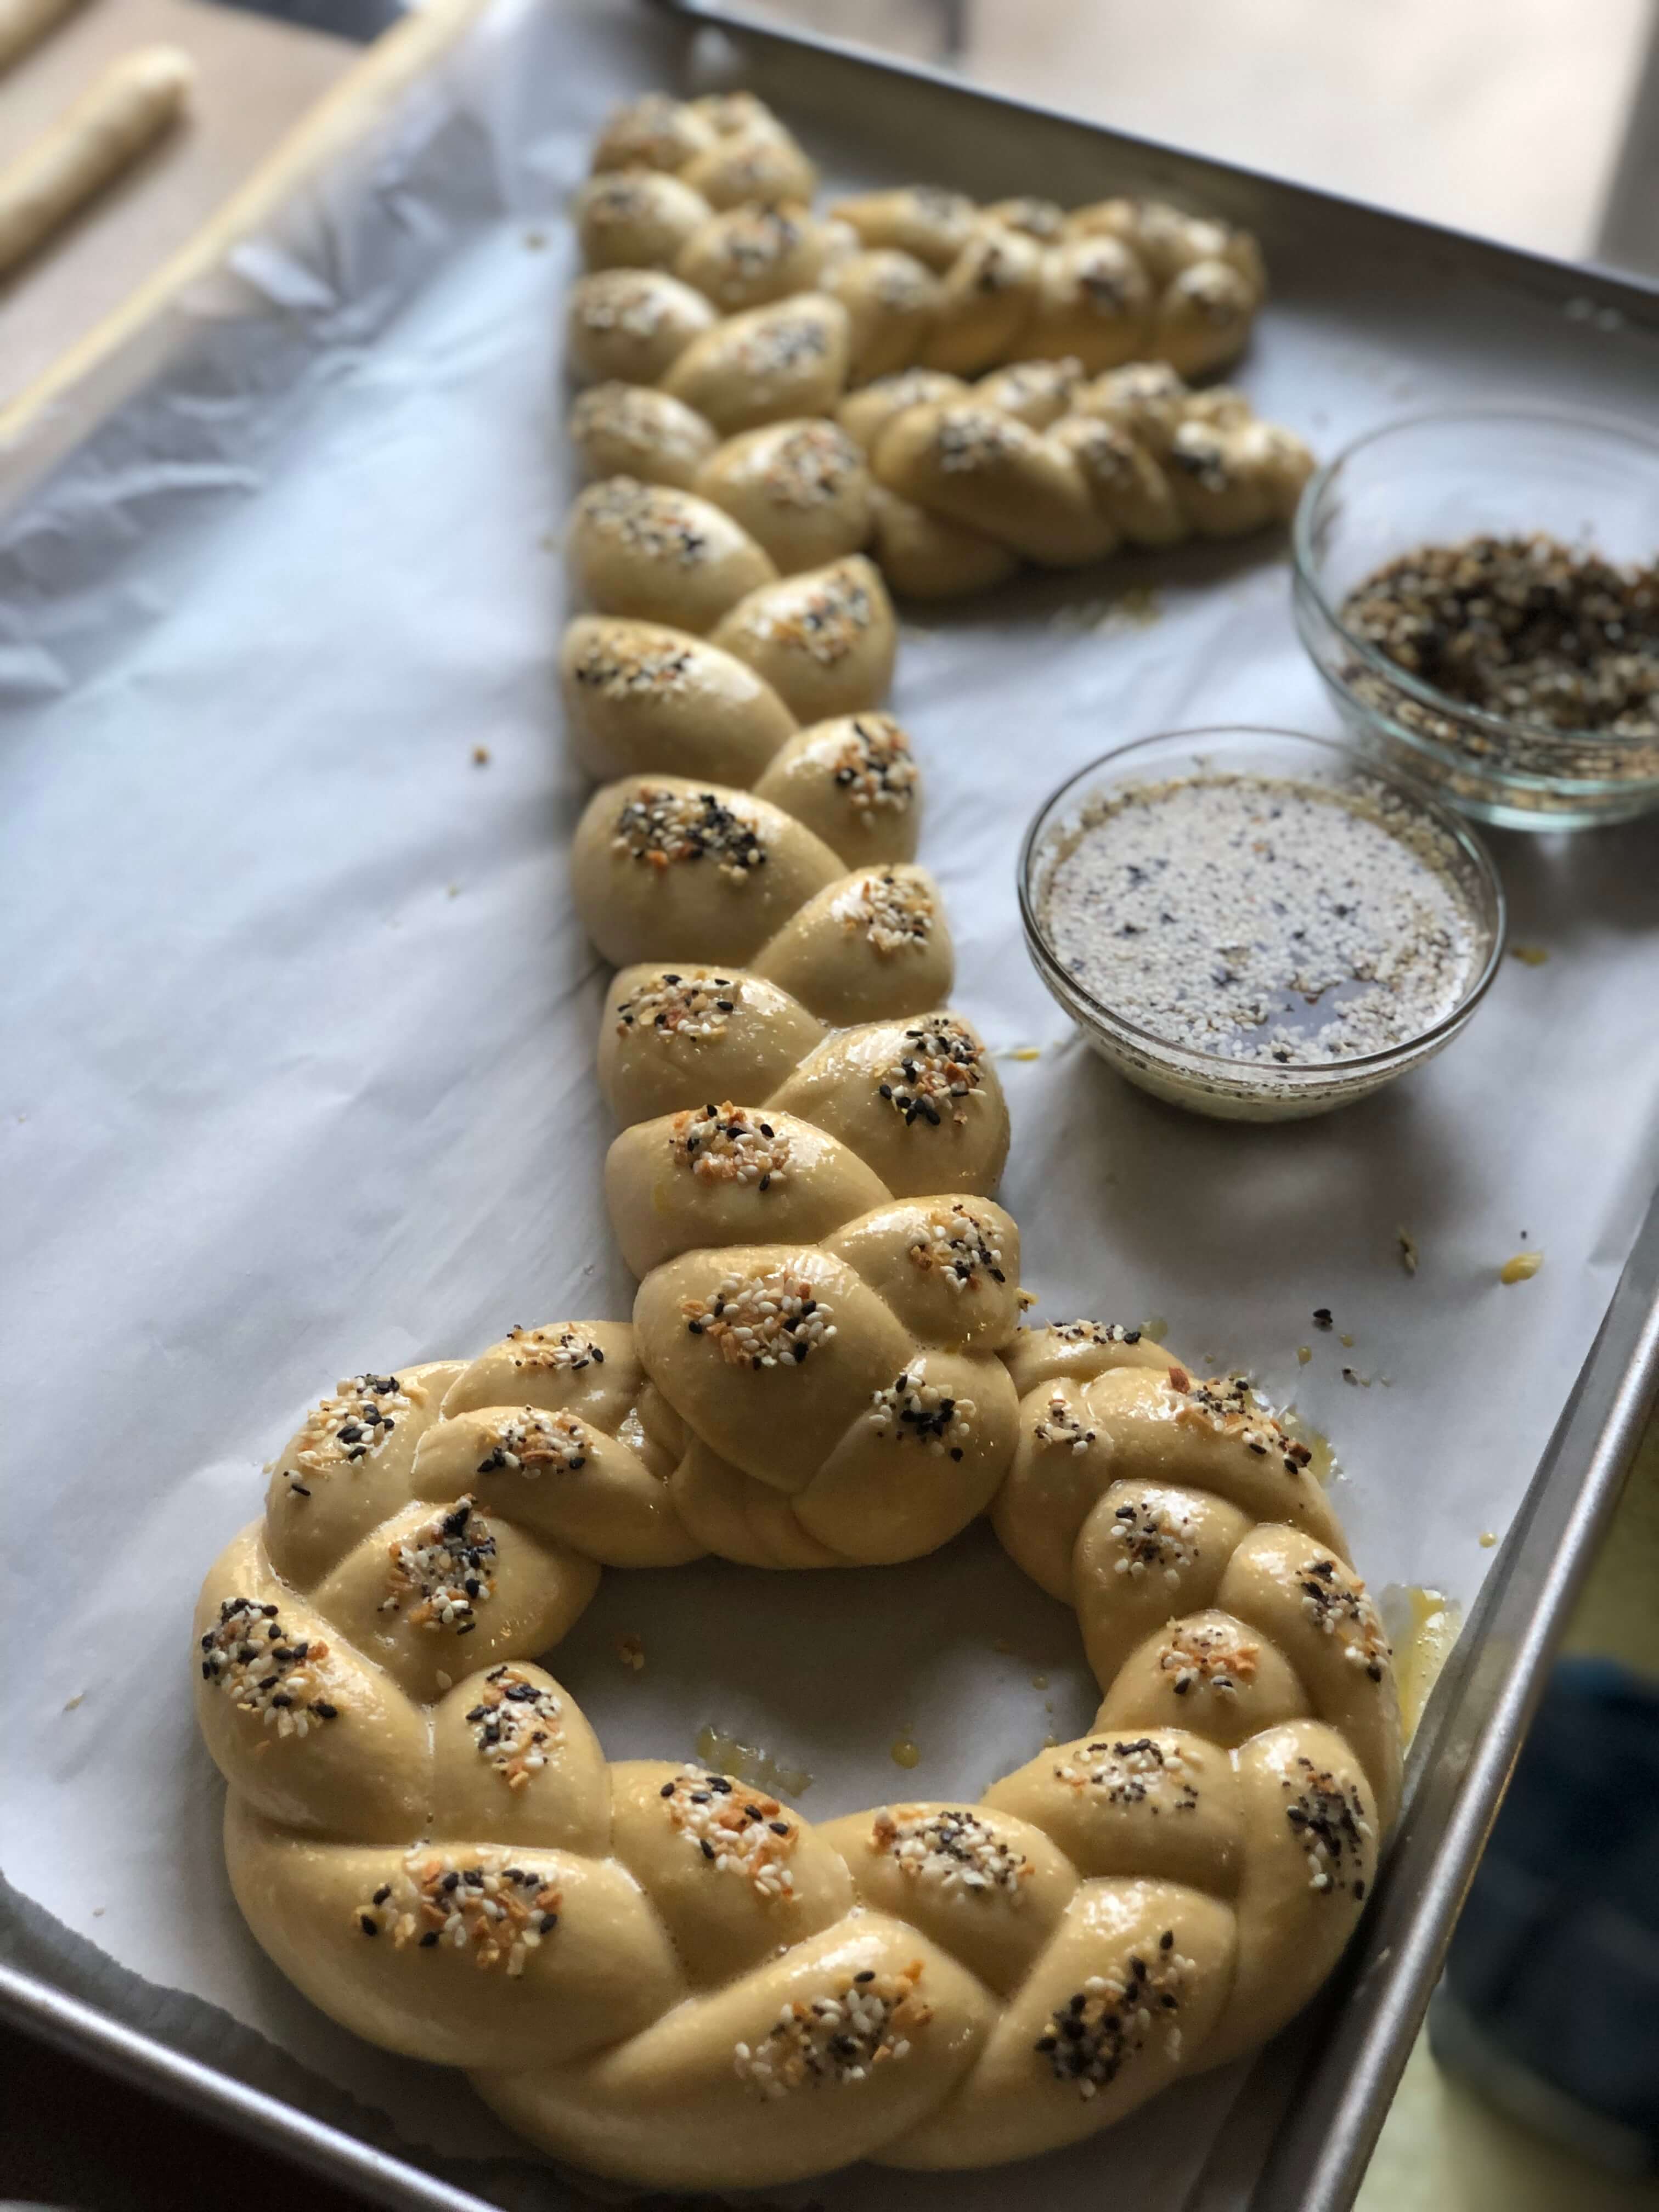
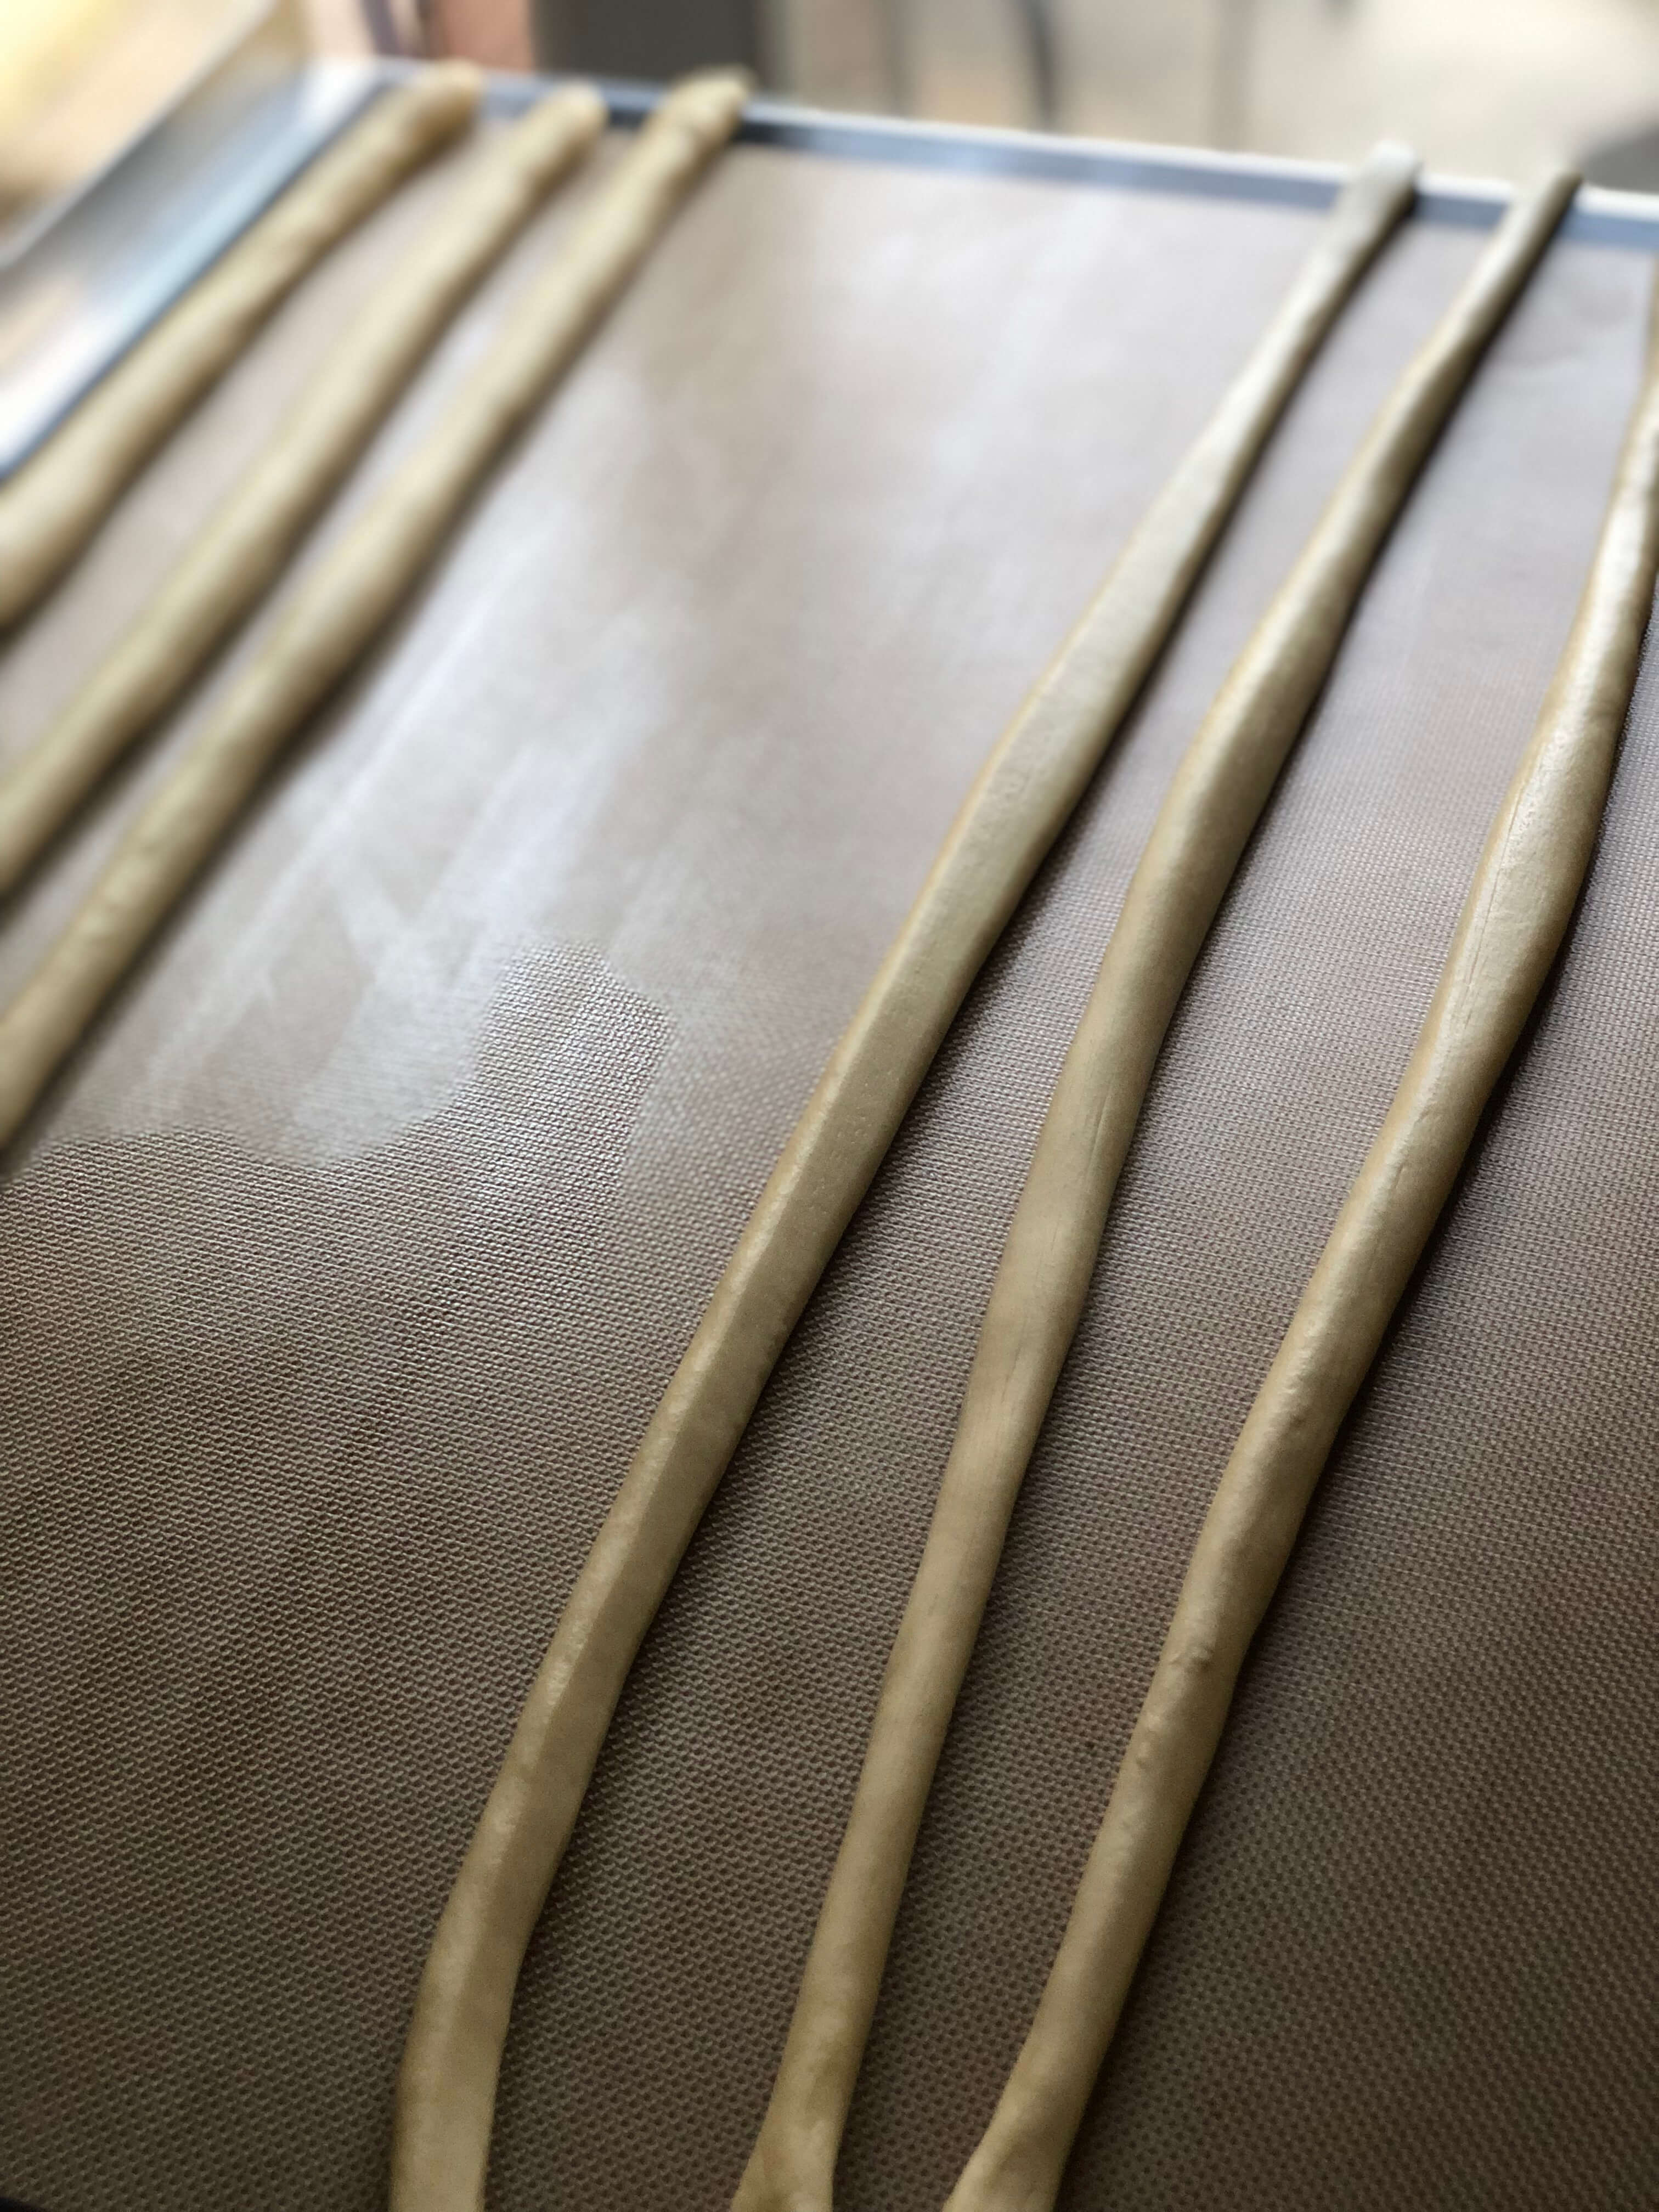
1. Roll each of your largest balls of dough into a long snake. (The dough shouldn’t snap back when you’re shaping it. If it does, simply cover it with a clean towel and let it rest for 5-10 minutes. Repeat this step if necessary if the strands aren’t cooperating.) Braid into a standard 3-strand challah and place onto an extra-large parchment-lined baking sheet.
2. Follow the same steps to form the crown and place it above the body of the key.
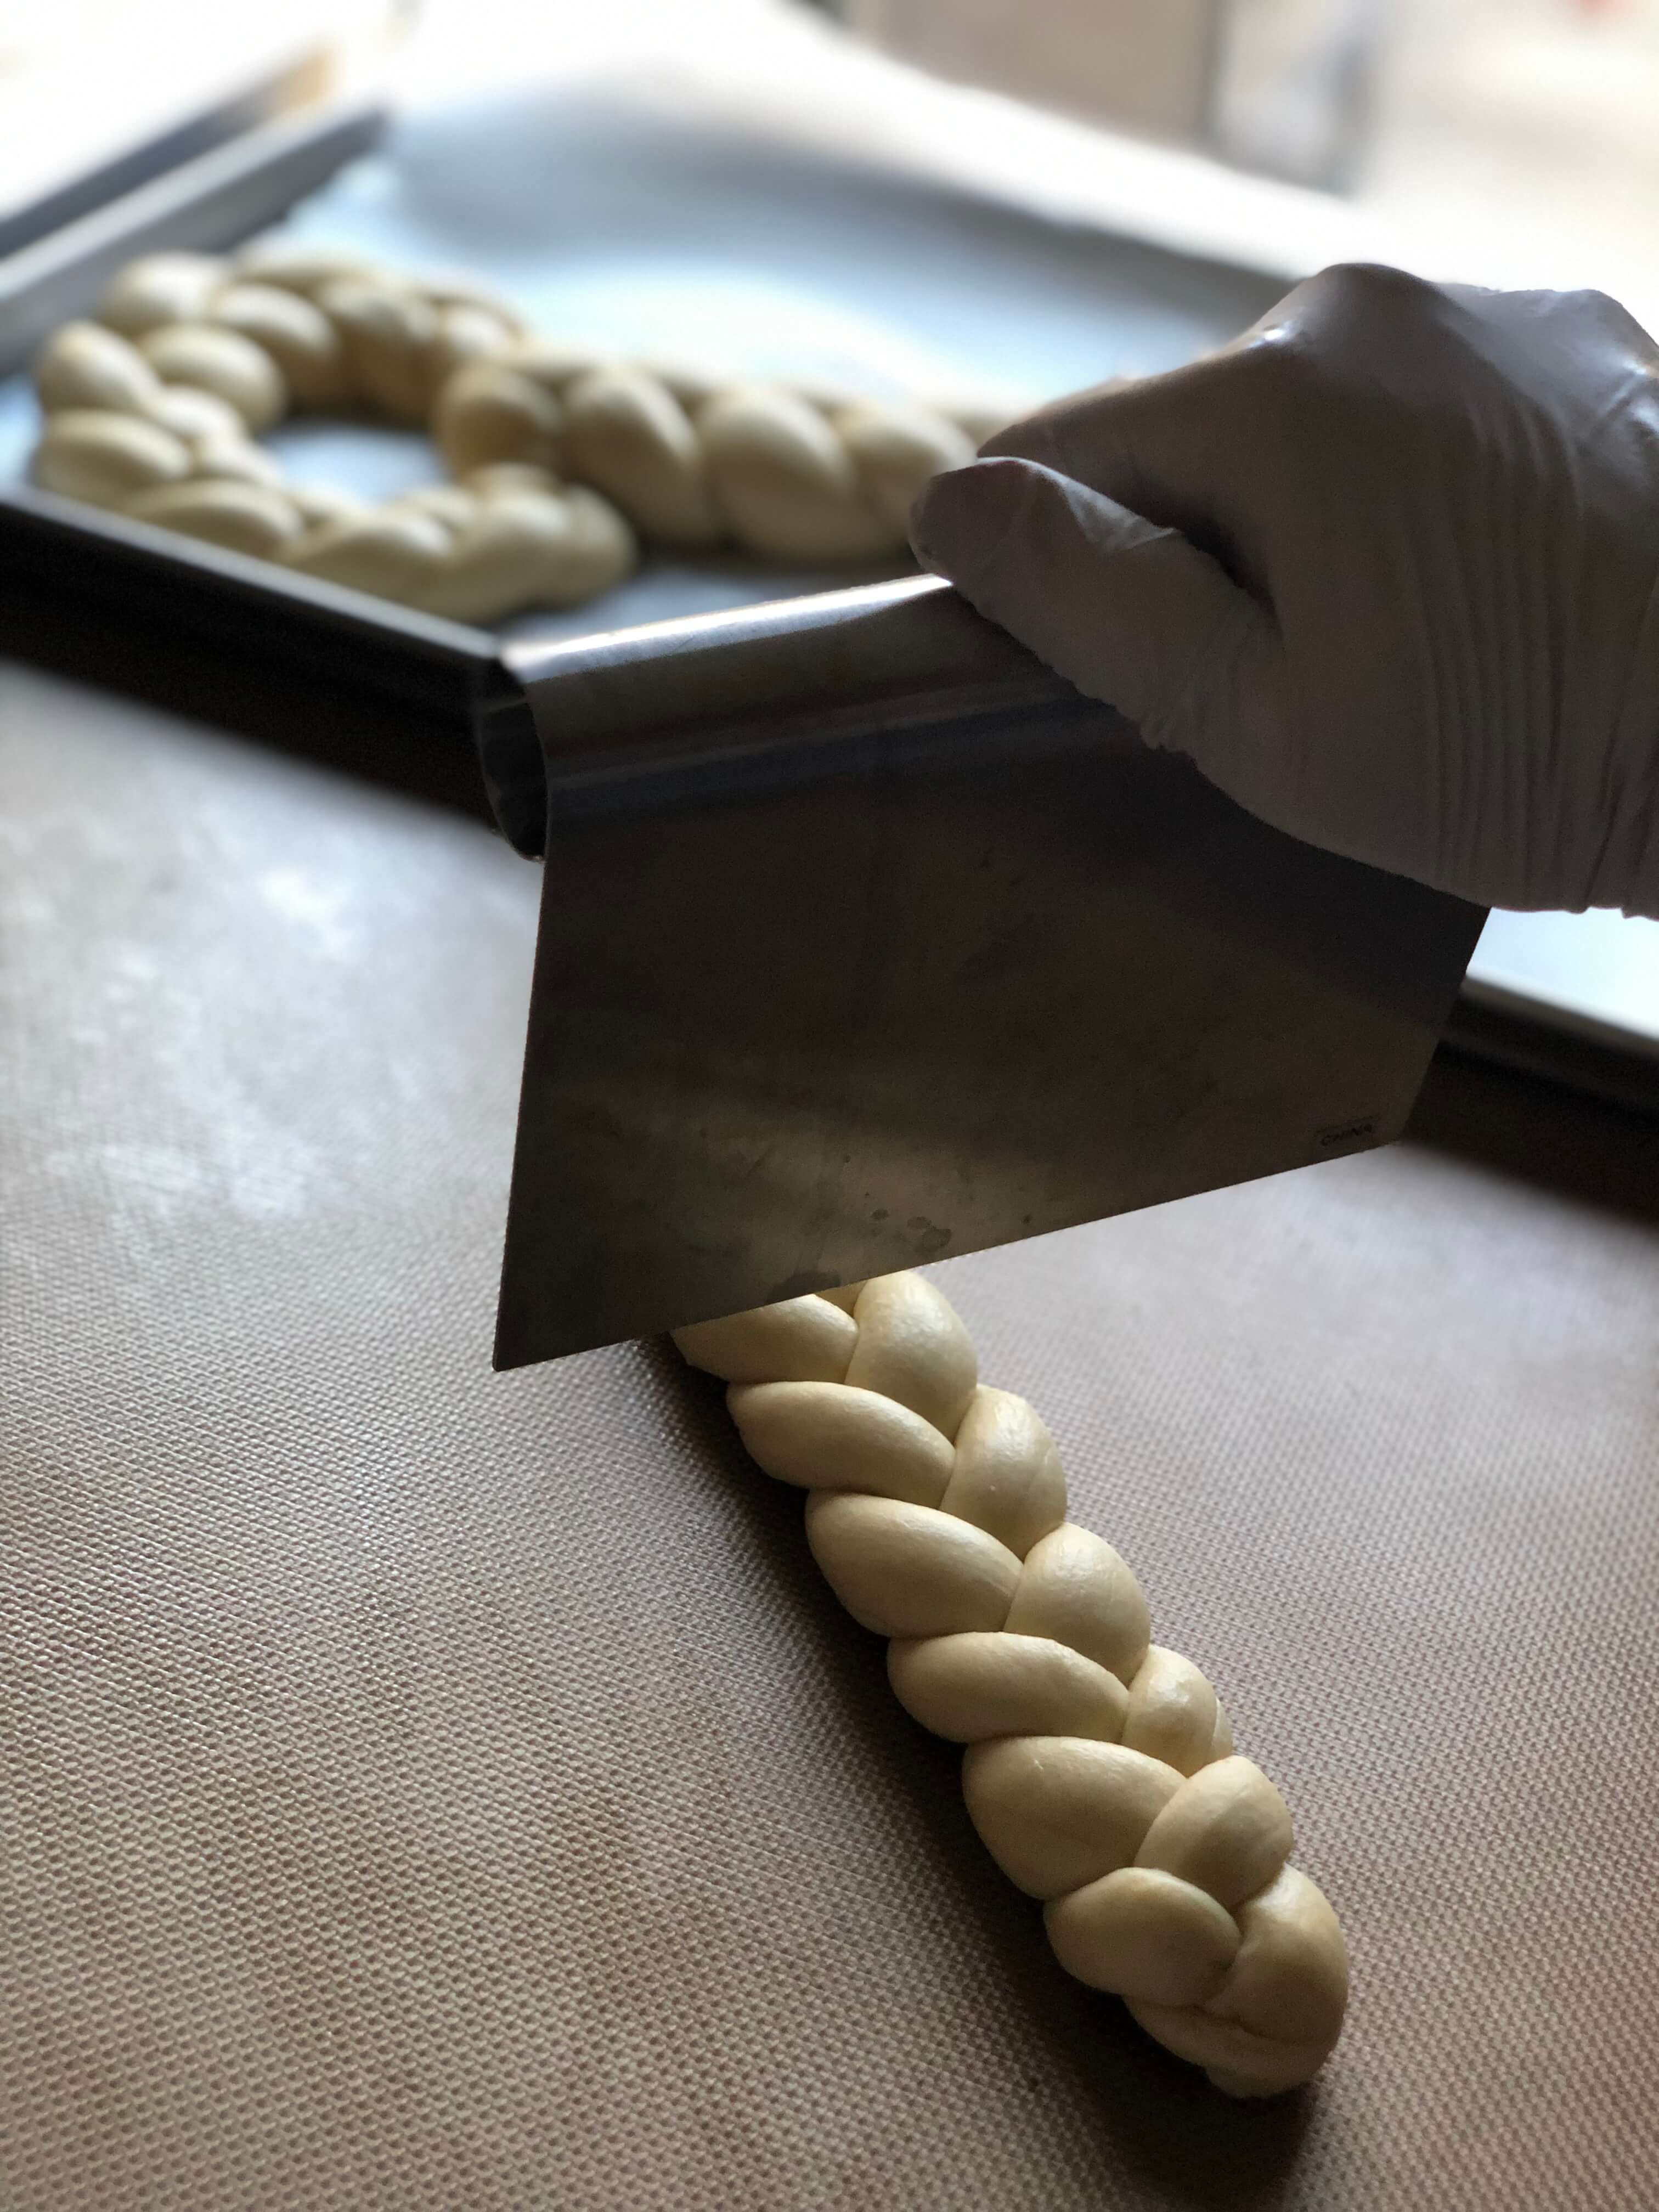
3. To form the teeth, braid the 3 smallest balls of dough as above. Using a bench scraper or a knife, cut the braid down the center. Place each half underneath or adjacent to (but touching) the body of the key.
Challah #2
YOU WILL NEED
- 6 7–8-oz (200–225-g) dough balls
- 3 4–5-oz (110–140-g) dough balls
- 3 2-oz (60-oz) dough balls
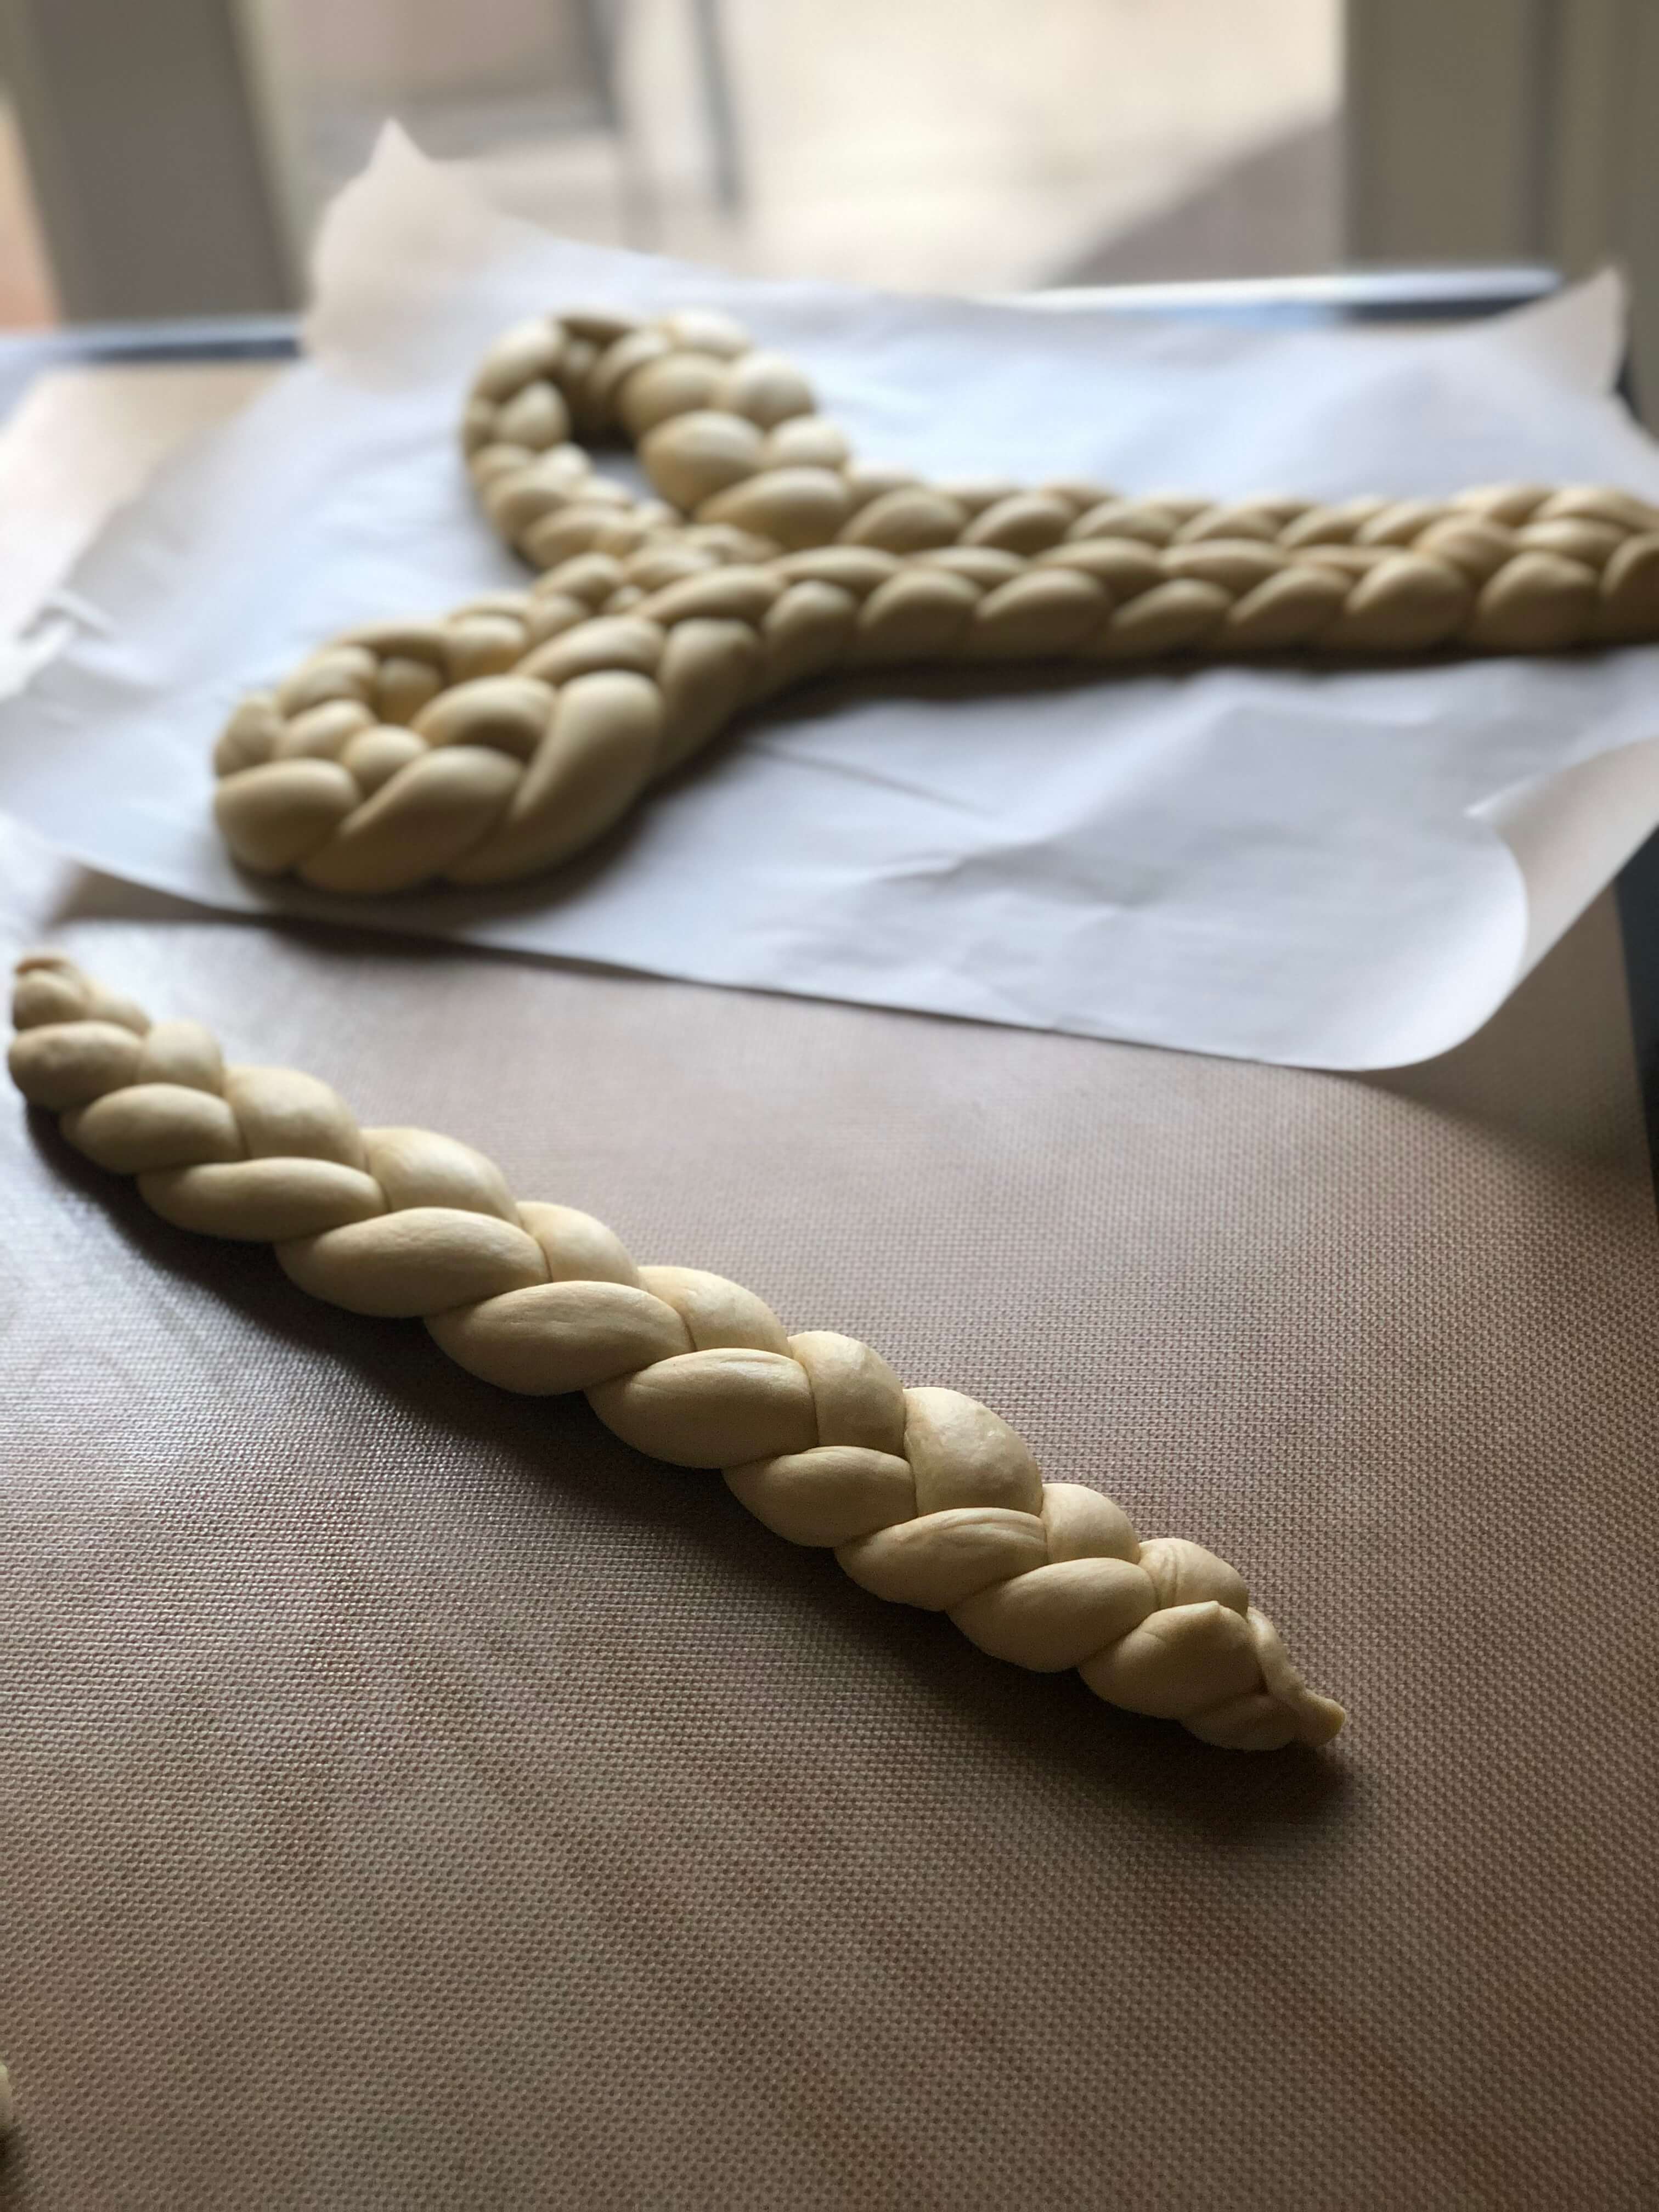
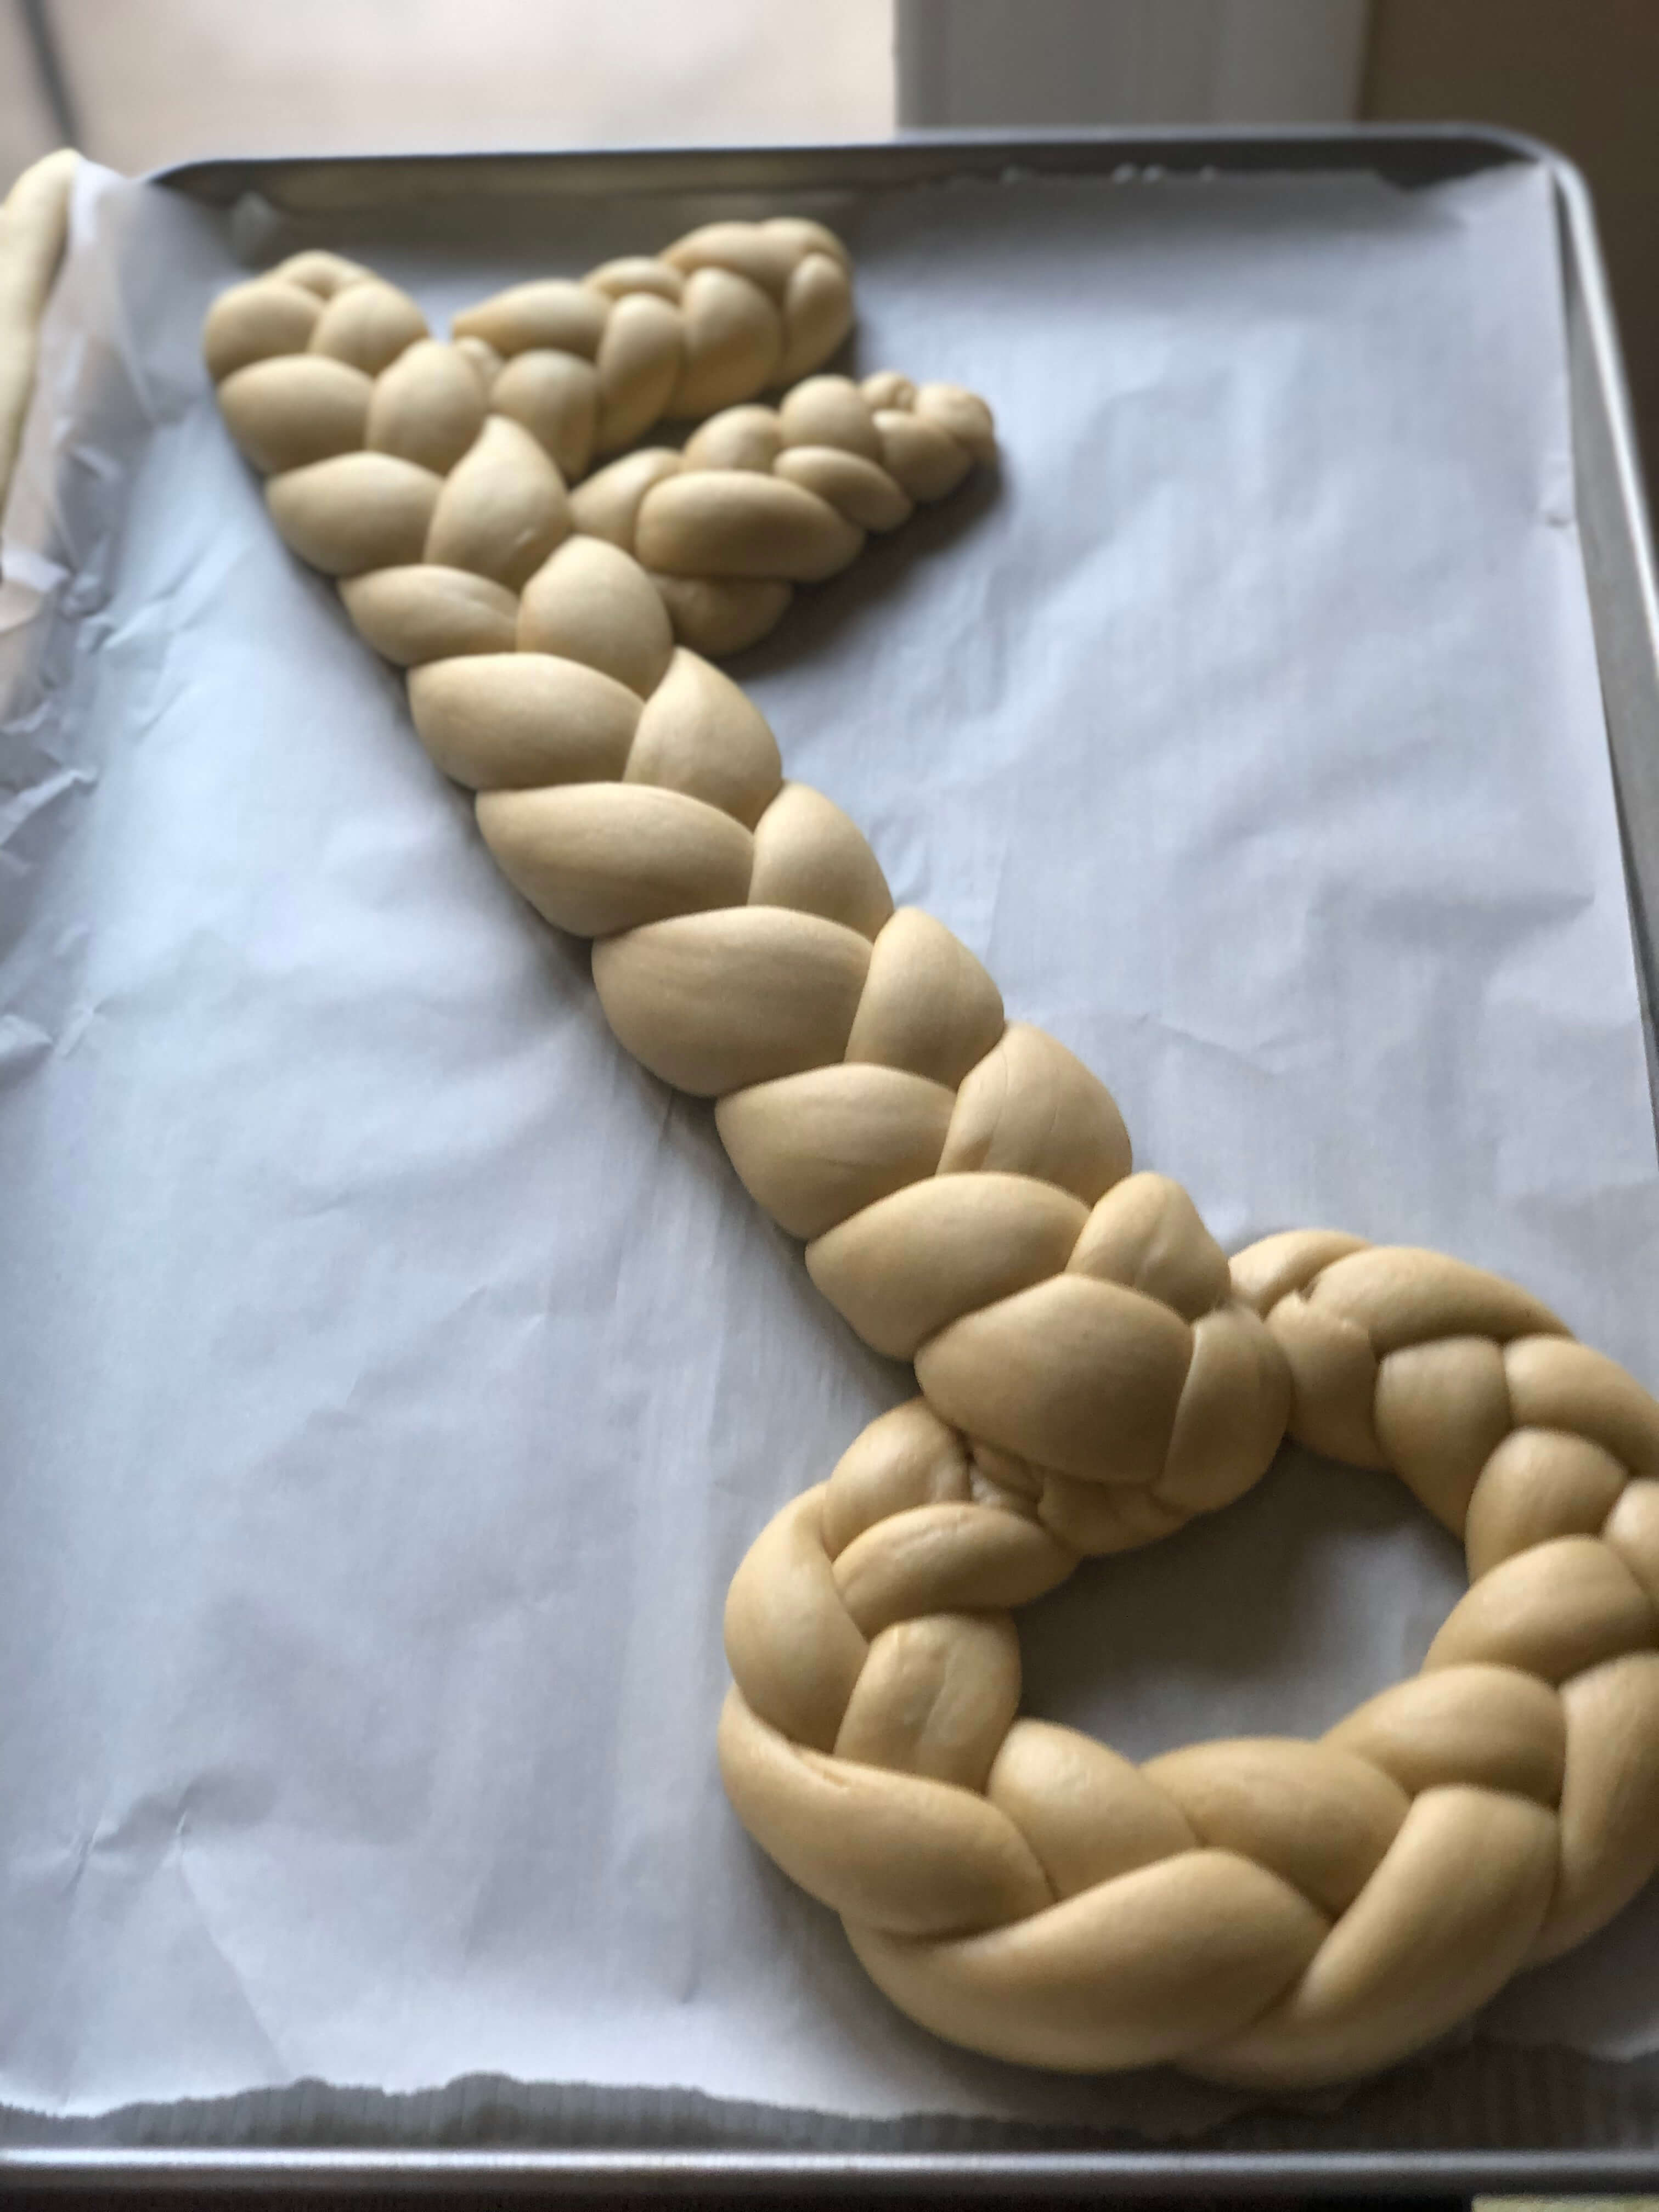
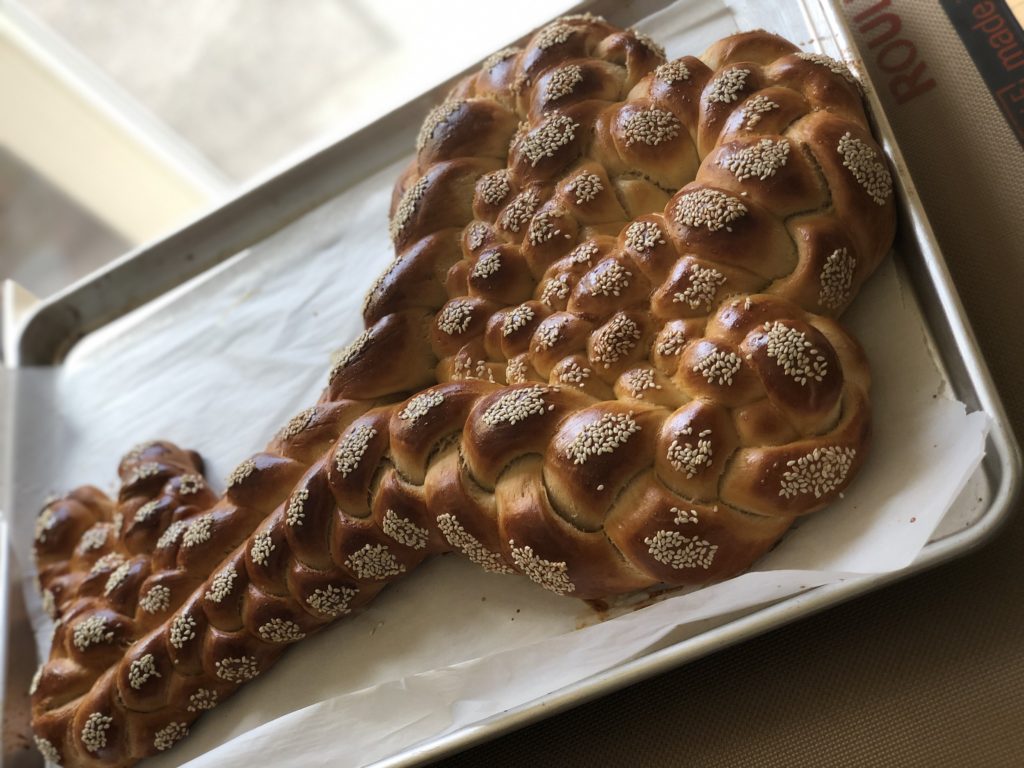
1. Roll out the 6 largest balls into long thin snakes (as long and as thin as possible). Braid them into two standard 3-strand challahs, keeping the braids as even as possible, and set aside. Roll and braid the middle- and small-sized balls the same way and set aside.
2. On an extra-large baking sheet lined with parchment paper, place the two larger braids side by side, with the lower halves of the braids touching, and upper halves curved outwards, to form a u-shape. Bring down the “arms” of the u toward the center to resemble a heart shape. Shape the middle-sized braid into an oval and place in the center of the "heart."
3. Form teeth for the key, following the same steps described in Challah #1.
Step 3: Rising and Baking
1. Brush the shaped challah with egg wash a total of 3 times (2 eggs and 2 yolks, beaten) for a darker crust: right after braiding, halfway through rising, and right before baking.
2. Cover the challah and allow to rise while oven preheats to 350°F (175°C). This ensures that your dough doesn’t dry out and ensures a good rise. The challah is ready to bake when it’s soft and springs back lightly when you press on it gently.
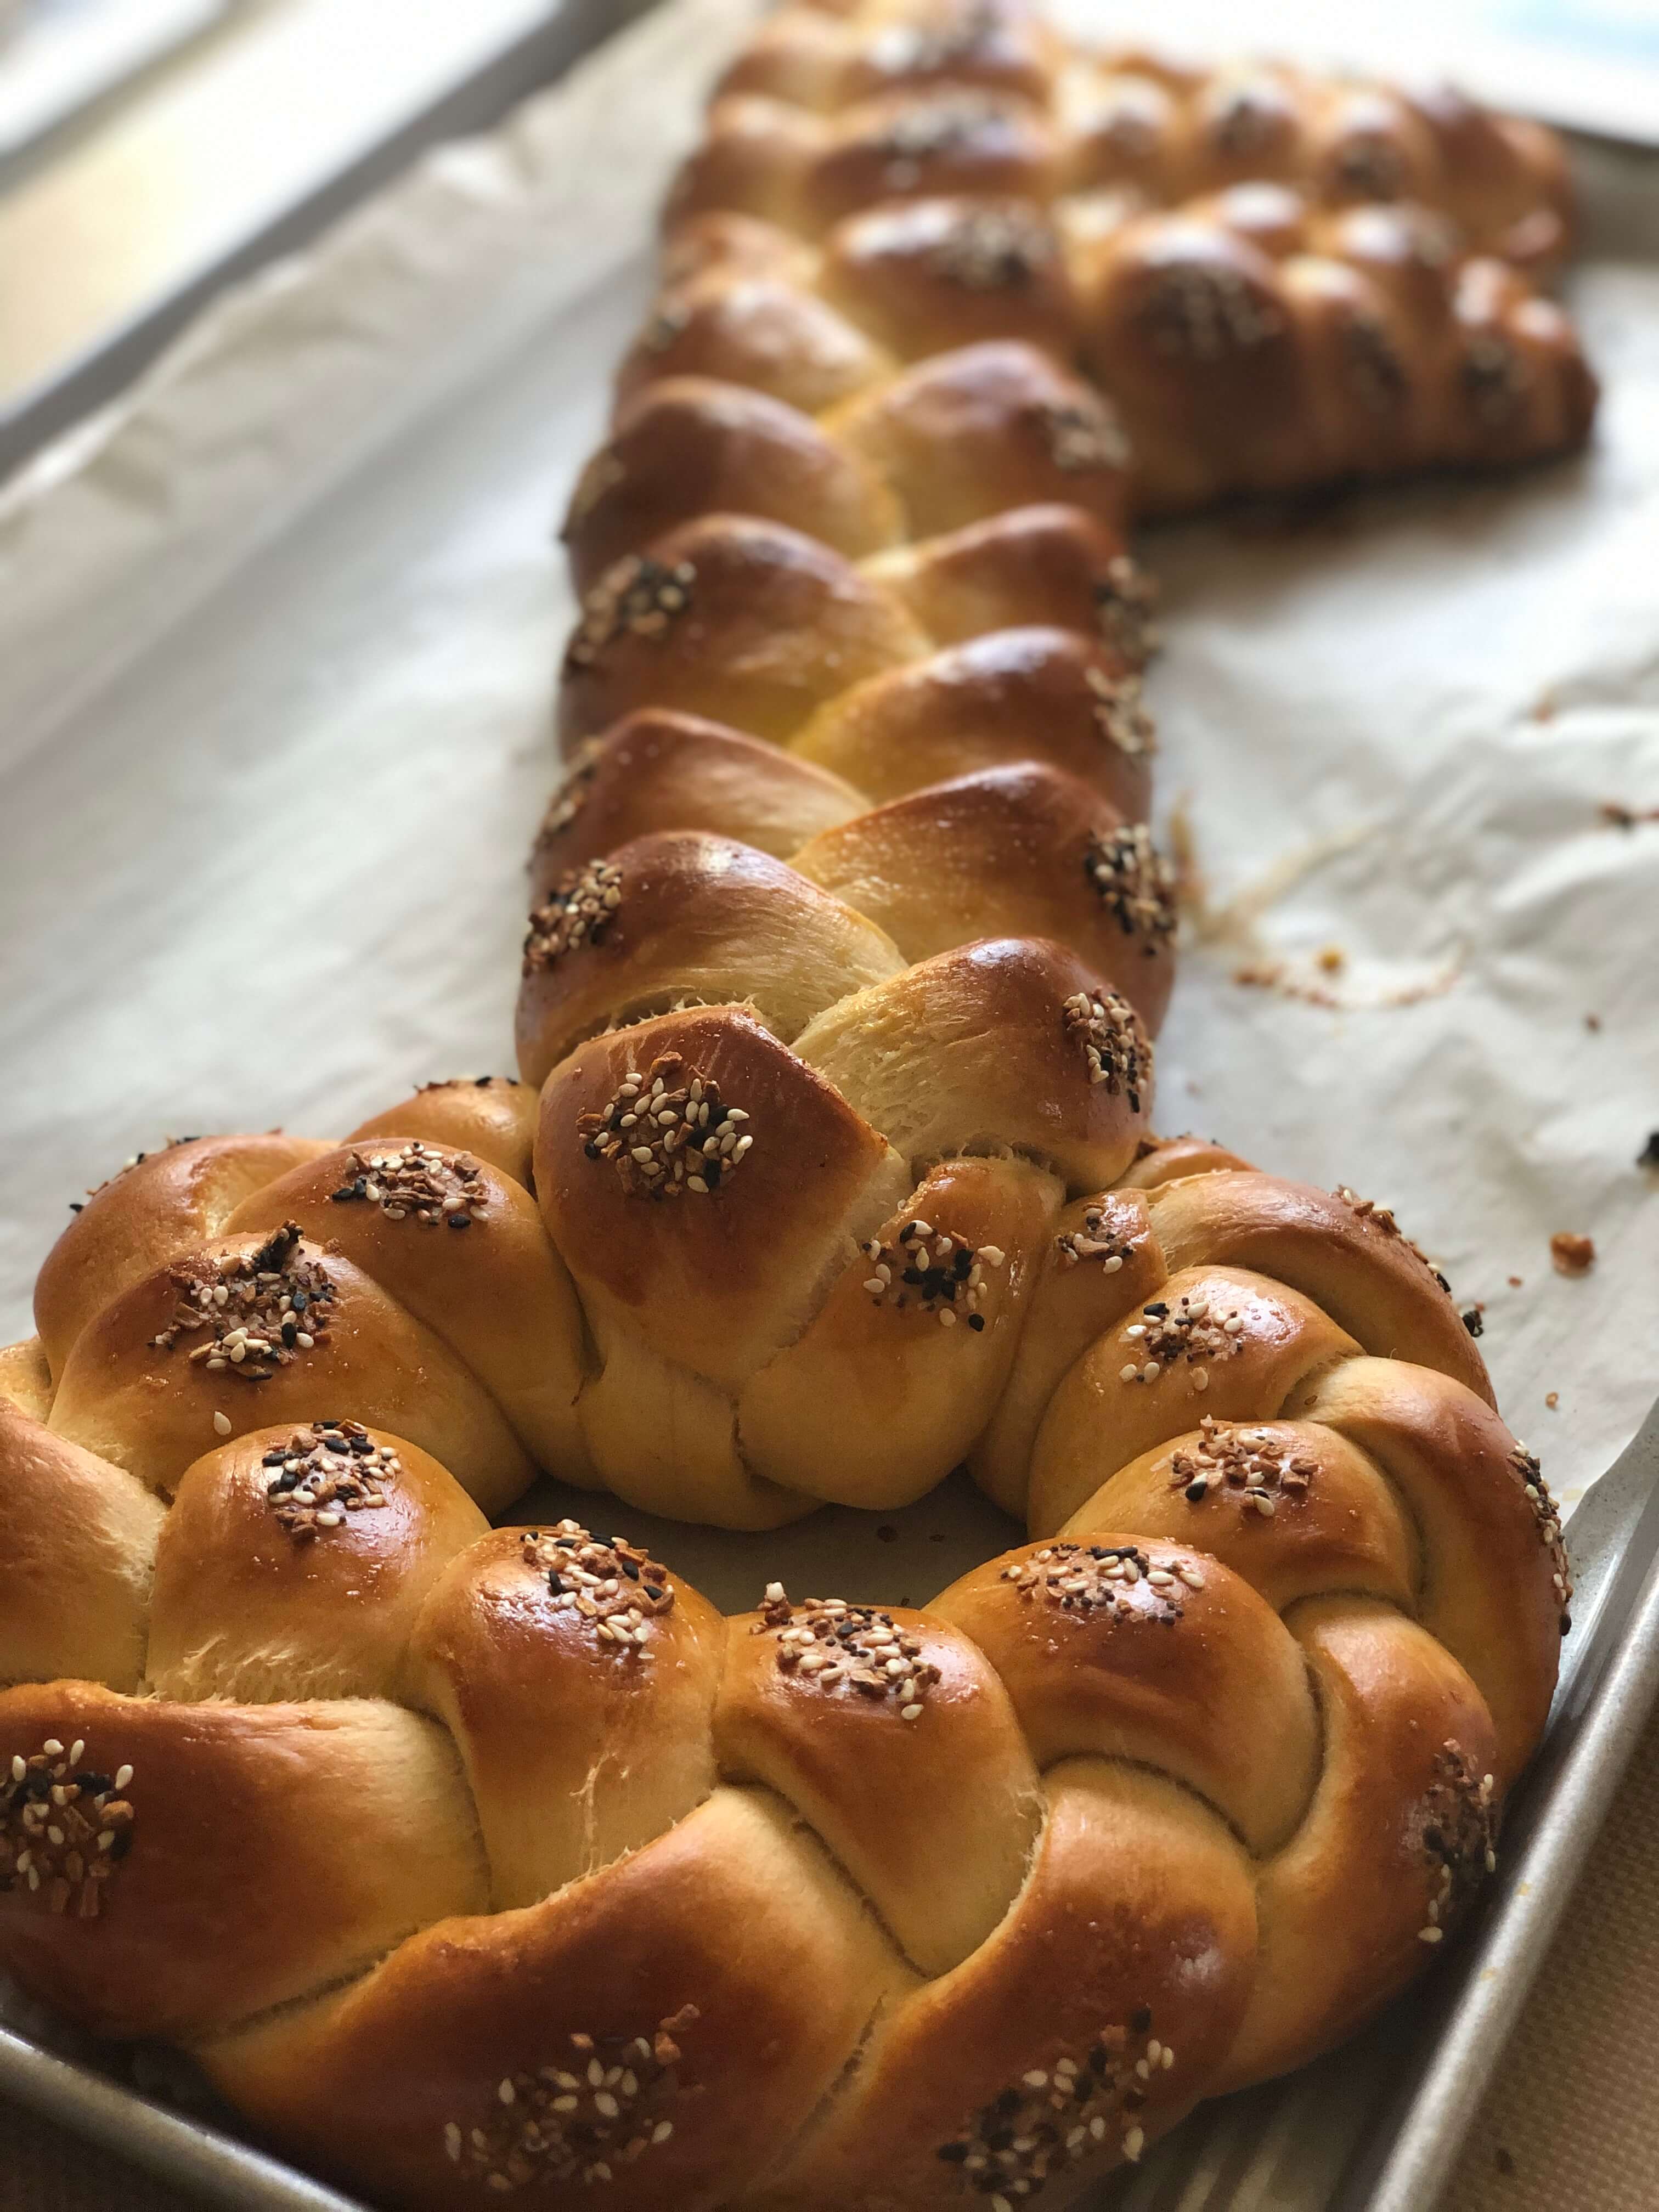
3. To make the seeds look neat, as pictured: Prepare a small bowl of water and a plate of seeds (I used Everything bagel spice). Right before you place the challah in the oven, dip your index or middle finger into the water, then into the seeds, and place
the seeds on the challah. Presto; they stick.
(Originally featured in FamilyTable Issue 640)

