
Heart of Our Nation
| March 5, 2024DIY kid costumes with spirit and soul

Photography: Chaya Miller
This year, as we celebrate our nation’s salvation in Ancient Persia, we’re focused on Eretz Yisrael, where we await another miraculous reversal of our nation's fortunes. Family First shares costumes that transport you to the place where it’s all happening
Download the Costume Printables at the bottom of the article.
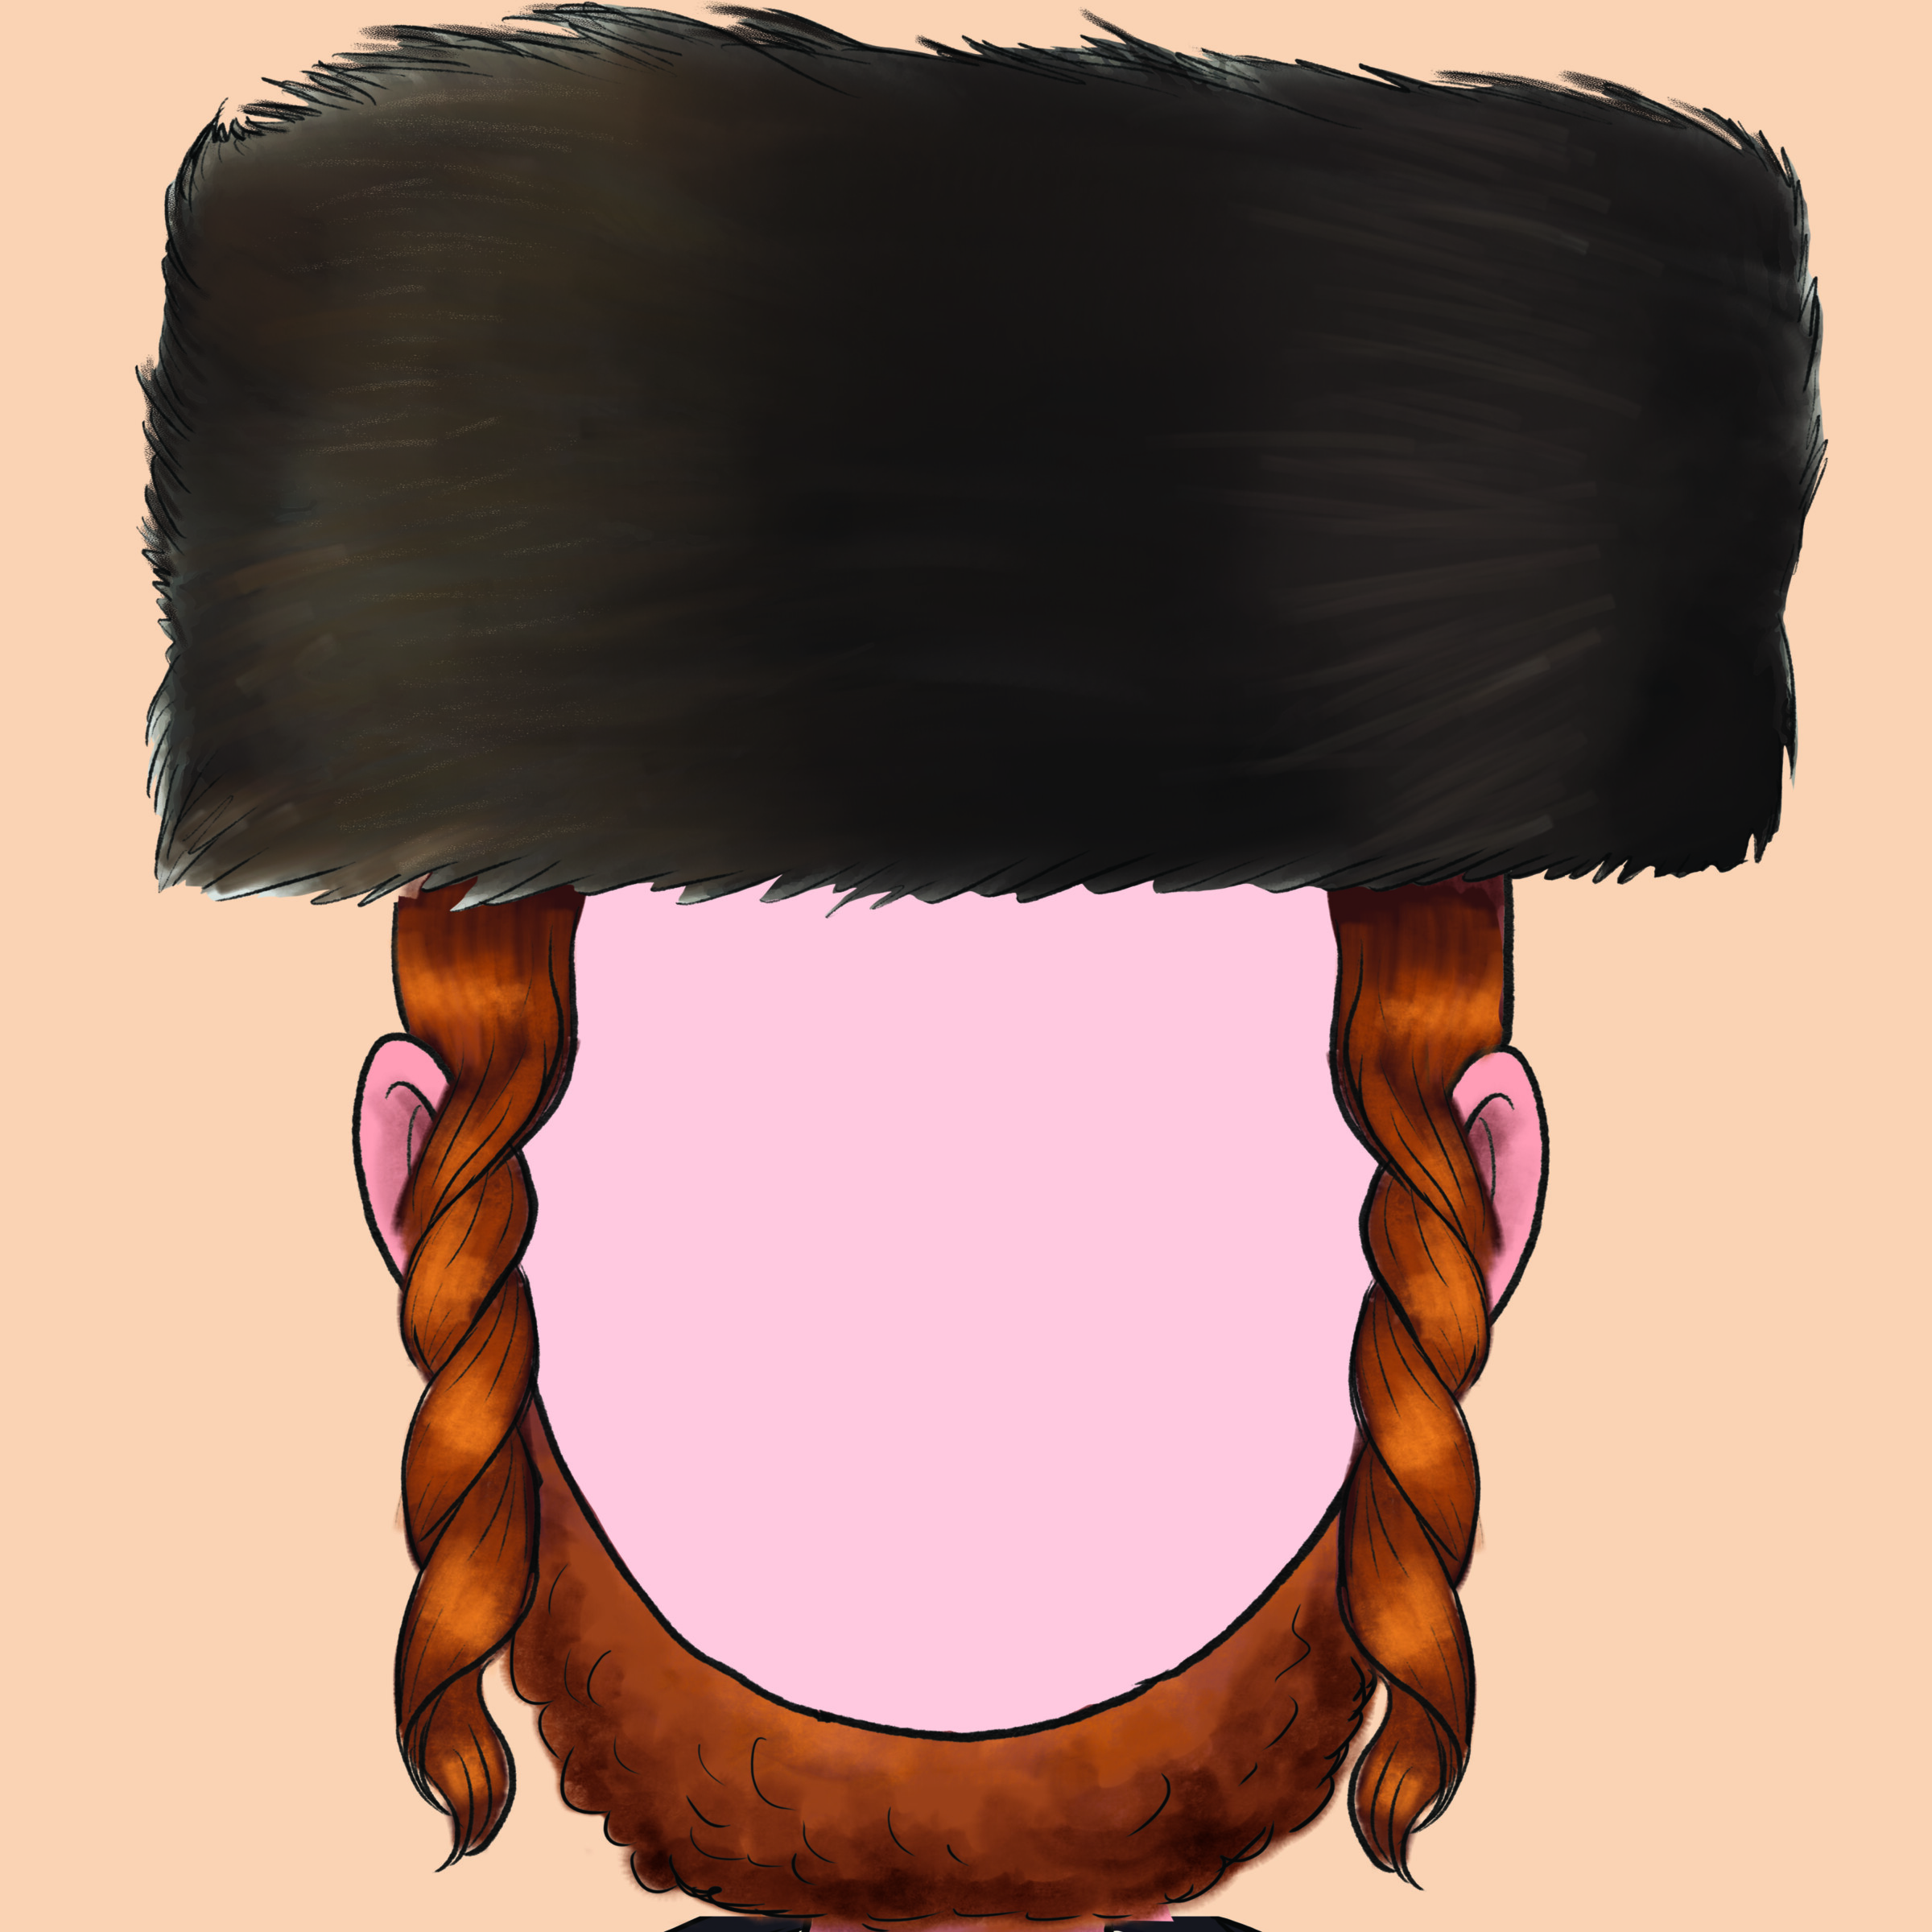
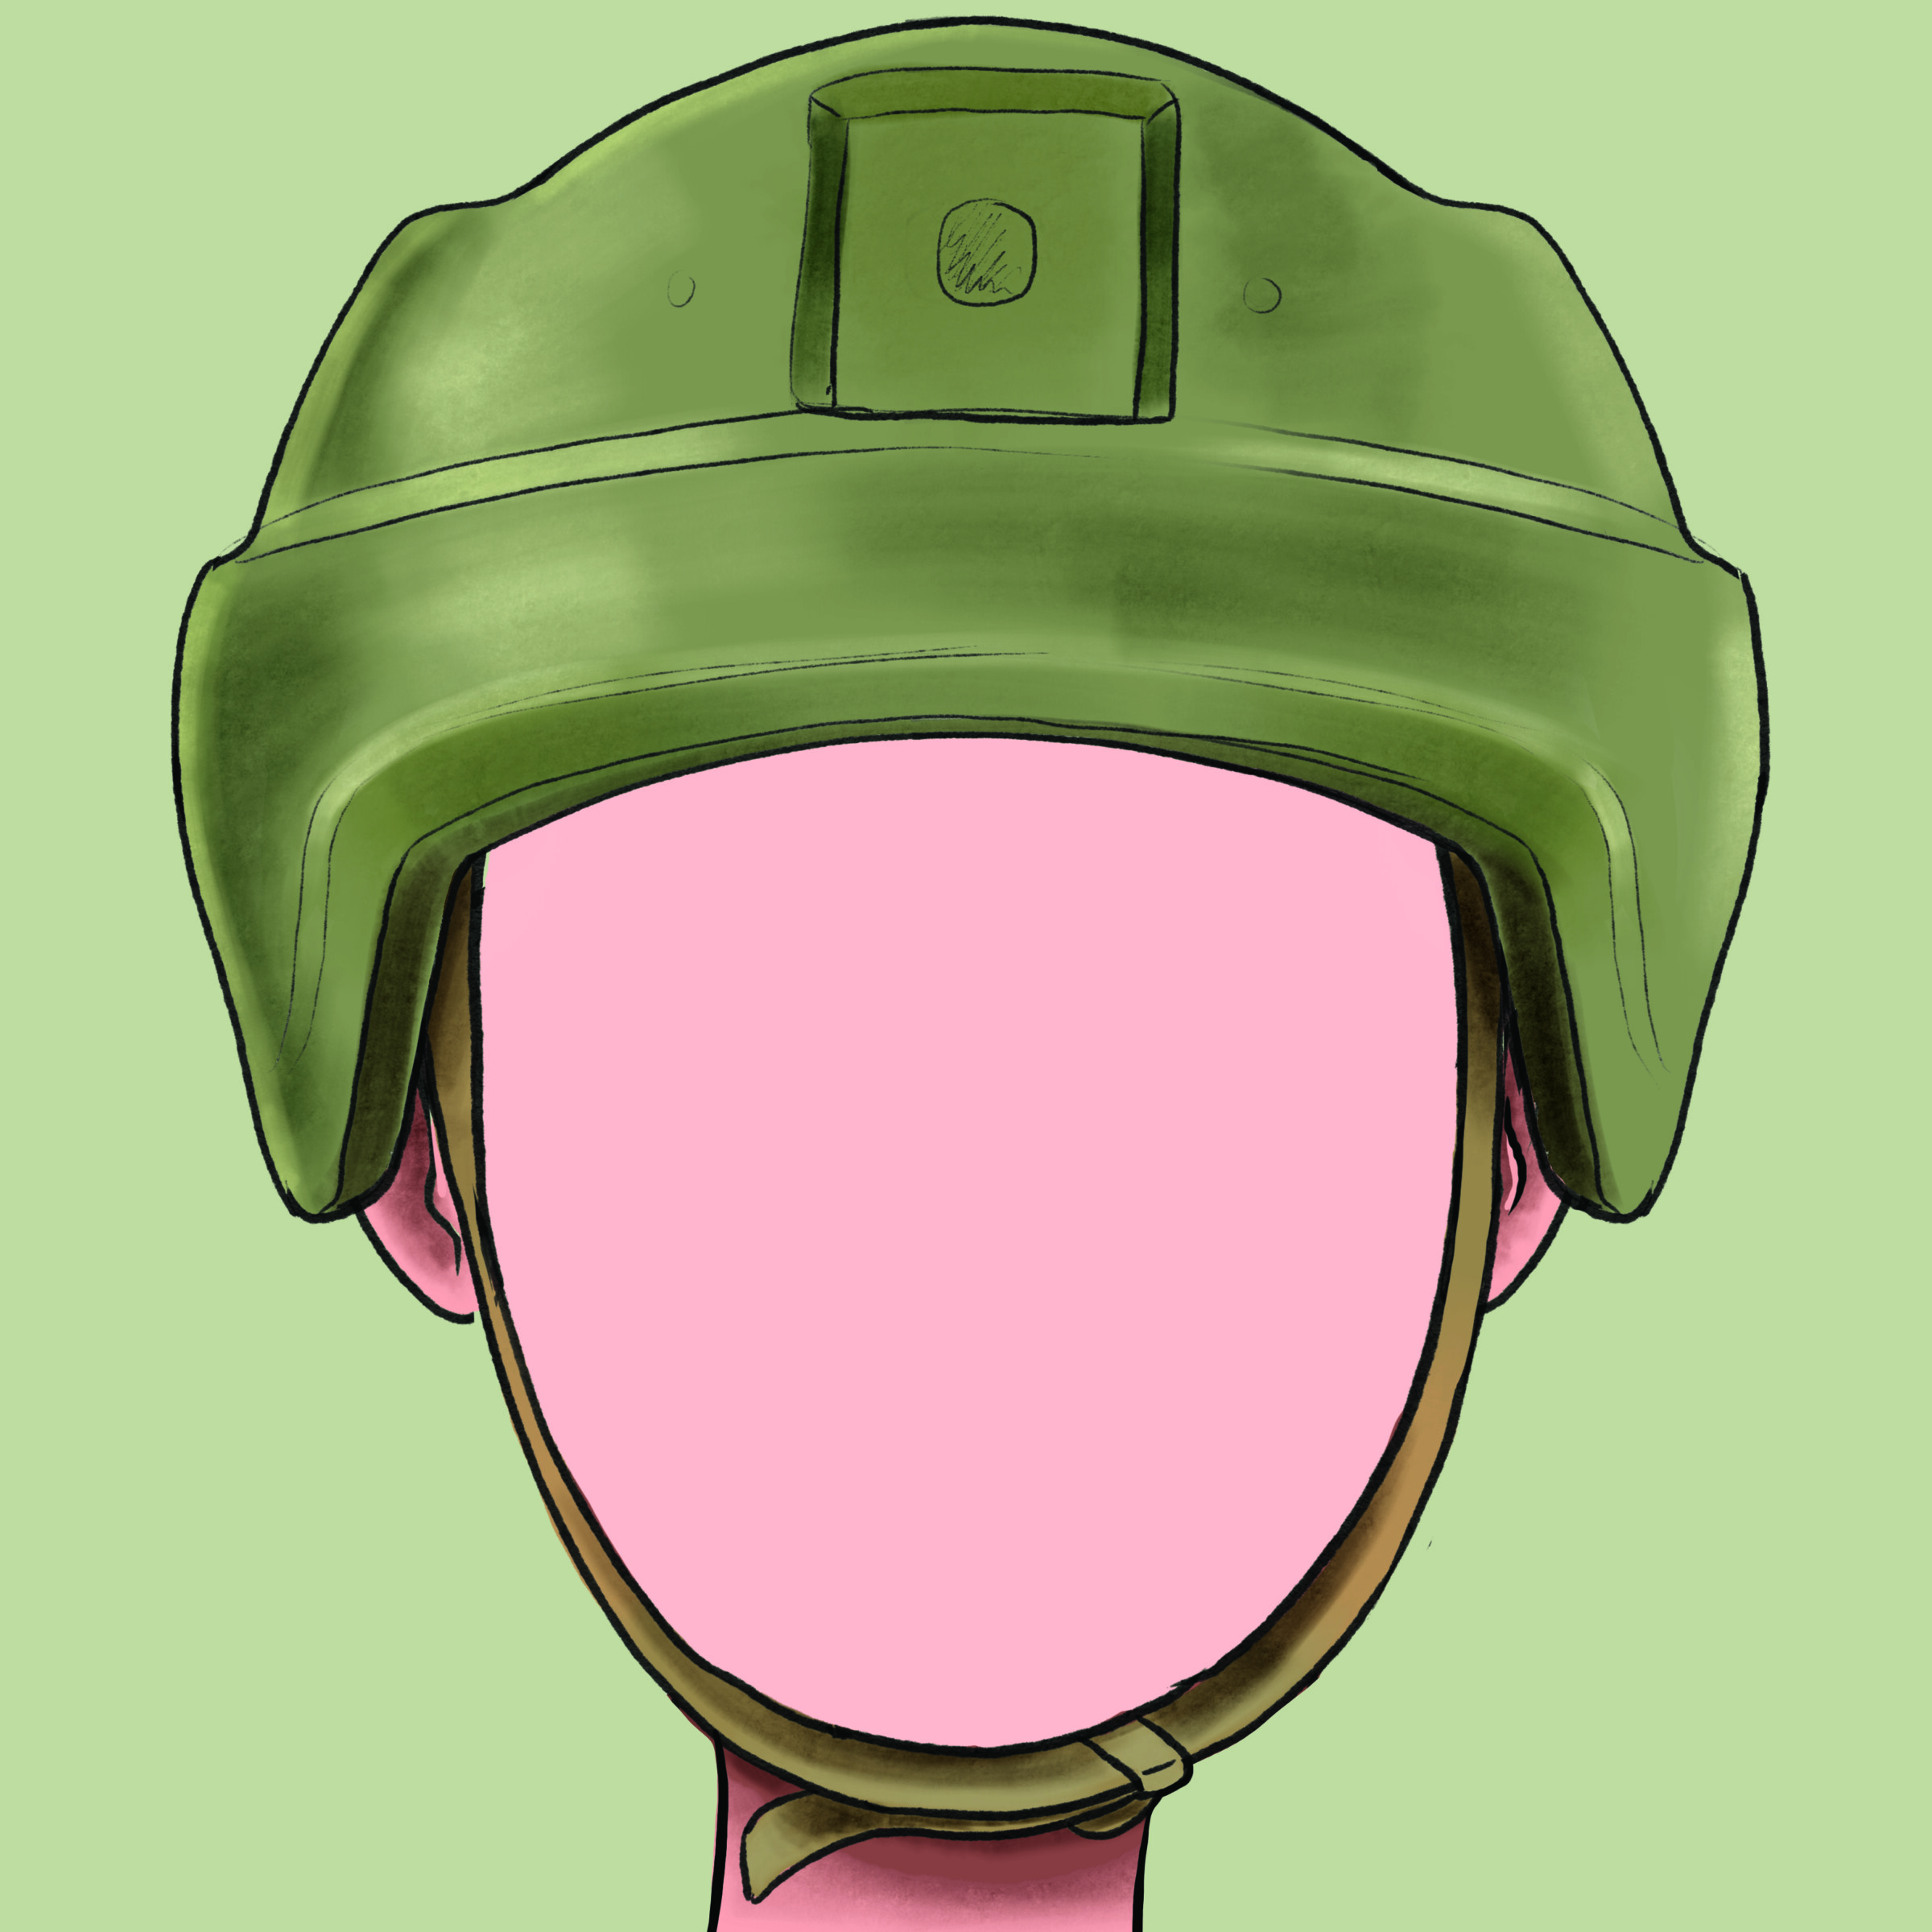
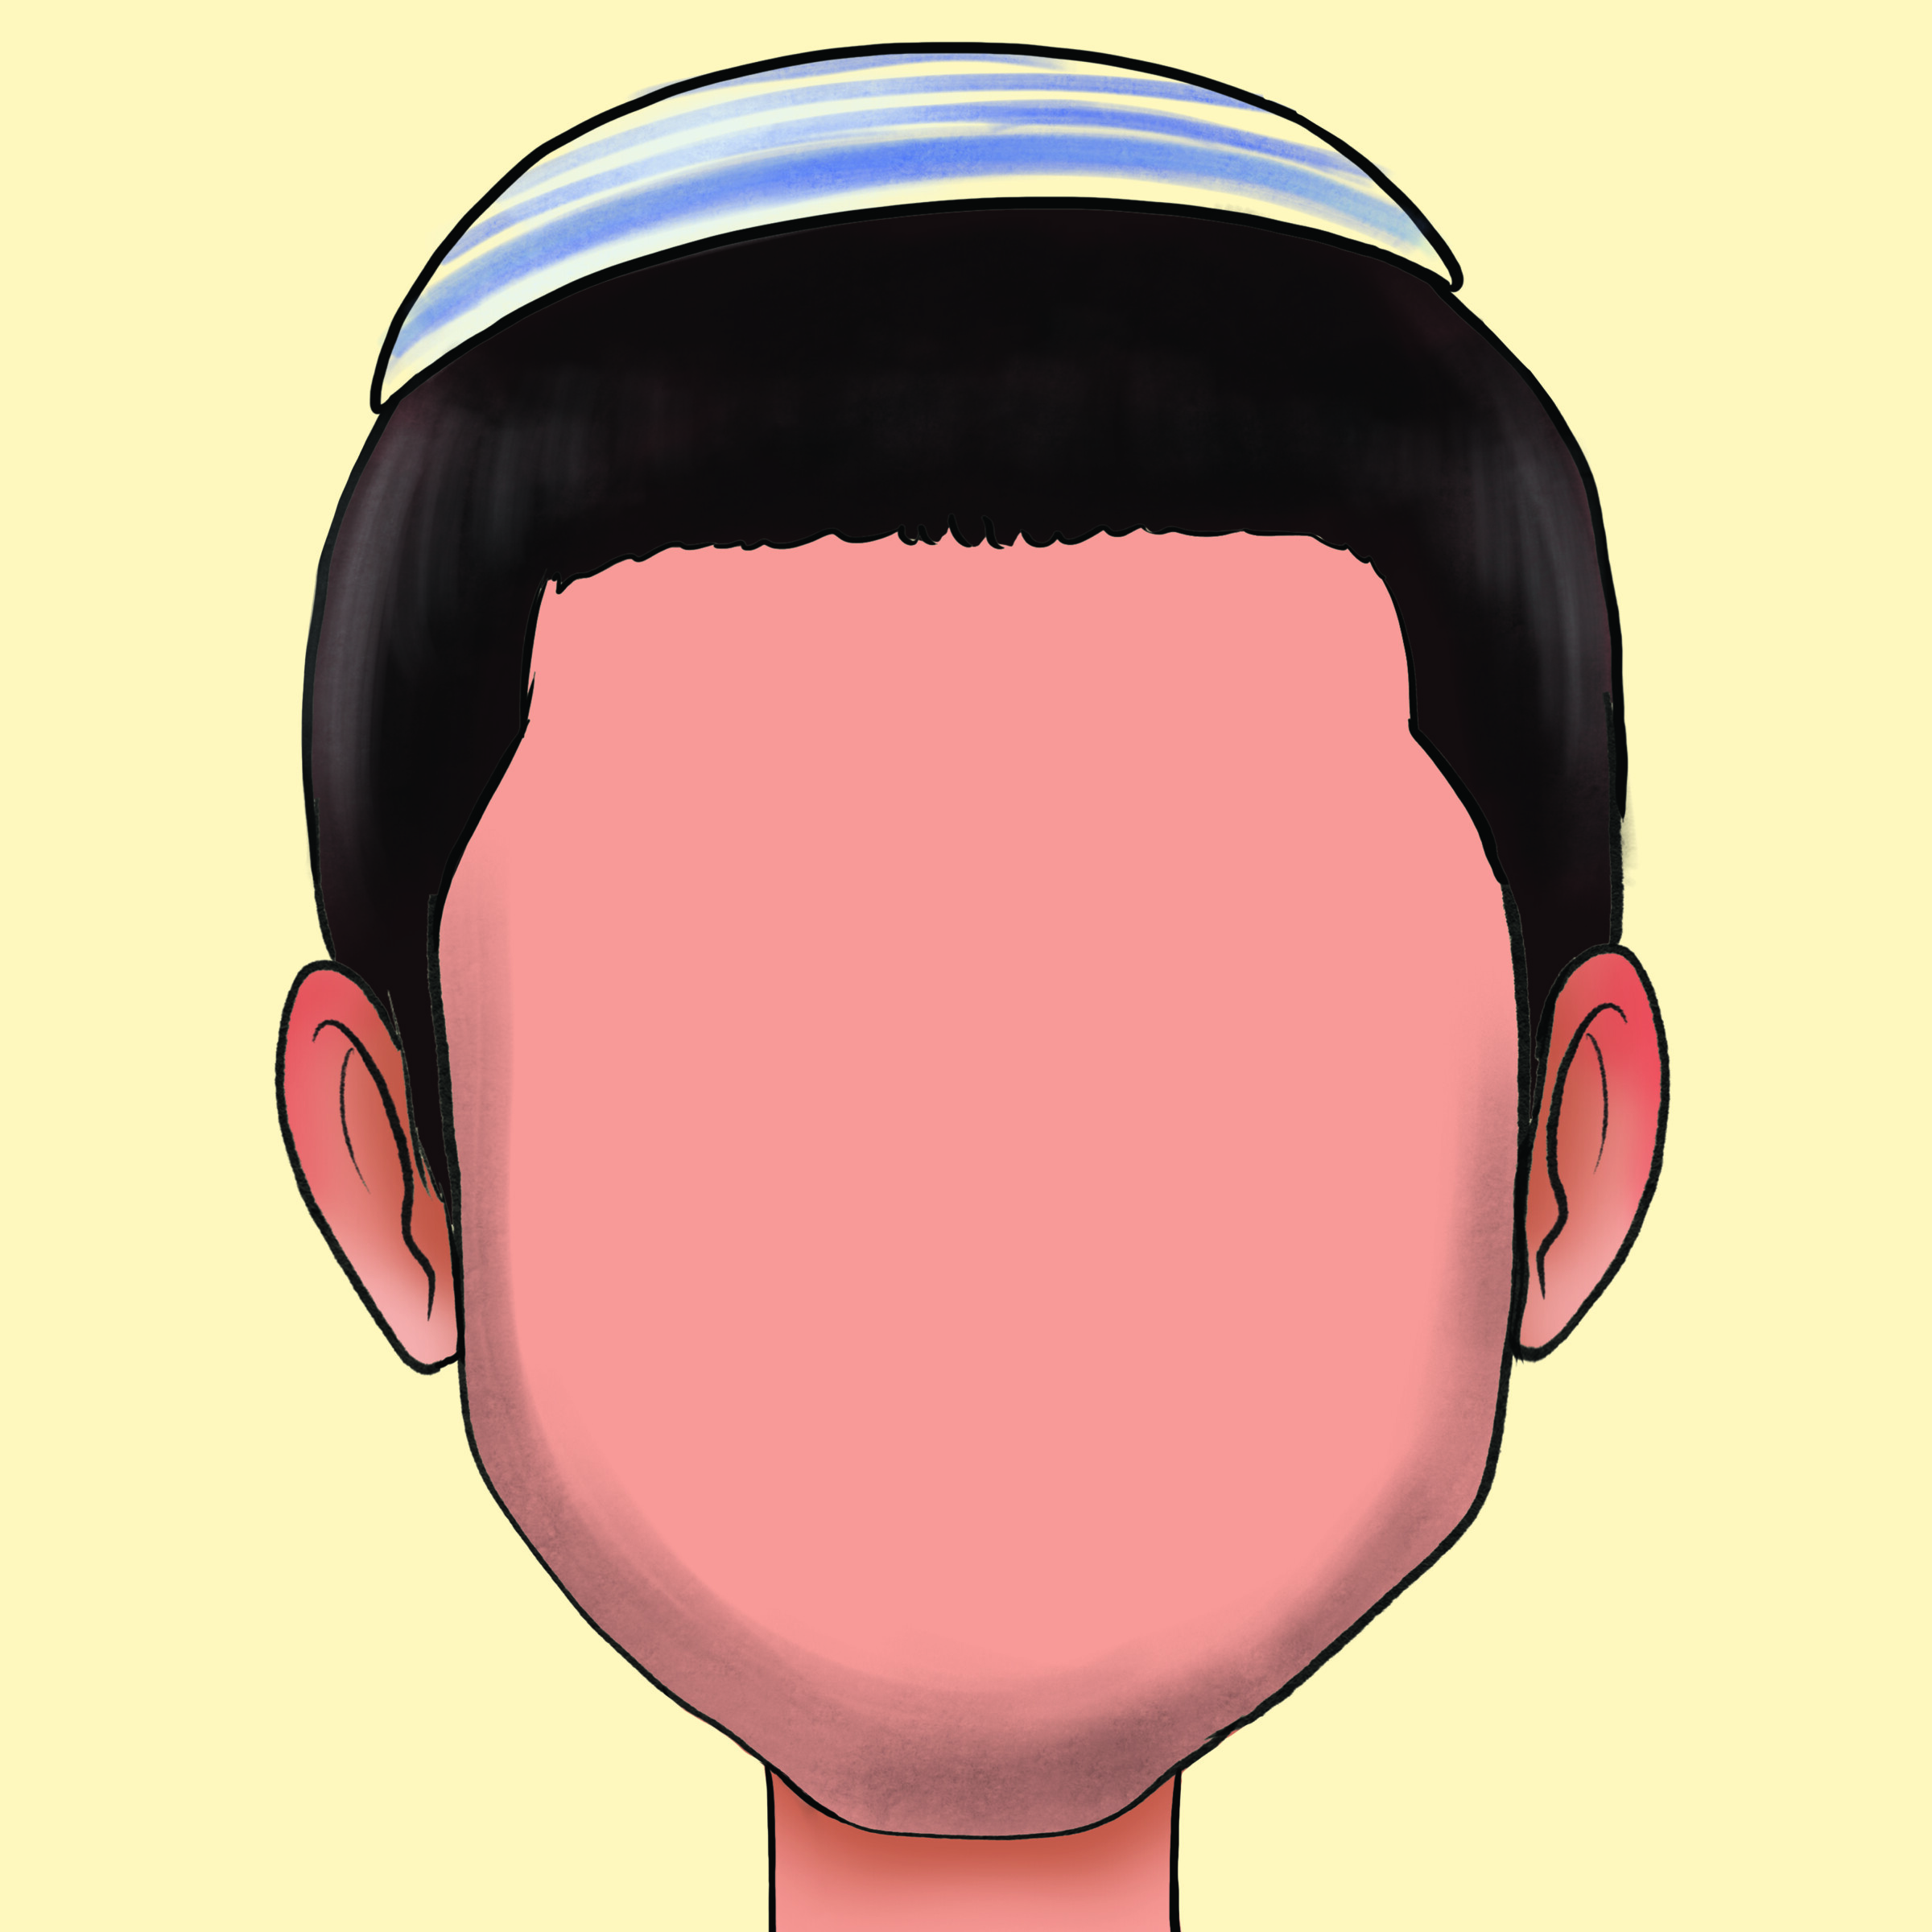
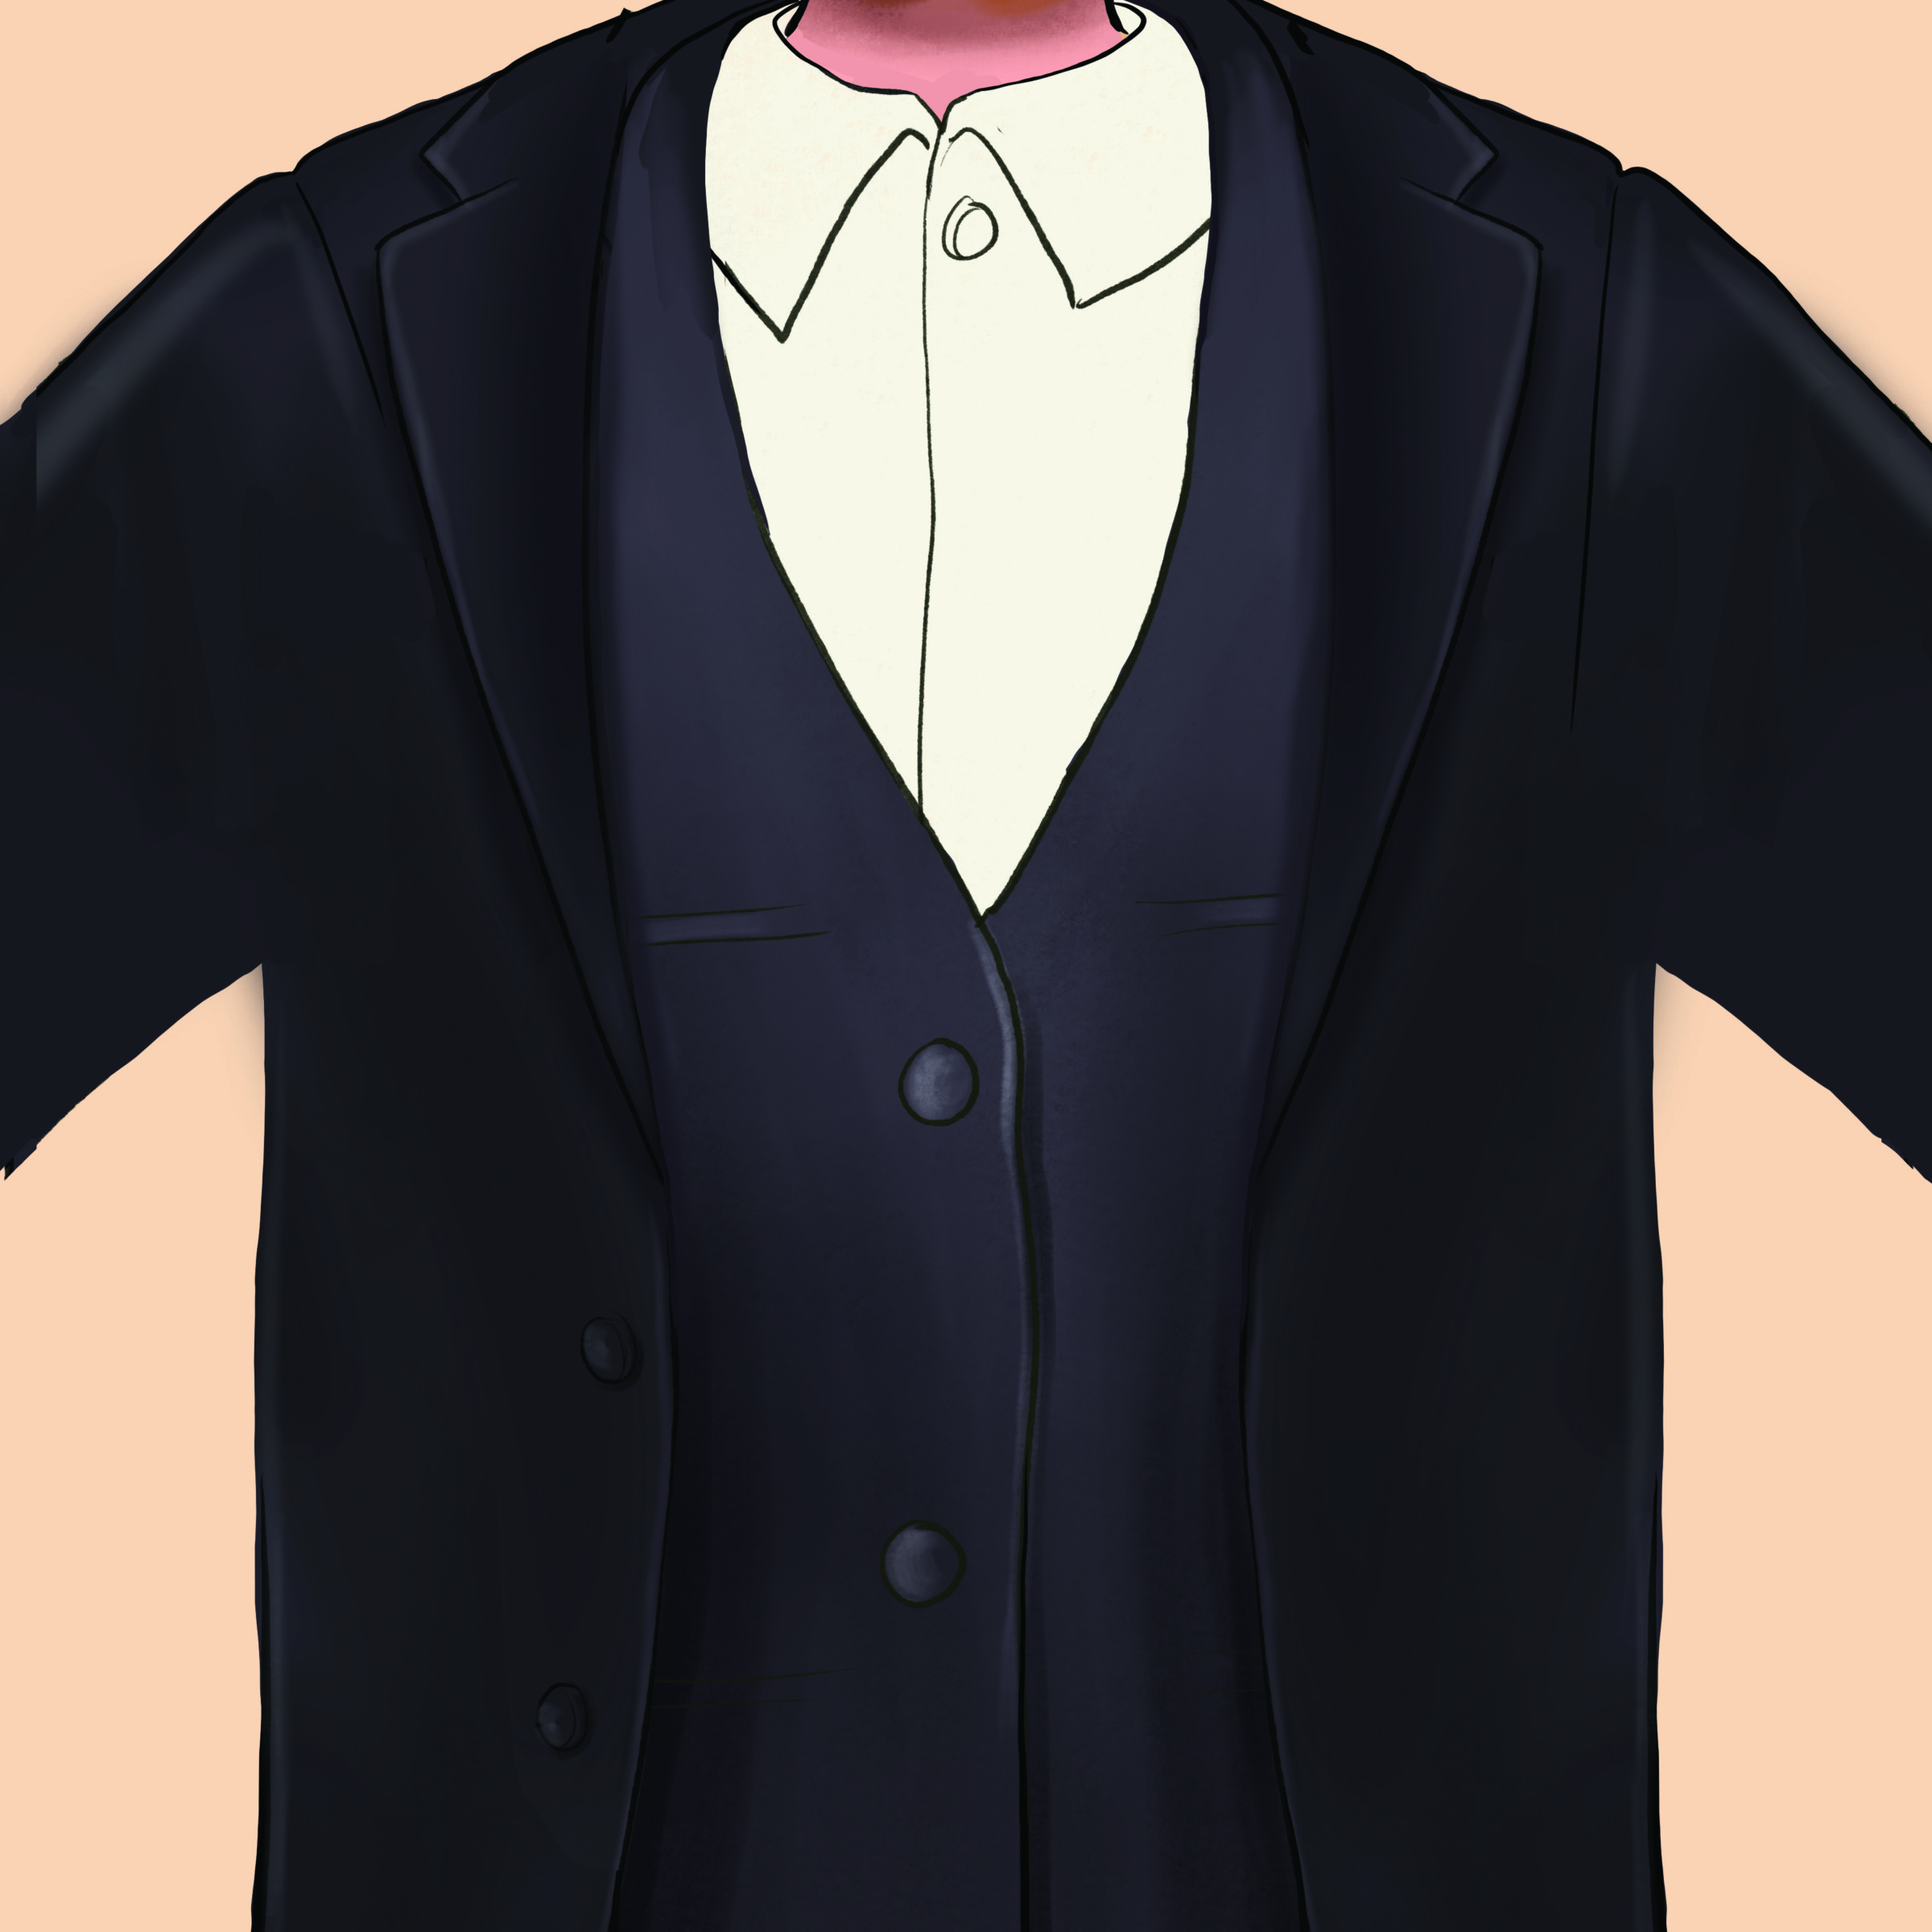
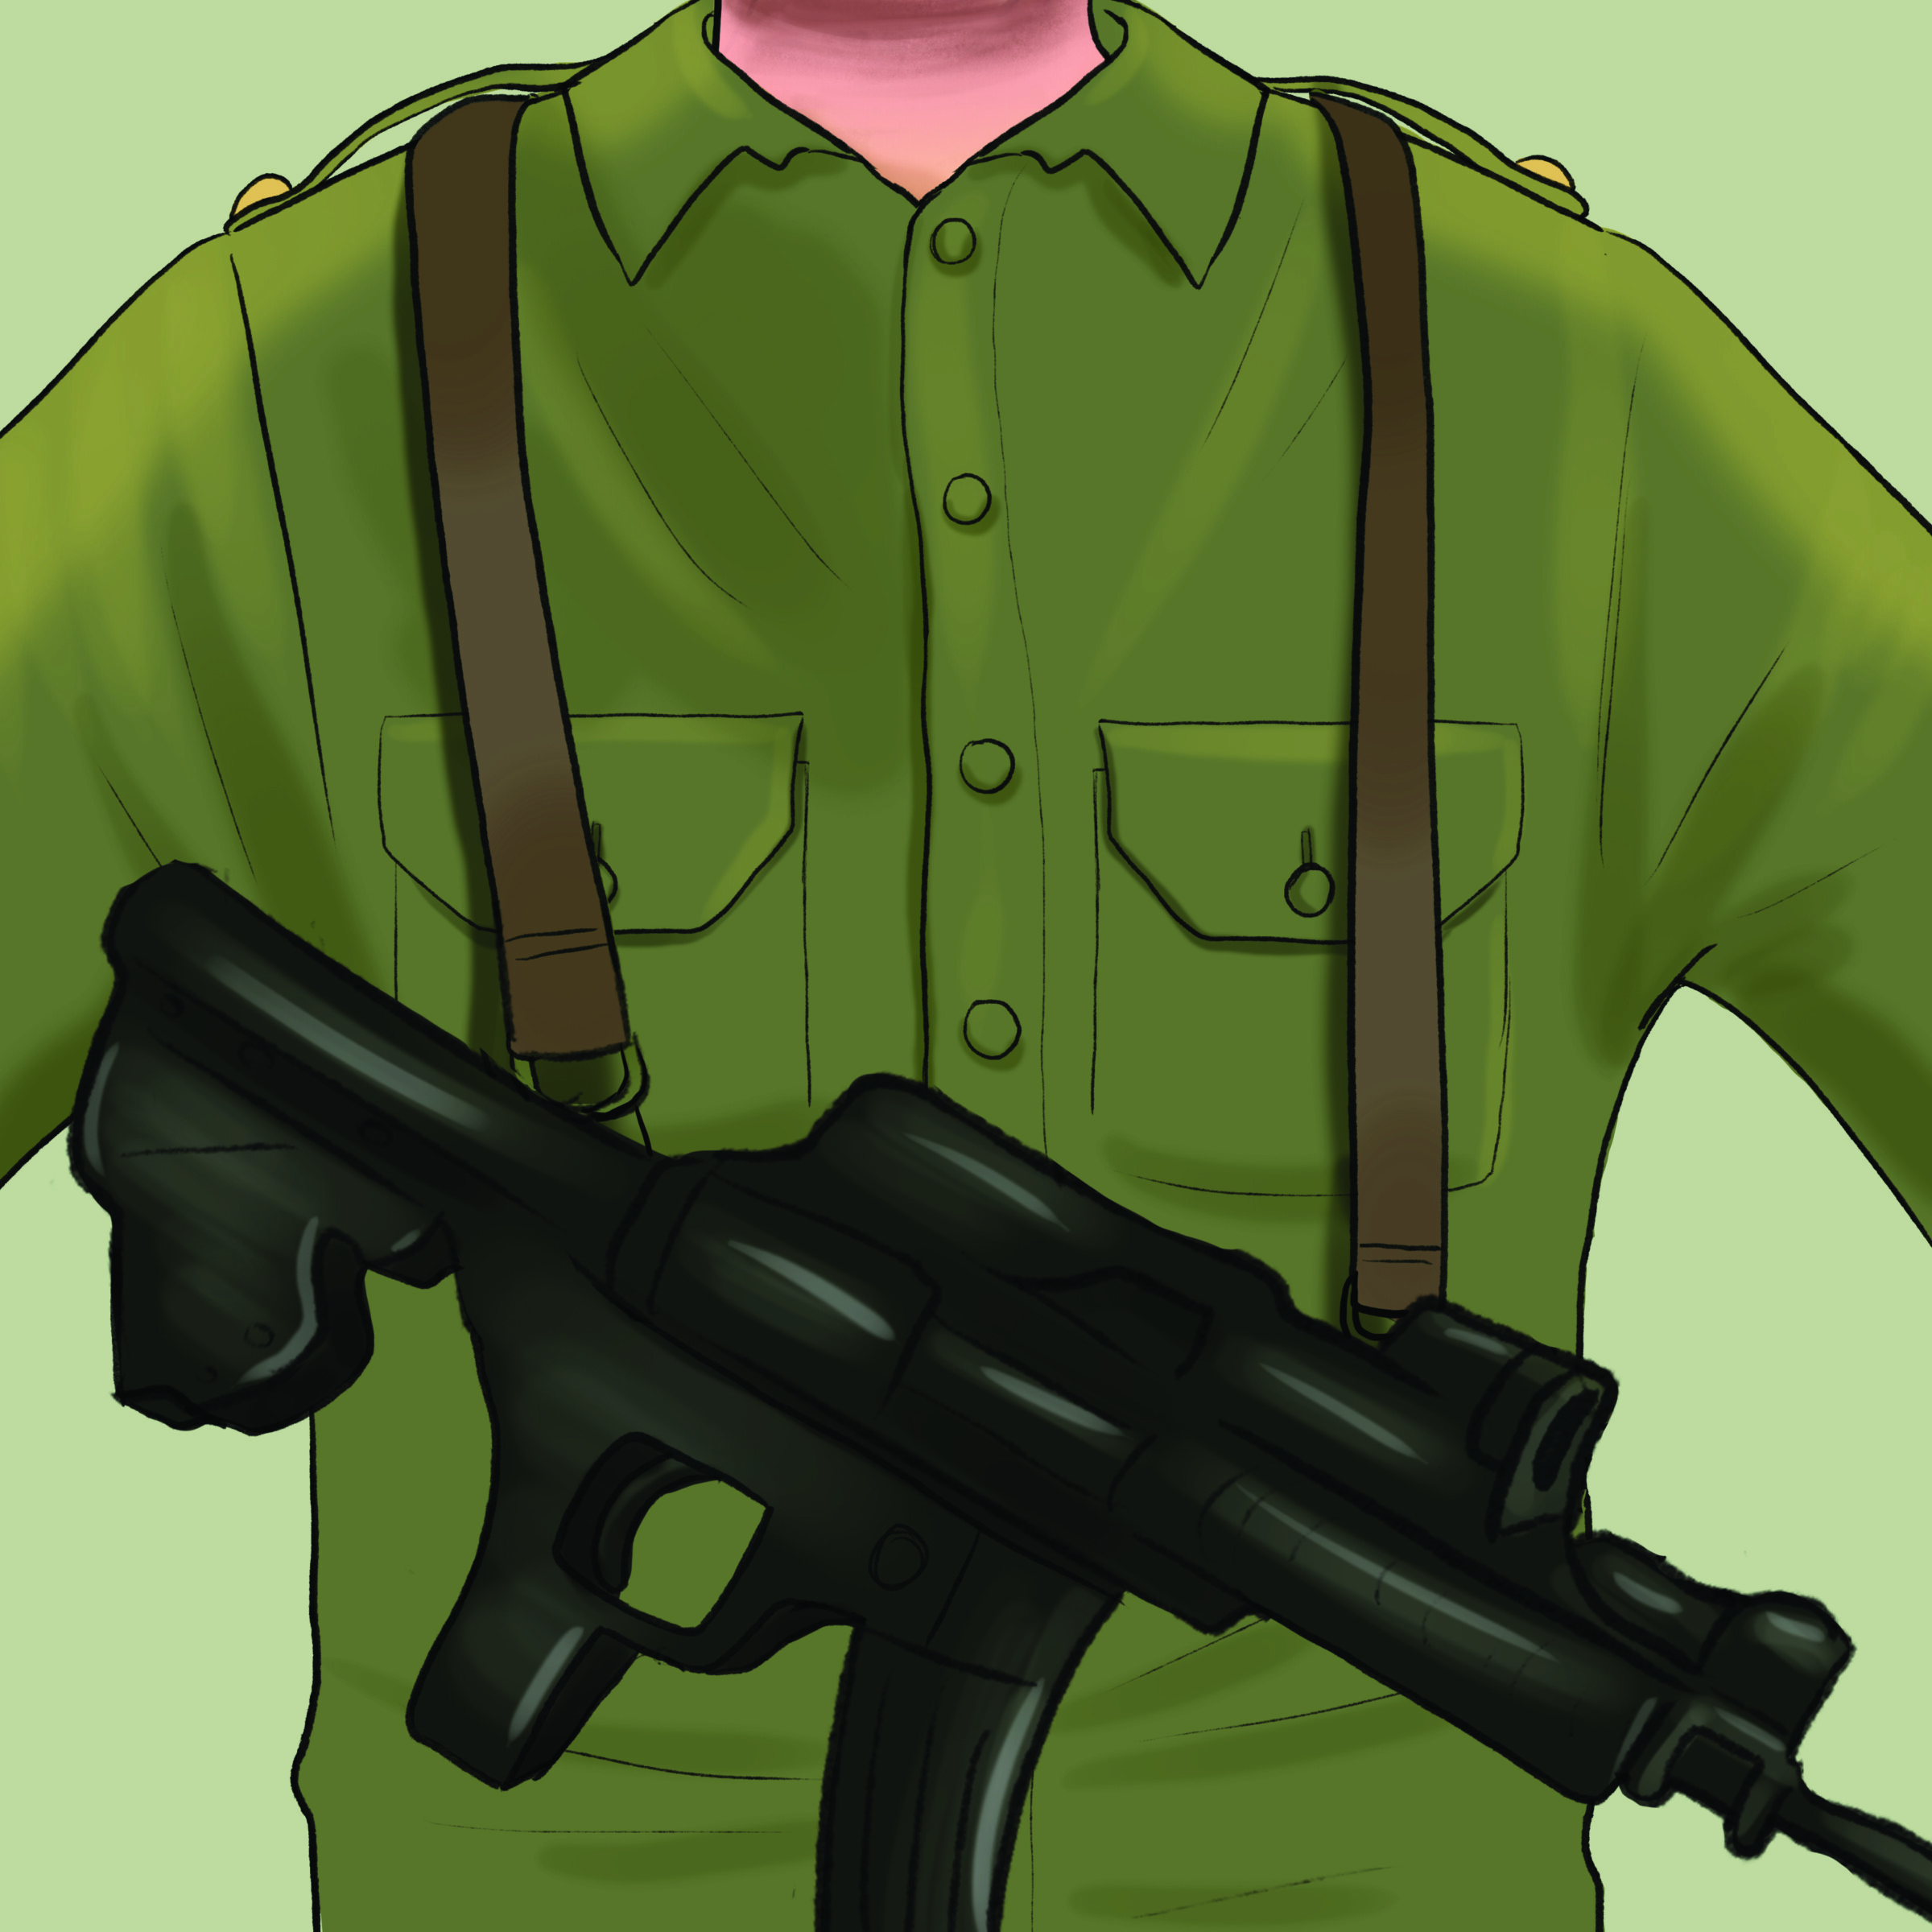
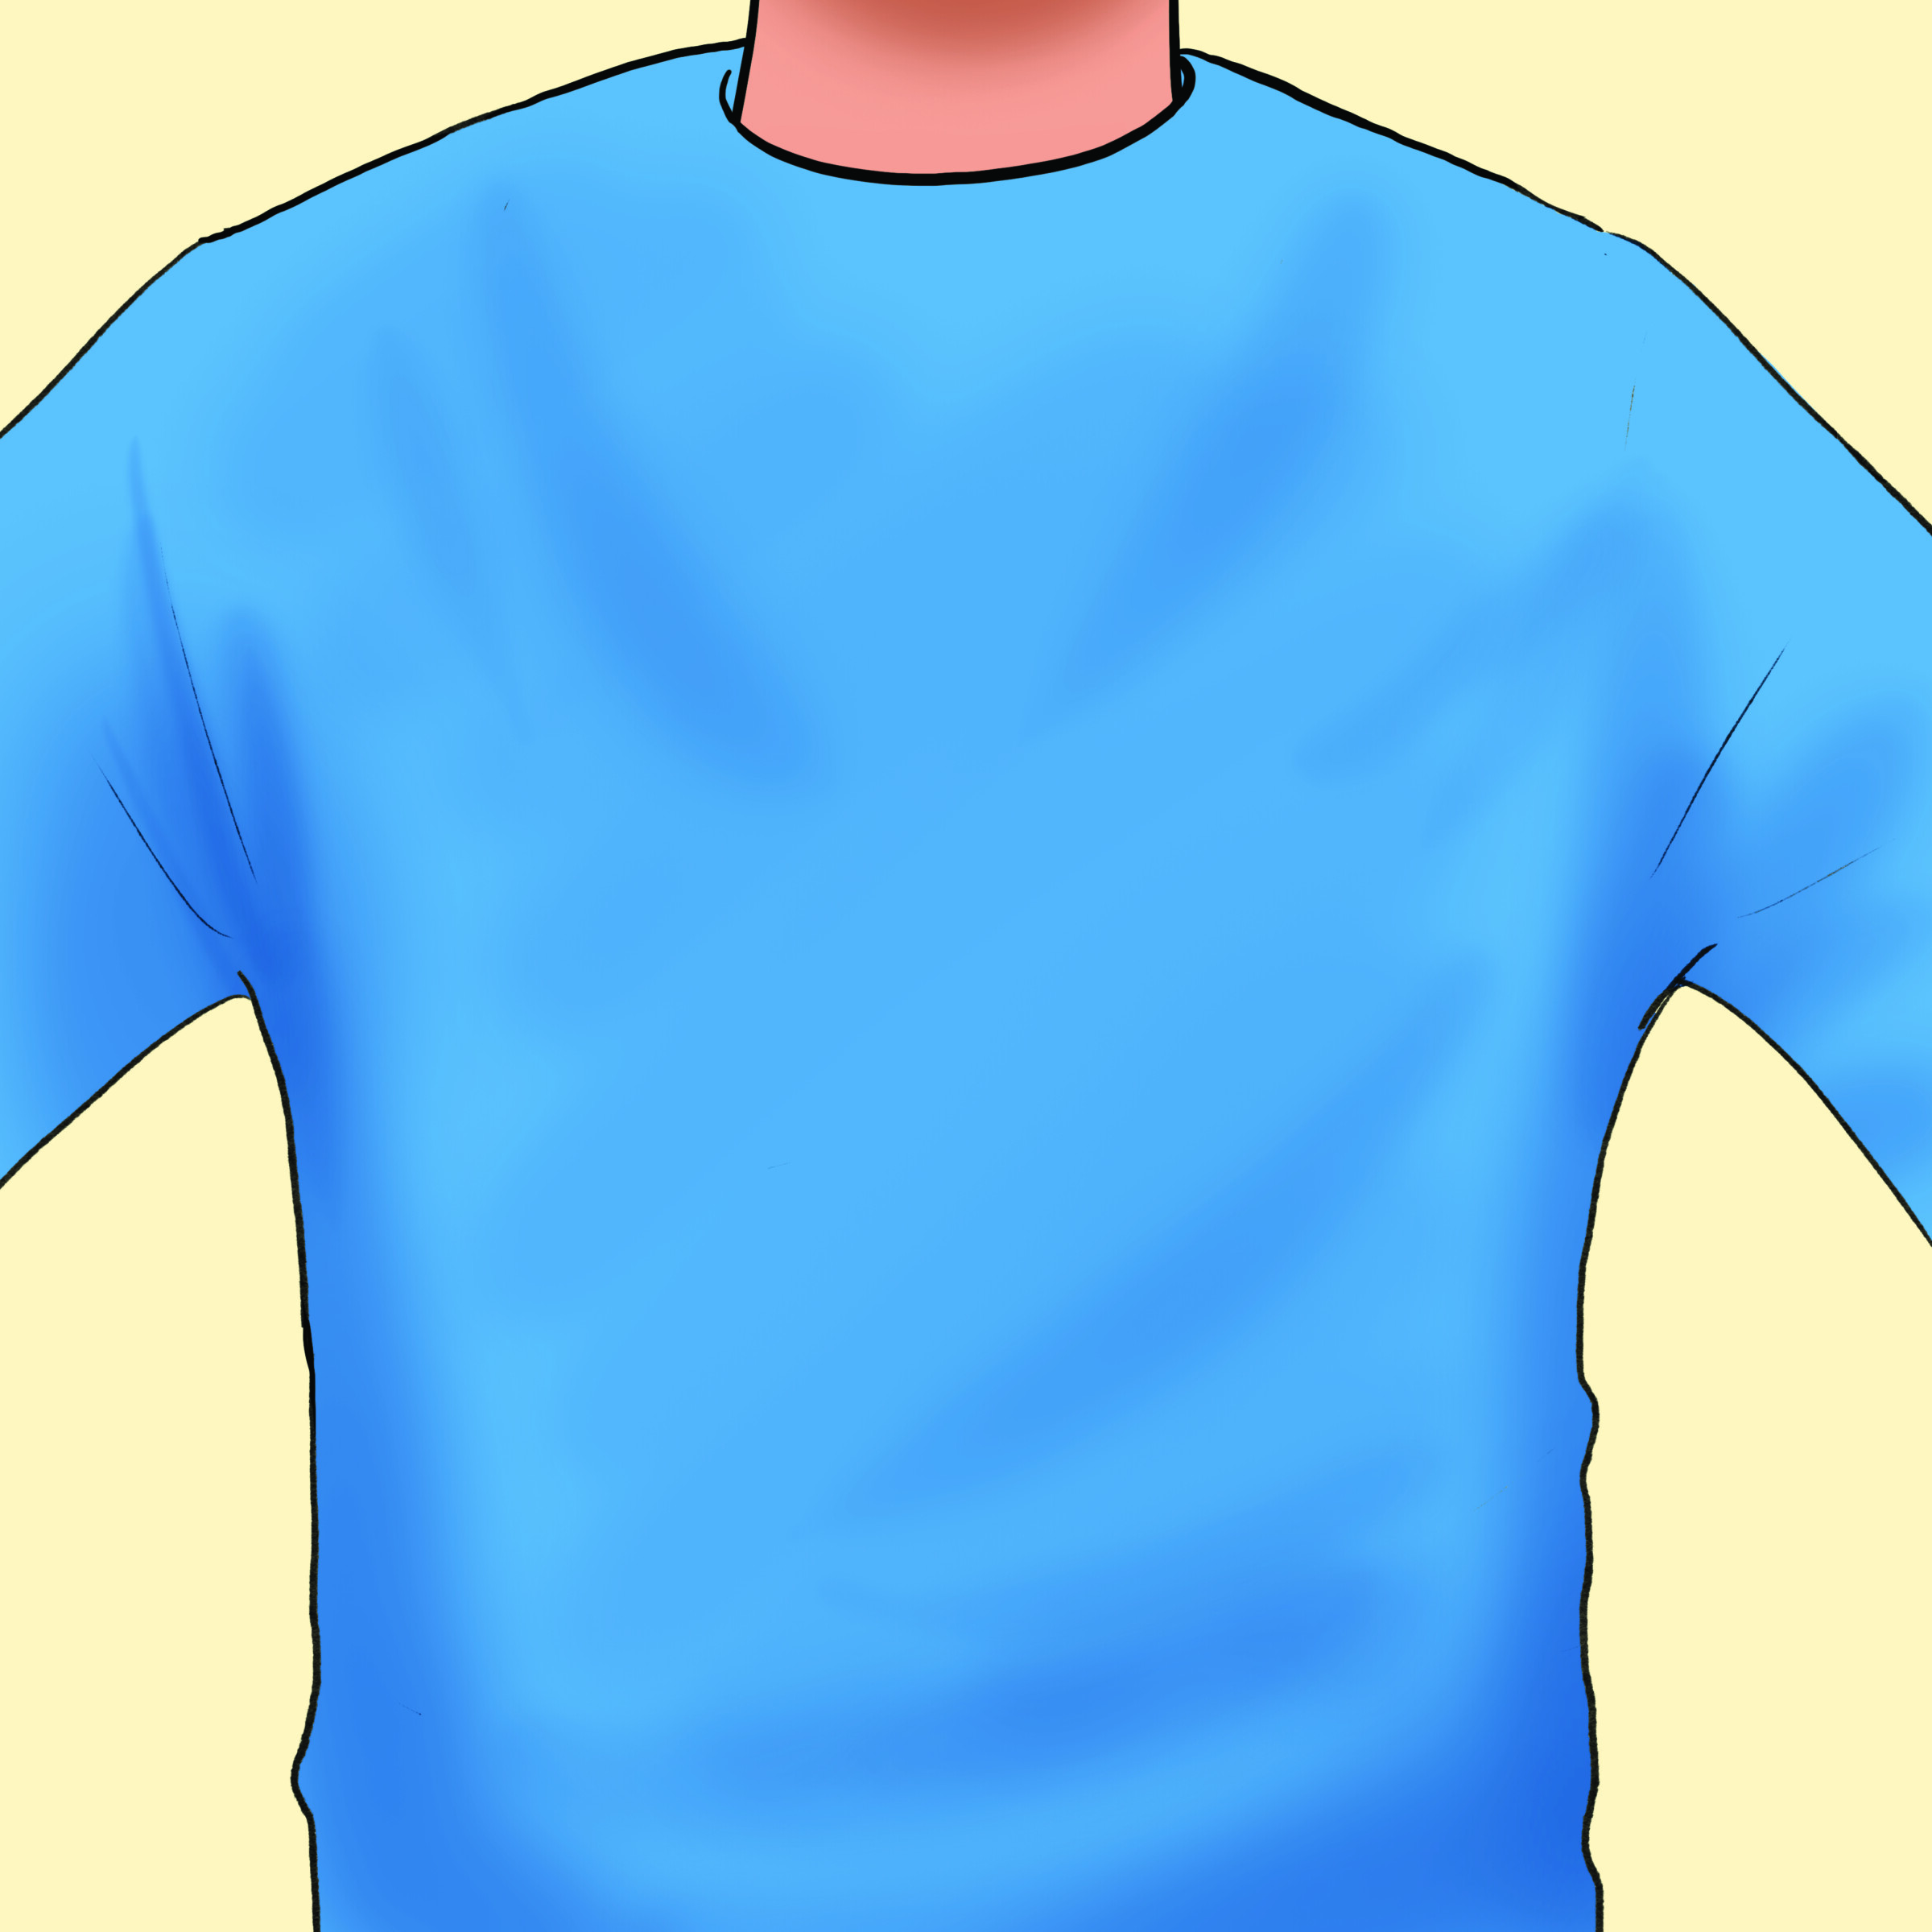
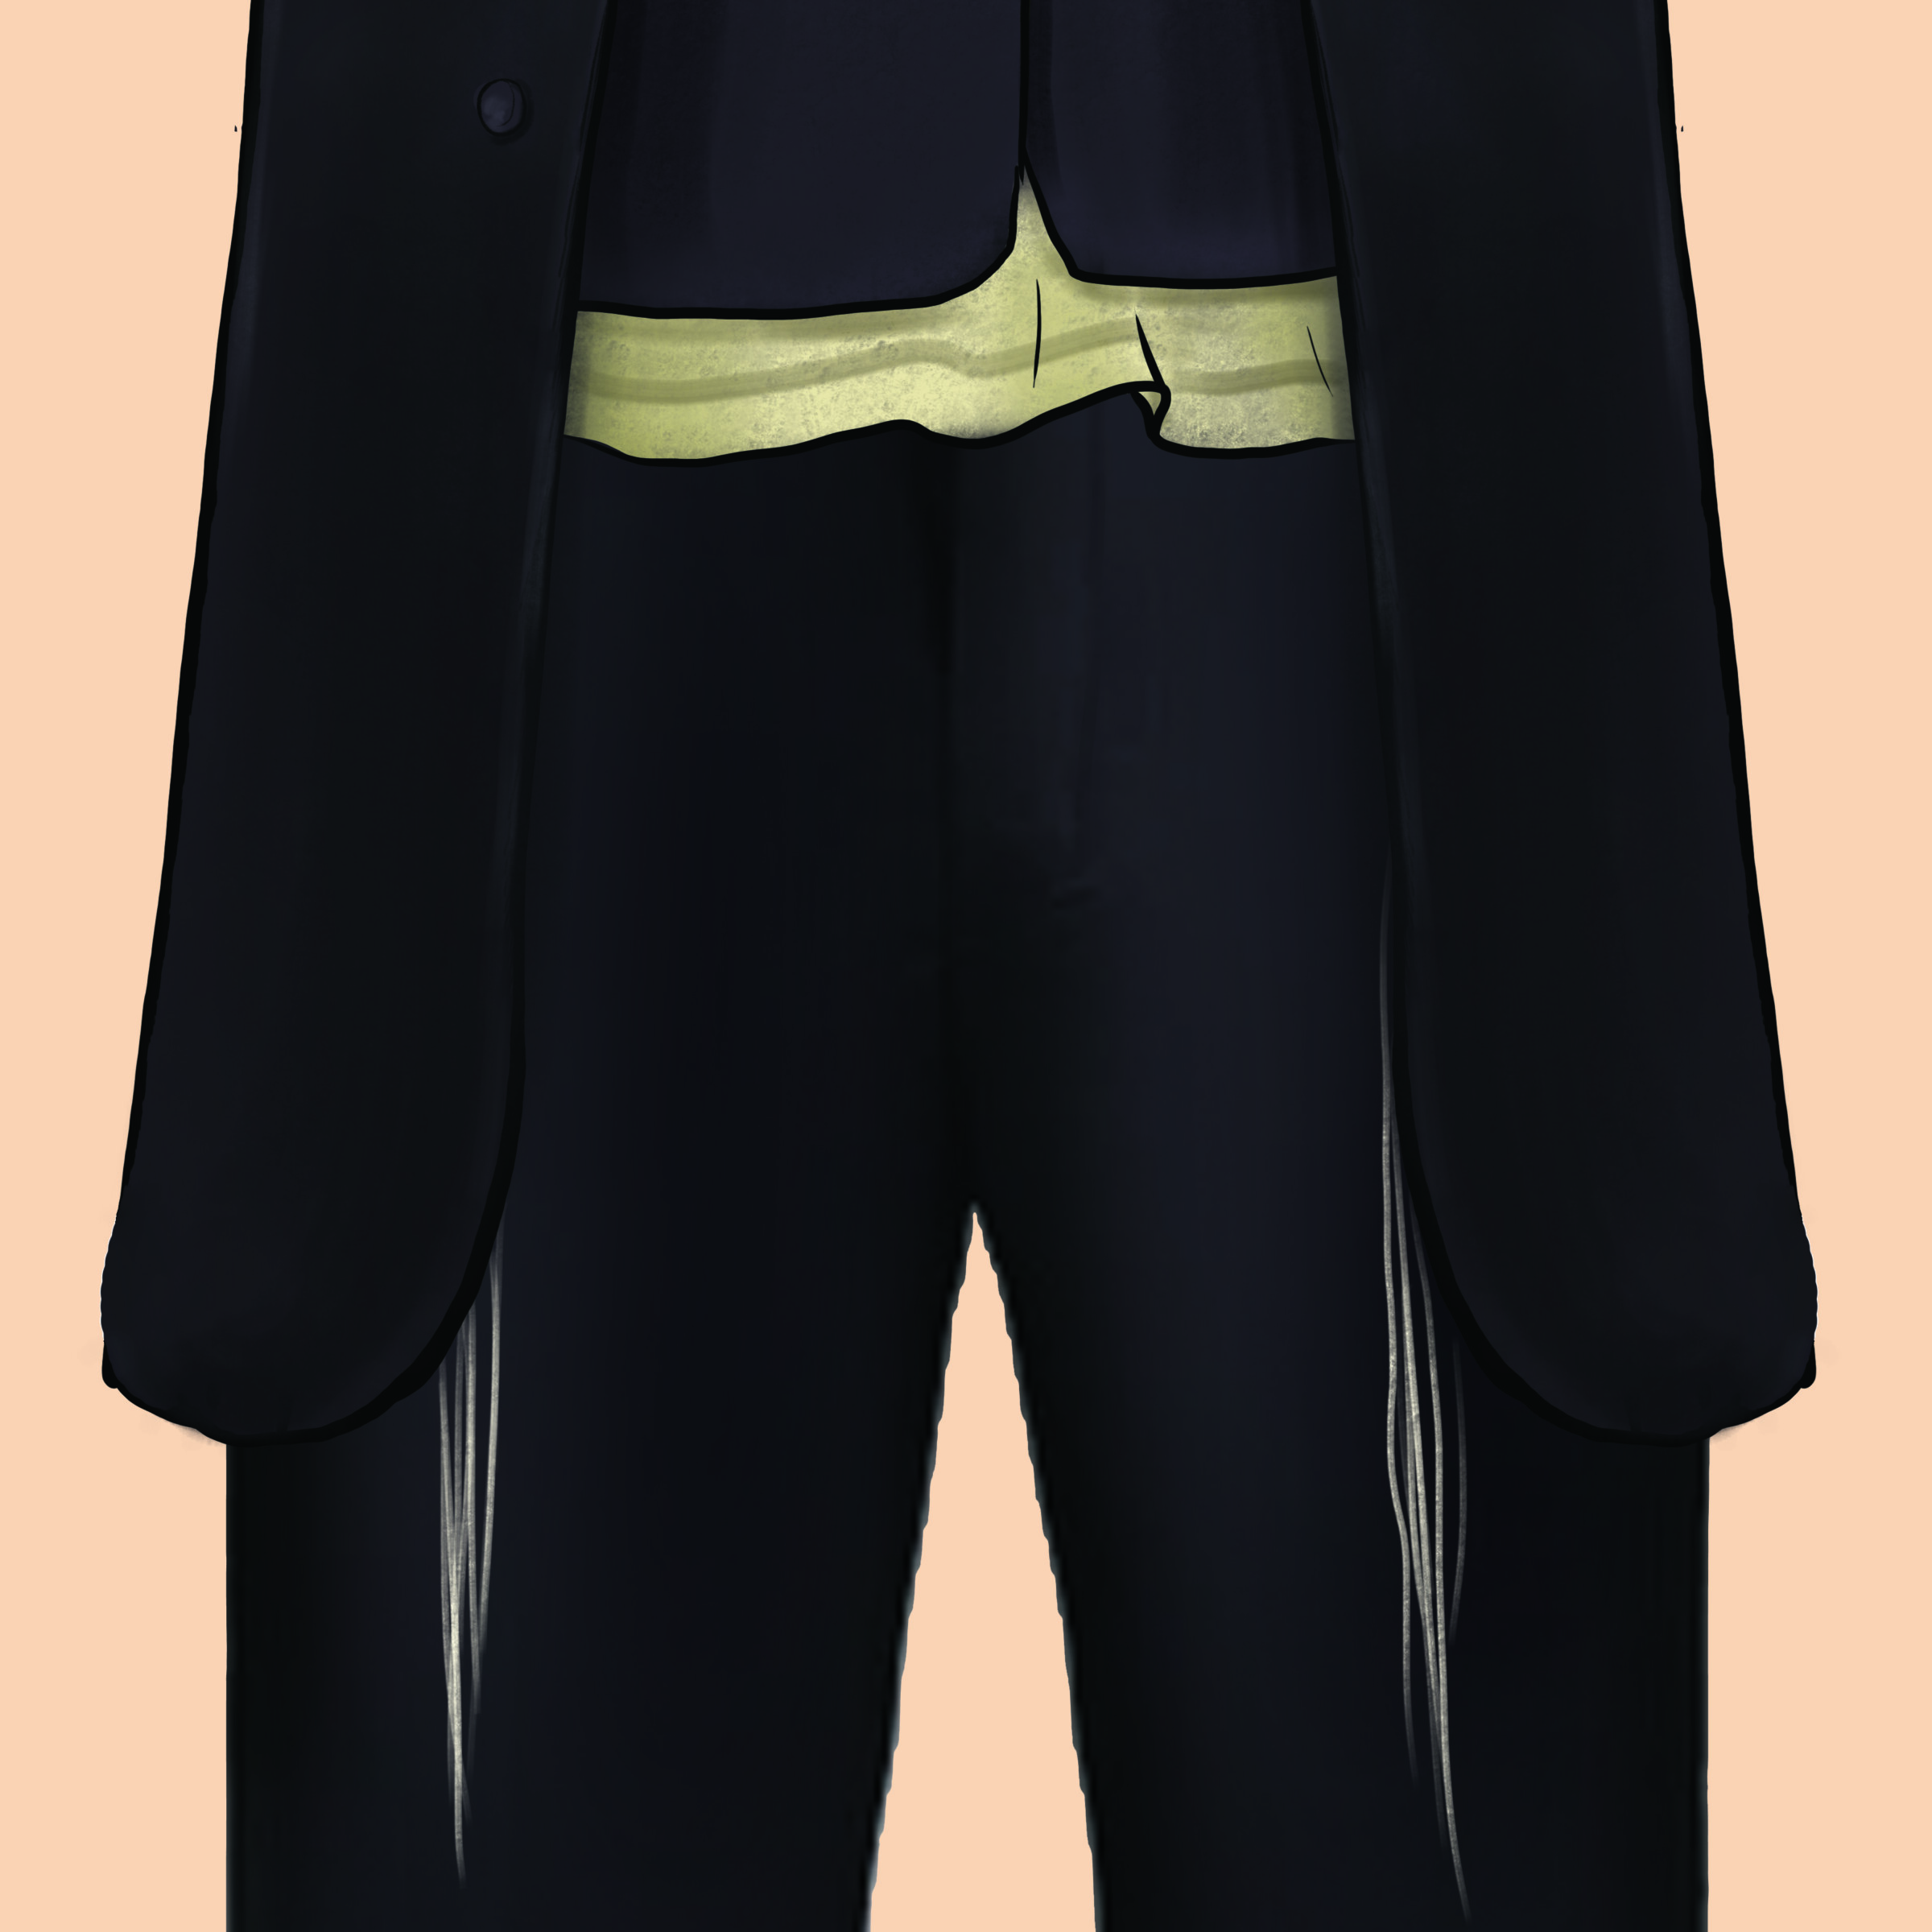
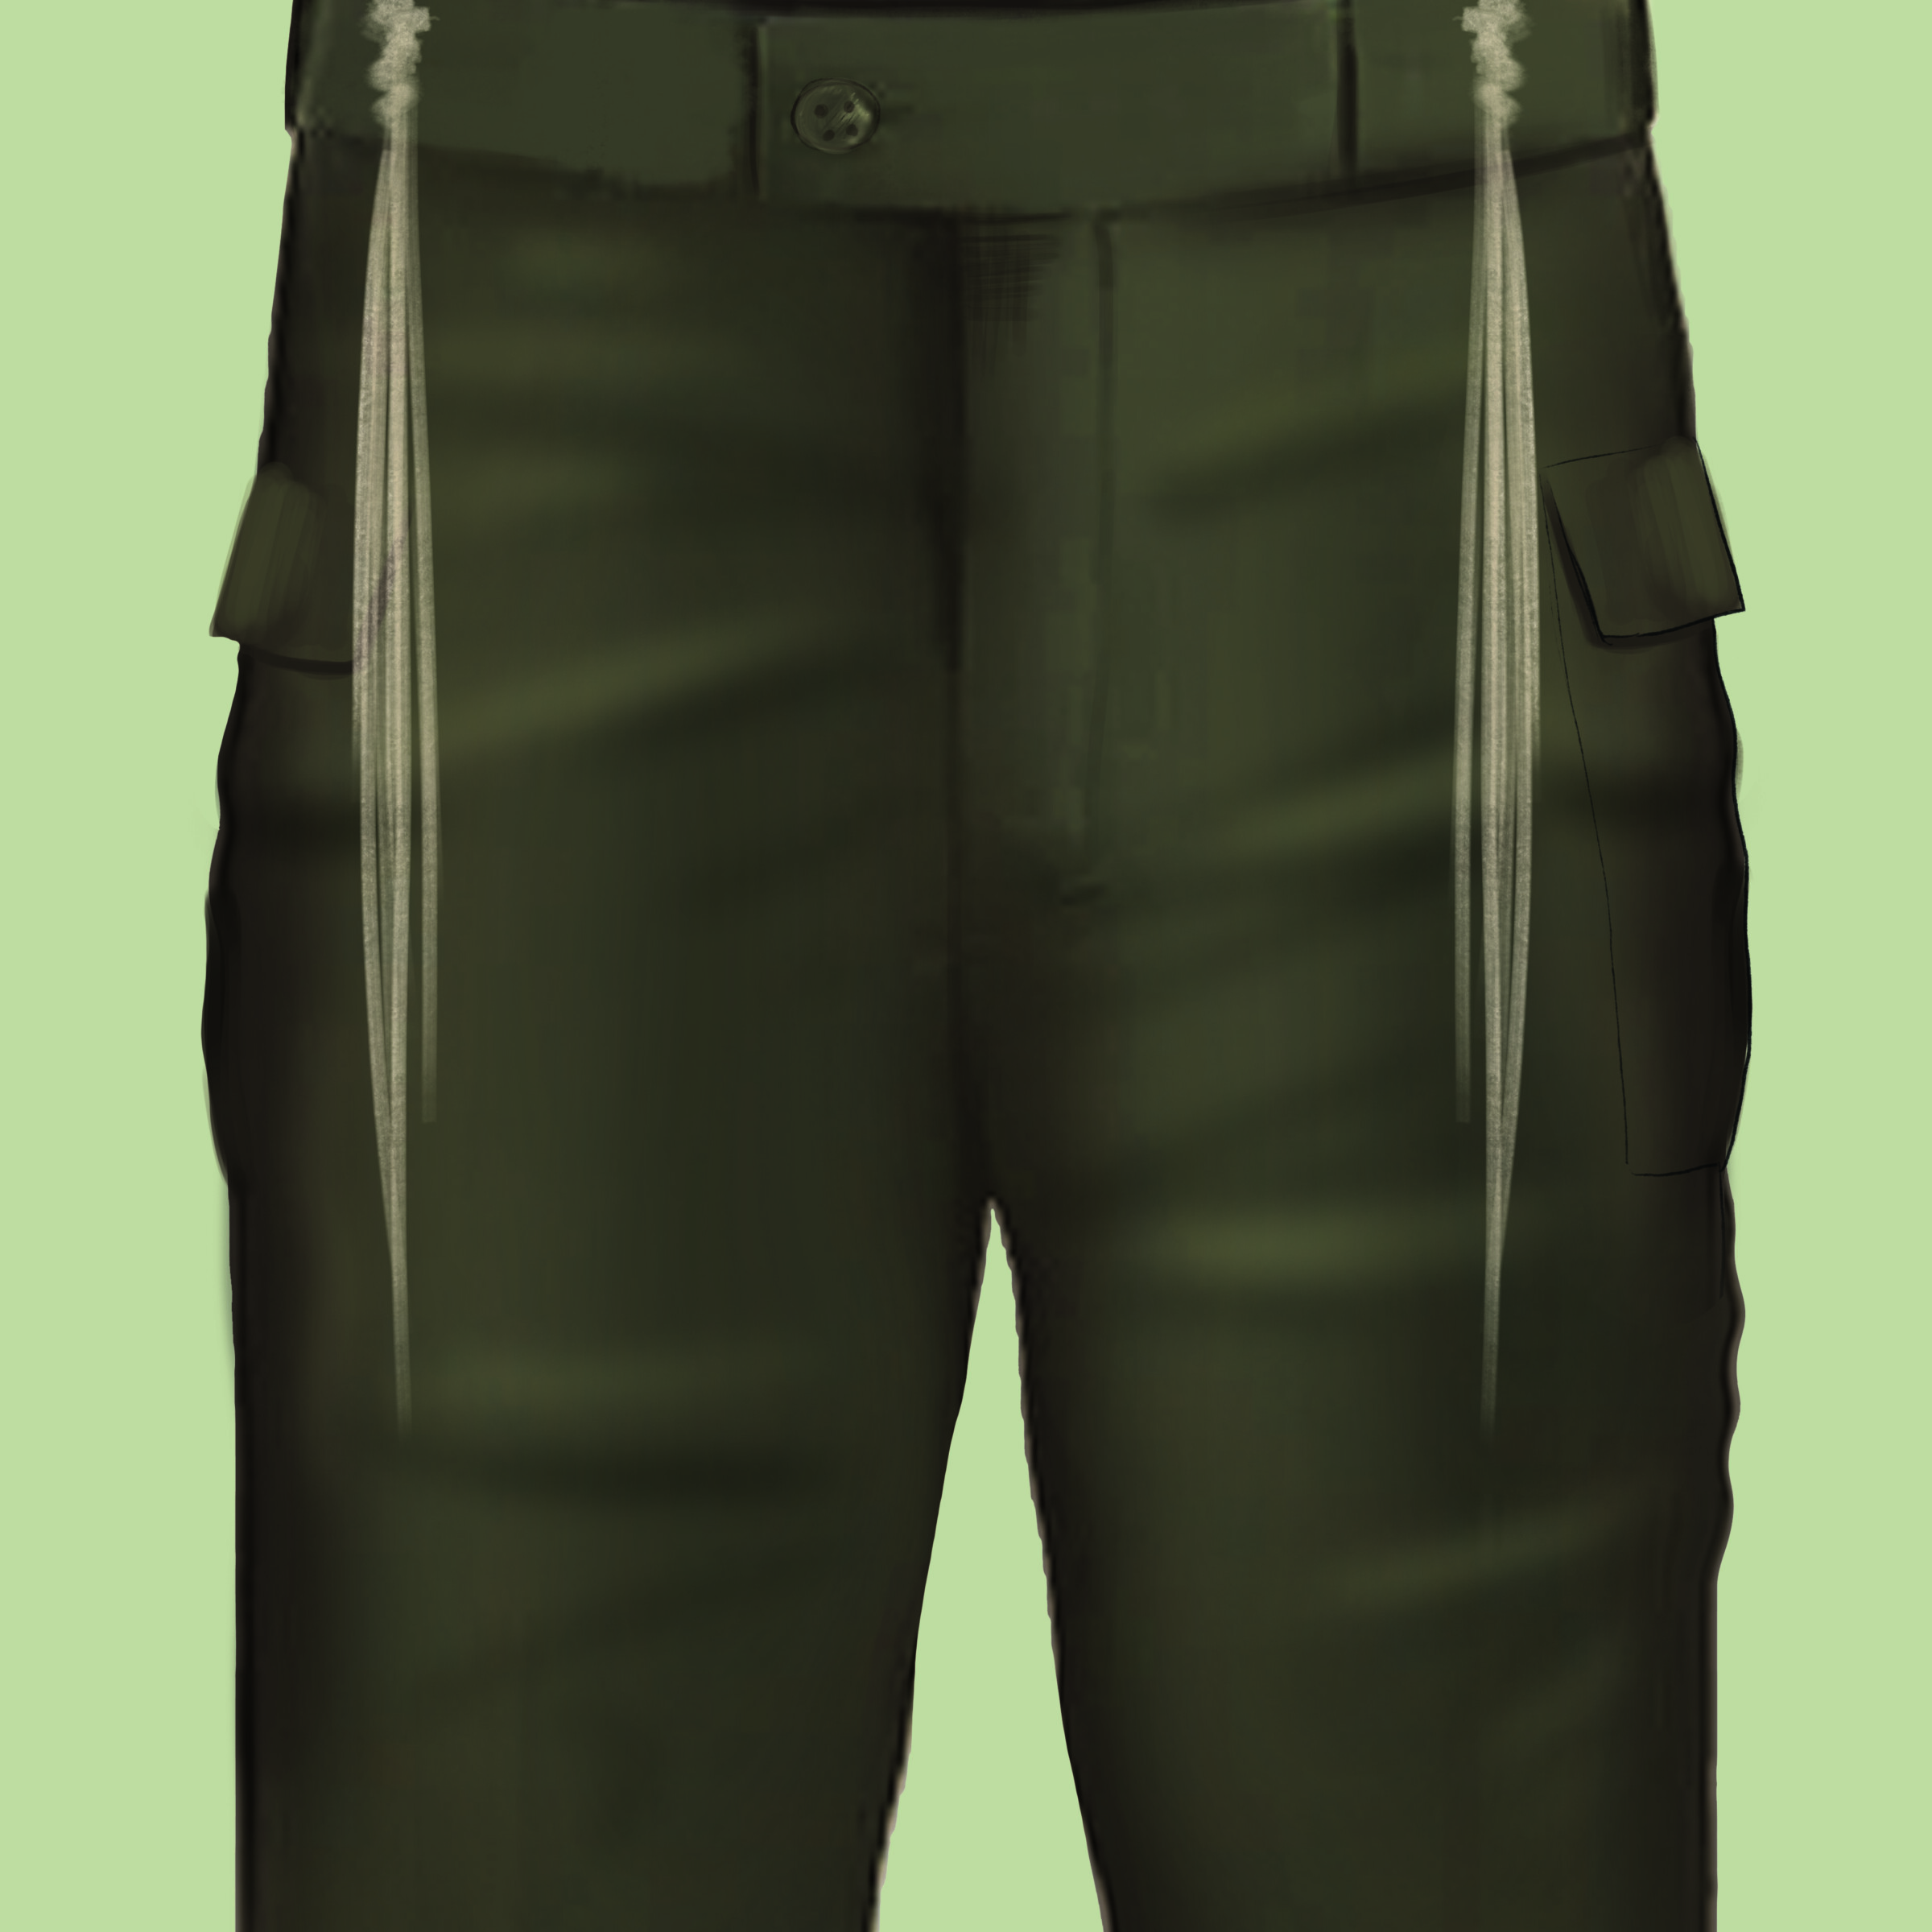
United as One
NO matter who you are or where you are from, we look past the externals and join together, united as one.
This mix-and-match costume is best for people who are walking around over Purim and not constantly in and out of a vehicle. Though it’s not very hard to take on and off, it’s easier to do it with a second person, and it takes a full minute. That said, this costume is an engaging and fun way to express the feelings we all deeply share.
Materials Needed:
3 square white boxes (use spray paint if needed)
1 lazy Susan mechanism with an open center (it’s optional to use 2)
Printed illustrations (Download Below)
Measuring tape (optional)
Scissors
Utility knife (optional)
Hot glue gun
Hot glue sticks
Double-sided tape
Velcro (adhesive or hot glued on)
How to make it:
Measure the widest part of the person who will be wearing the costume (usually it’s from shoulder to shoulder). Buy three square boxes slightly bigger than that. The lazy Susan mechanism should be the dimensions of the box as well.
Download the illustrations and print them slightly smaller than the size of each box. Each costume needs 12 squares of illustration in total. I had the pictures printed at a photo printing shop, but you can print them on your home printer. I rounded the corners of each square for a nicer look.
Cut the blank faces out of the illustrations.
To make the top cube, hot glue the box closed. The side that is glued down will be the bottom of the box. Cut a hole in the bottom of the box big enough to easily fit over the costume-wearer’s head.
Using a utility knife or scissors, cut holes slightly bigger than the faces of the illustrations on each of the four sides of the box.
Attach the illustrations of the heads to each of the four sides with double-sided tape.
Moving on to the middle box, glue the box shut. Again, the side that is glued down will be the bottom of the box. Hot glue the inner ring of the lazy Susan mechanism to the bottom of the box.
Using a utility knife or scissors, cut out the entire center of that bottom all along the inner ring of the lazy Susan mechanism. (See photo below)
You could choose to put a second lazy Susan mechanism at the top of the middle box, following the same instructions as above, just on the top of the box instead of at the bottom. (It will make the turning of the top box smoother.) It’s not mandatory, if you only want to use one lazy Susan mechanism, then just cut out a hole at the top of the box for the costume wearer’s head.
Attach the illustrations of the torsos to each side with double-sided tape in the same order that you did the heads.
This center box will not turn, so choose which side you want to keep as the front and which you want as the back. Then, cut holes on the two sides of the box for the costume wearer’s arms to fit through comfortably. (See photo below)
For the bottom box, cut the flaps of the box off. That fully open side will be the bottom of the costume.
Attach the illustrations of the lower body to each side with double-sided tape in the same order that you did the heads and torsos.
To attach the bottom box to the middle one, connect the two sides of your Velcro and cut into 12 small strips, about 1⁄4” wide. Attach the strips of Velcro around the outer ring of the lazy Susan mechanism with the adhesive or hot glue. I suggest having them all soft-side down, except for one (put the rough side down for that one), to make it easier to realign it perfectly when reattaching the box, in case you remove it to sit down.
Align the middle box with the bottom box, and glue the other side of the Velcro strips to the bottom box. (Repeat these instructions on the second lazy Susan mechanism if you chose to use it.)
Cut out the center of the top of your bottom box along the inner ring of the lazy Susan mechanism.
To make it easier to take the bottom box on and off, create a door by opening one side along the seam of the box. Cut the top of the box from the outer edge until the inner hole. Then make a slit at the top of the box on the other side so the “door” can open wide. (See photo below) To close the “door,” attach Velcro along the seam that you opened. This way, instead of having to step in and out of the bottom box, it can be put on at the waist and then closed.
To put on the costume, first put on the middle box (the torso) by pulling it over the costume wearer’s head. Next, put on the bottom box, then attach it to the middle box using the Velcro strips. Finally slip the top box over the costume wearer’s head. To sit, remove the bottom box by opening the “door” at the waist using the Velcro strips.


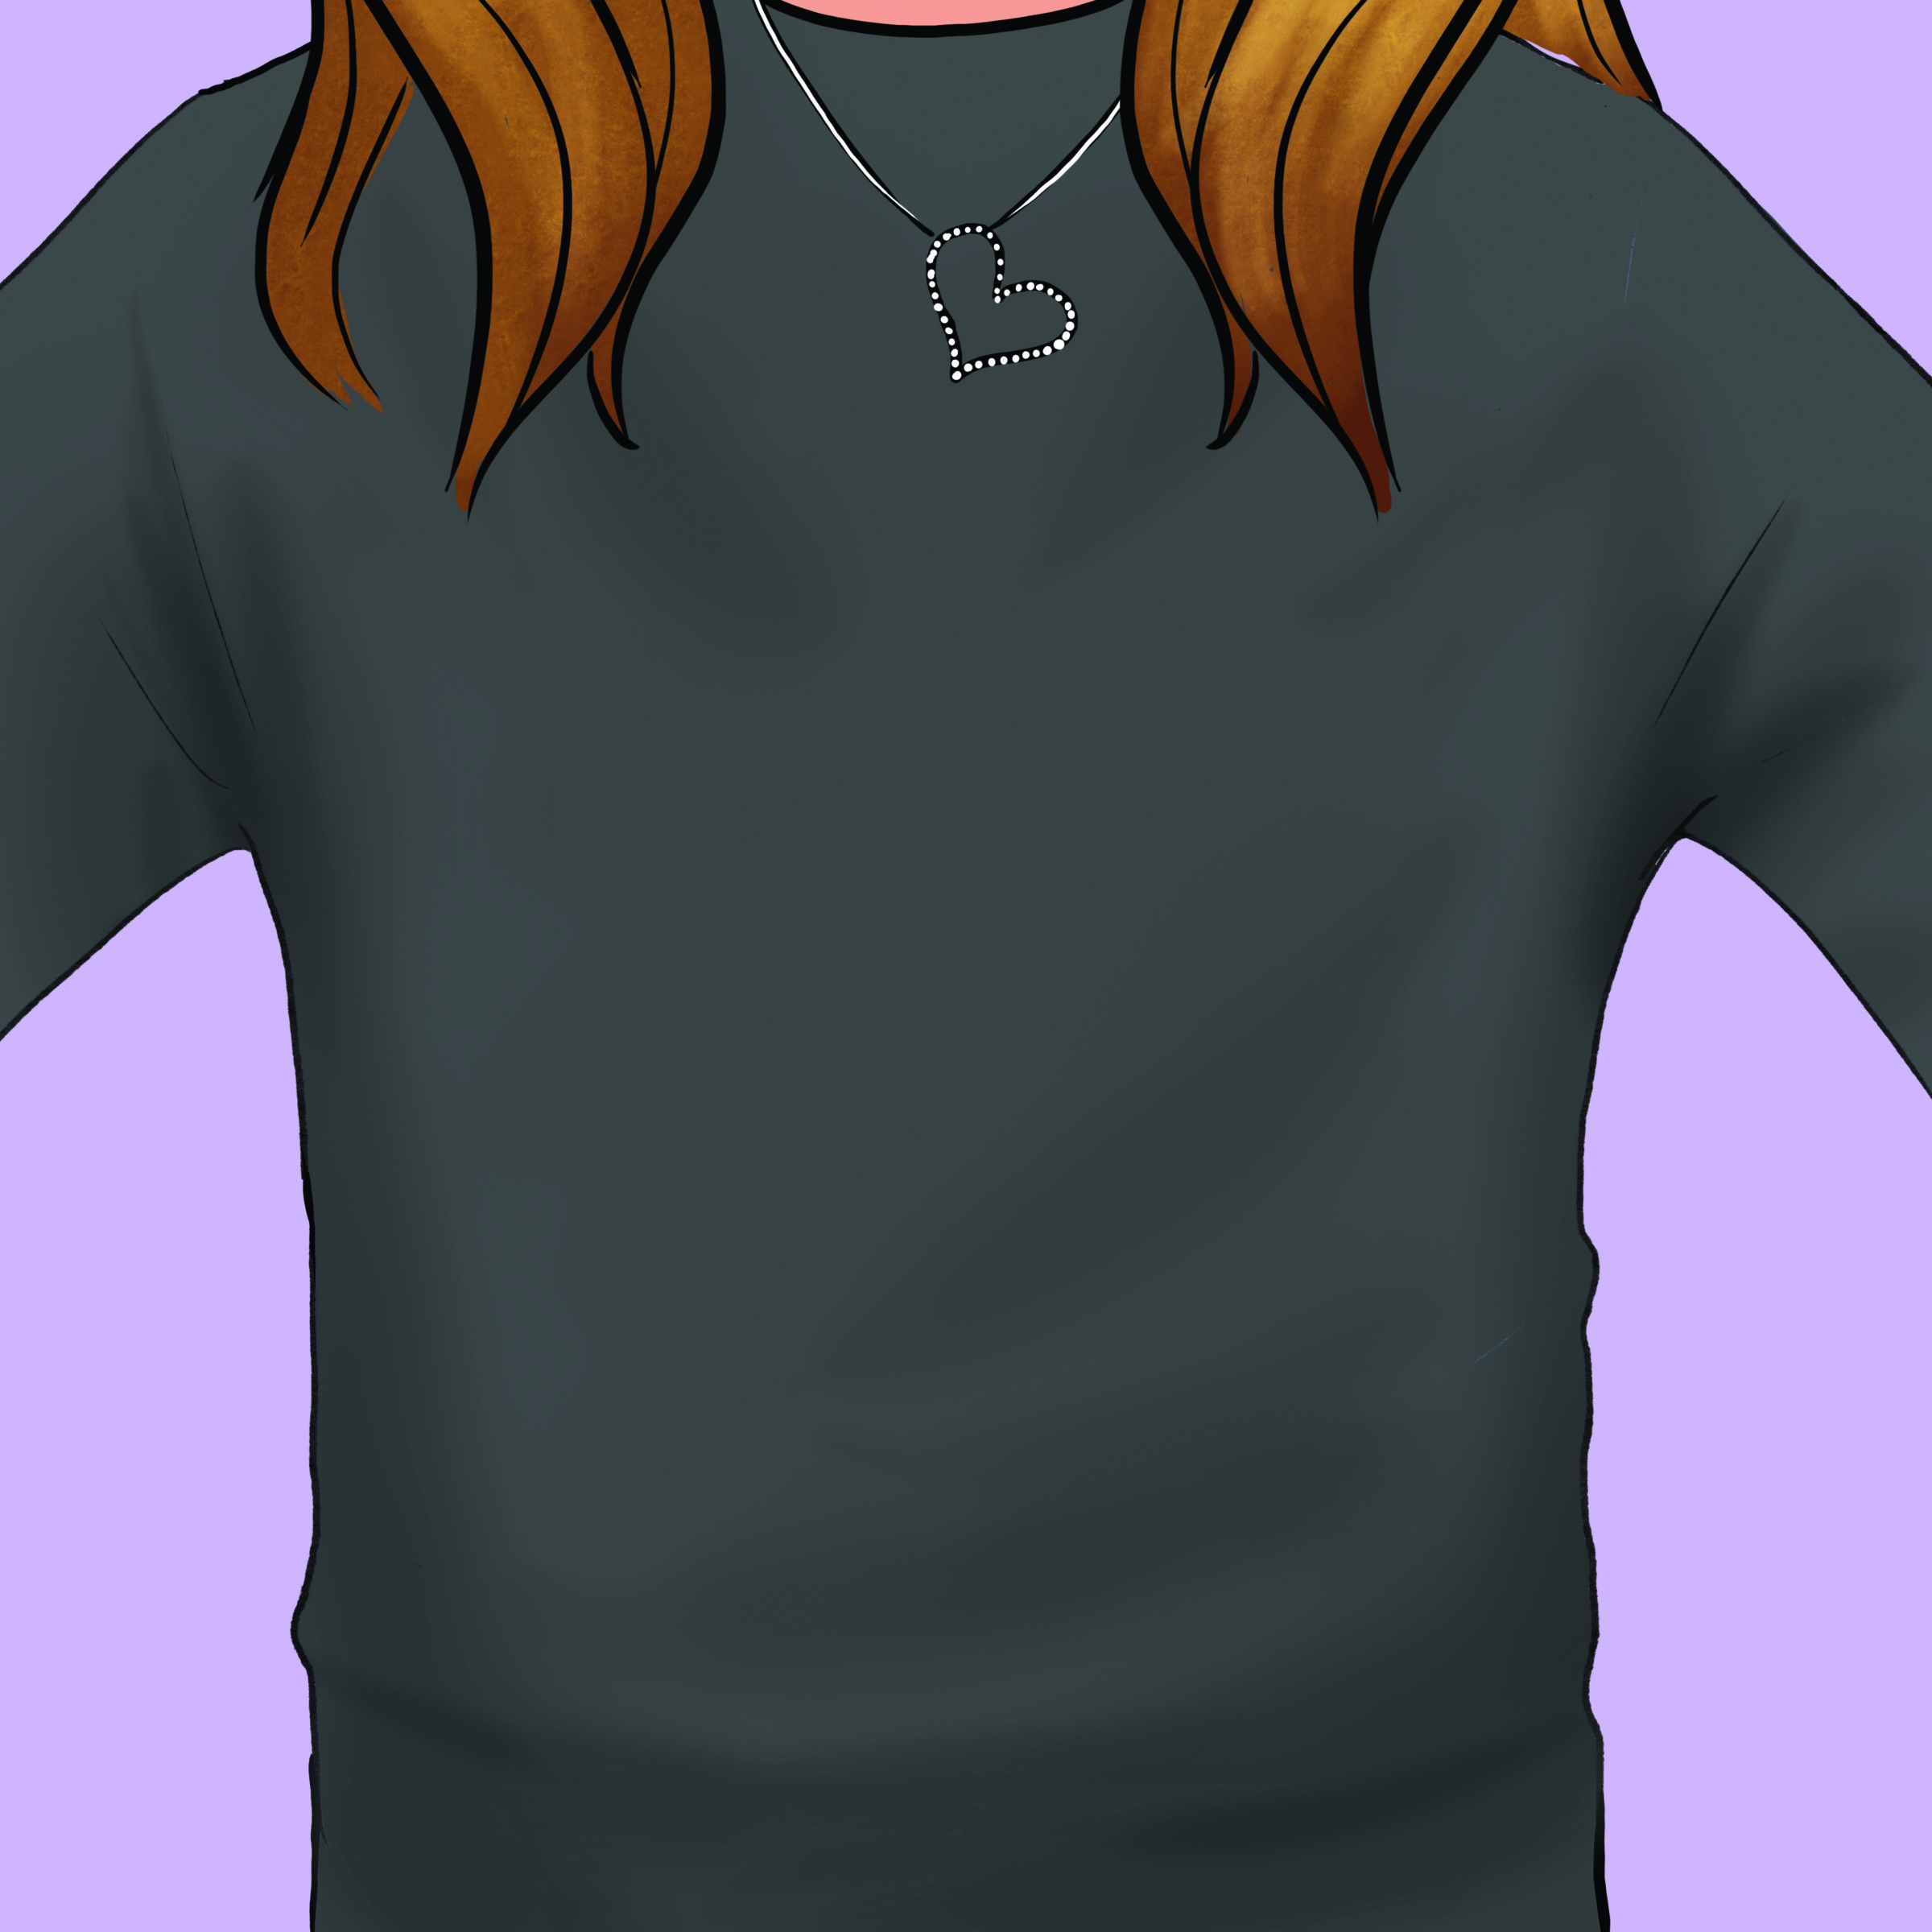
Libi b’Mizrach
Though we may not physically be there, the hearts and minds of Jews around the globe are in Eretz Yisrael. The Google Maps in this costume include some of the most iconic locations of central Yerushalayim (approximately in the correct areas), but feel free to add any locations that are meaningful to you.
Materials Needed:
Gray top and pants/skirt
Narrow yellow duct tape
Narrow white duct tape
Wide green duct tape
Orange permanent vinyl or heat transfer vinyl
Red permanent vinyl or heat transfer vinyl
Scissors
Black permanent vinyl or a black Sharpie
How to make it:
Cut a large Google Maps marker out of your red vinyl with scissors or Cricut machine.
Attach it to the gray top at the top left, over the heart.
Using yellow and white duct tape, create roads throughout the gray top and pants/skirt.
Add green duct tape in some areas to indicate parks.
Cut smaller Google Maps markers out of the orange vinyl, and stick them to the costume to mark iconic spots.
Add text to the Google Maps markers with a Sharpie or Cricut-cut text. (Download the image of the text and upload it, as it’s significantly easier than typing Hebrew text in the right direction on the Cricut design space.)

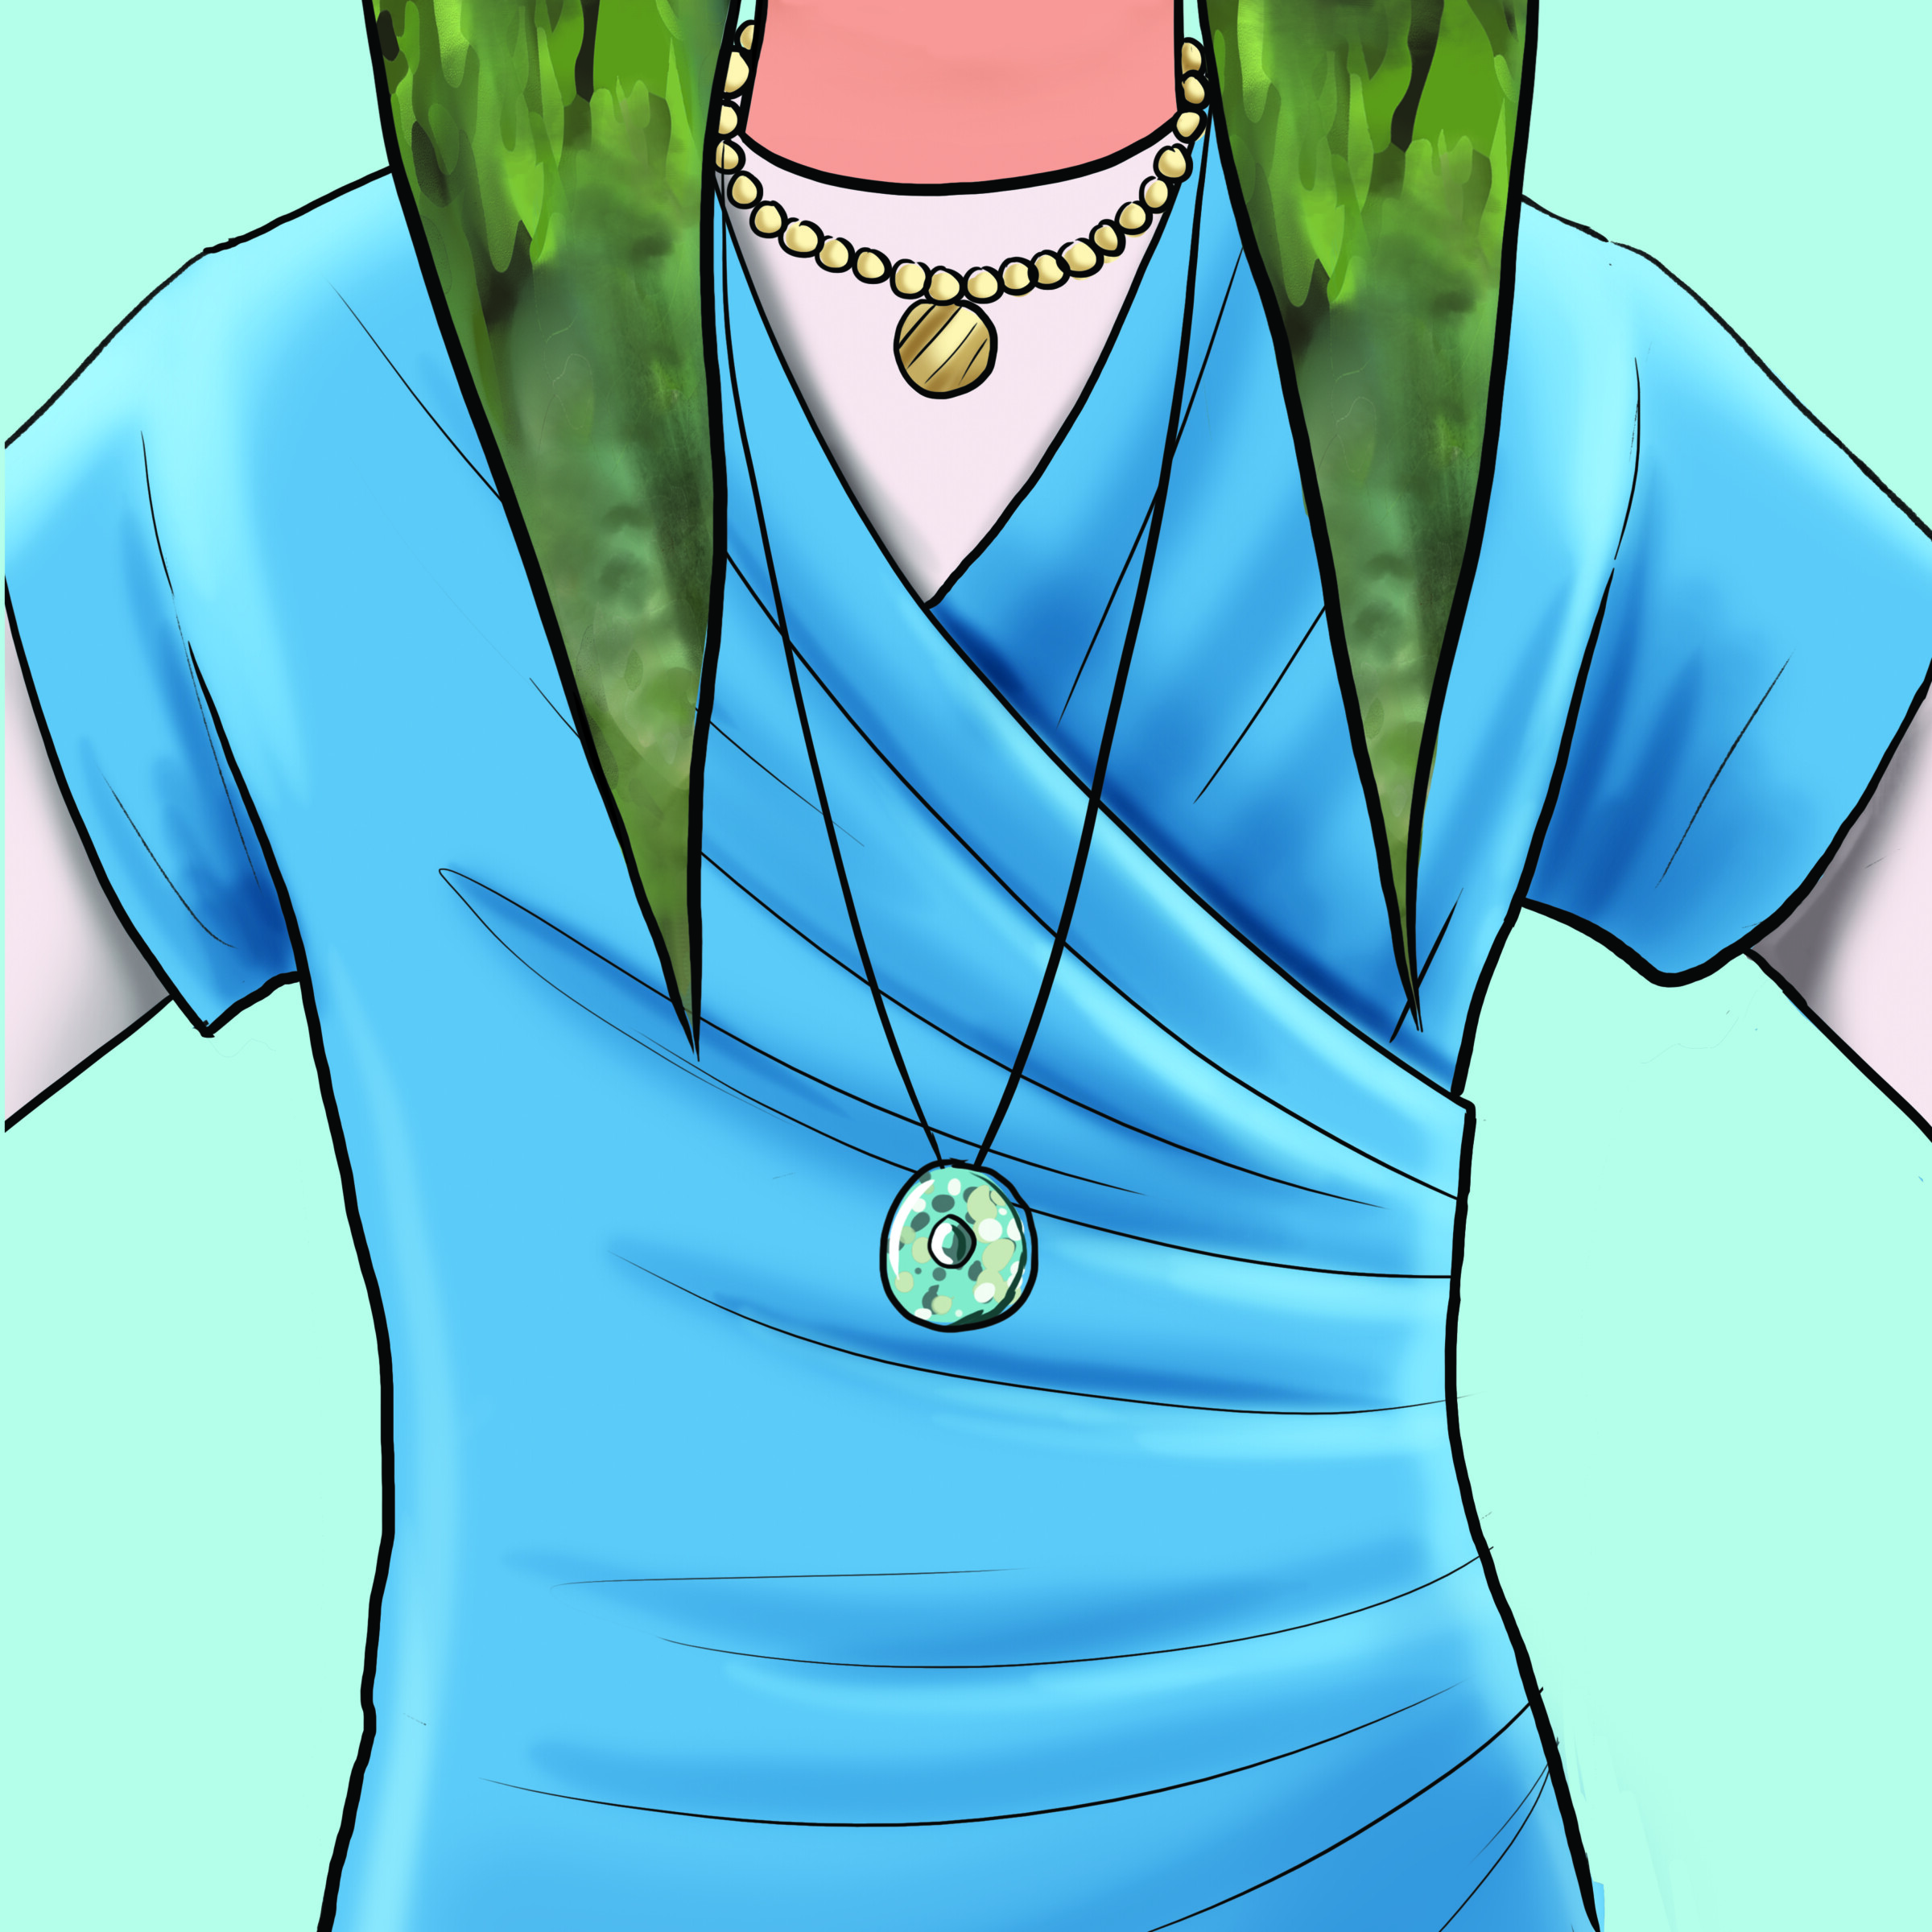
Kosel
The Kosel needs no introduction. It’s the place we all feel an intense connection to. It’s the place we desire to go whenever given the opportunity. It’s the place we hope will be so much more than just one wall, very, very soon.
Materials Needed:
Tan top or dress (optional)
Peel-and-stick backsplash tiles
Moss
Scissors
Hot glue gun and glue sticks
How to make it:
Cut the sheets of tiles into individual tiles.
Peel and stick the tiles to the top of the dress.
Hot glue clumps of moss at the corners of various tiles.
Click on the links below to download the costume images
(Originally featured in Family First, Issue 884)
Oops! We could not locate your form.
RELATED CONTENT

Why those four years leave an imprint we can't shake. A look at the science and psychology of high school

Our readers share the pasuk of Hallel whose strains resonate most melodiously through their life


How do fiction writers bring their characters to life? Esty Heller investigates

When a kid’s development is out of sync with their peers, what’s a parent to do?