Face it: All About Contour
| July 8, 2025Shape your face like a pro

All About Contour
As a beginner, the concept of contouring my face seemed very intimidating. It took me a few years to try it out, and once I learned how to do it properly, I never went back! It’s a game changer for those looking to level up their makeup.
What is contouring?
Contouring is a makeup technique that enhances your features. It can be used to shape your cheekbones and help them pop, or it can give the illusion of a slimmer nose, a smaller forehead, or a sharper jawline.
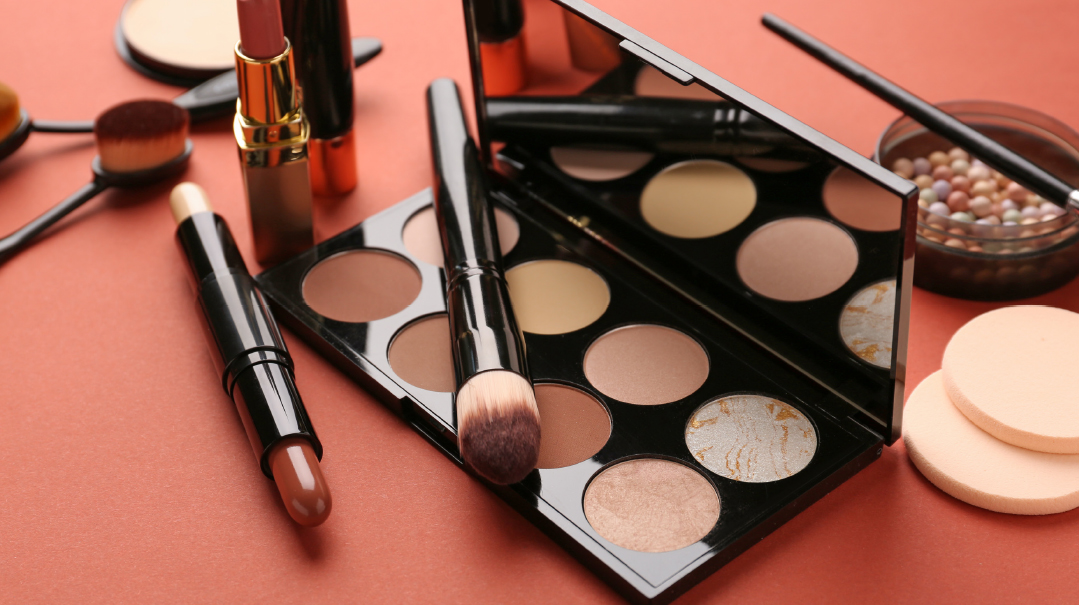
Contour comes in the form of cream, liquid, or powder. Cream and liquid formulas tend to be more natural and easier to work with than powder, but really, it comes down to what you feel most comfortable using.
It’s best to use a brush that’s more precise for contouring to keep the product concentrated in the proper areas.
When to apply contour?
Once your foundation and concealer are applied, it’s time for a cream contour. If you prefer a powder contour, it’s best to wait until after you’ve applied all your cream products and set your face with powder.
Contour vs. Bronzer
Contour will come in cooler undertones, which mimic shadows on your face and give it shape, while bronzer has a warmer undertone to mimic sun exposure and bring warmth to the face.
Where to apply contour?
There’s a basic placement for contour that works on most people, but it can vary slightly based on face shape.
If you want to create the illusion of a smaller forehead, you’ll want to place your contour along the top of your forehead and upward, toward your hairline. If you have a smaller forehead to begin with, you can apply the contour to the sides of the forehead only and leave the middle area empty.
The most popular area to contour is the cheekbones. It helps define them and give the illusion of a slimmer face. A good way to find the right spot to contour is to look in the mirror and suck your cheeks in. Then, once you see where your cheekbones are, place the contour slightly under the actual cheekbone. (Some faces might be shaped better if the contour is put directly on the cheekbone.)
You can also follow the ear-to-pupil technique, in which the contour follows the top of your ear along your cheekbone until the beginning of your eye. Don’t go past that! It’ll drag your face down.
The rule of thumb with forehead and cheek contour is to blend up. It’ll help keep everything sculpted and lifted.
Nose contouring
Nose contouring is a bit more complicated than the others and can take a bit of trial and error to get it right. For a slimmer-looking nose, you’ll need a precise contour, so it’s best to use a smaller brush like an eyeshadow brush. Put some contour on your brush and rub off any excess product. Then, make two lines down either side of your nose. The closer together the lines, the slimmer your nose will look.
Once the lines are drawn, blend them up and down well — you don’t want the lines to be obvious. If you want more of a button nose, make a small line across the bridge of your nose, then apply some contour to the bottom of your nose and blend it out. Then, you can pop some highlight down the center of your nose and you’re done!
Sharpen your jaw
When applying contour to your jawline, start from right under your earlobe and take it down, across your jaw and to the other side. It’ll make your jawline appear sharper and can help tighten a double chin. With jawline contour, apply it slightly under the jawline and not directly on it for the sharpening effect. When it comes to jawline contour, blend downward to avoid a sharp, awkward-looking line. You want to blend down, toward your neck, to look cohesive.
Practice makes perfect
Contour isn’t about trying to change your face and the way it looks — it’s about enhancing what’s already there. Just keep practicing, and don’t stop trying ’til you figure it out — you’ll look amazing!
(Originally featured in Family First, Issue 951)
Oops! We could not locate your form.


